- Item Name : DreamsChat - Chat and Messenger
- Published: 25/09/2025
- Item Version : v2.0.3
- Author : Dreams Technologies
- Support via email: [email protected]
 DreamsChat - Chat and Messenger Documentation
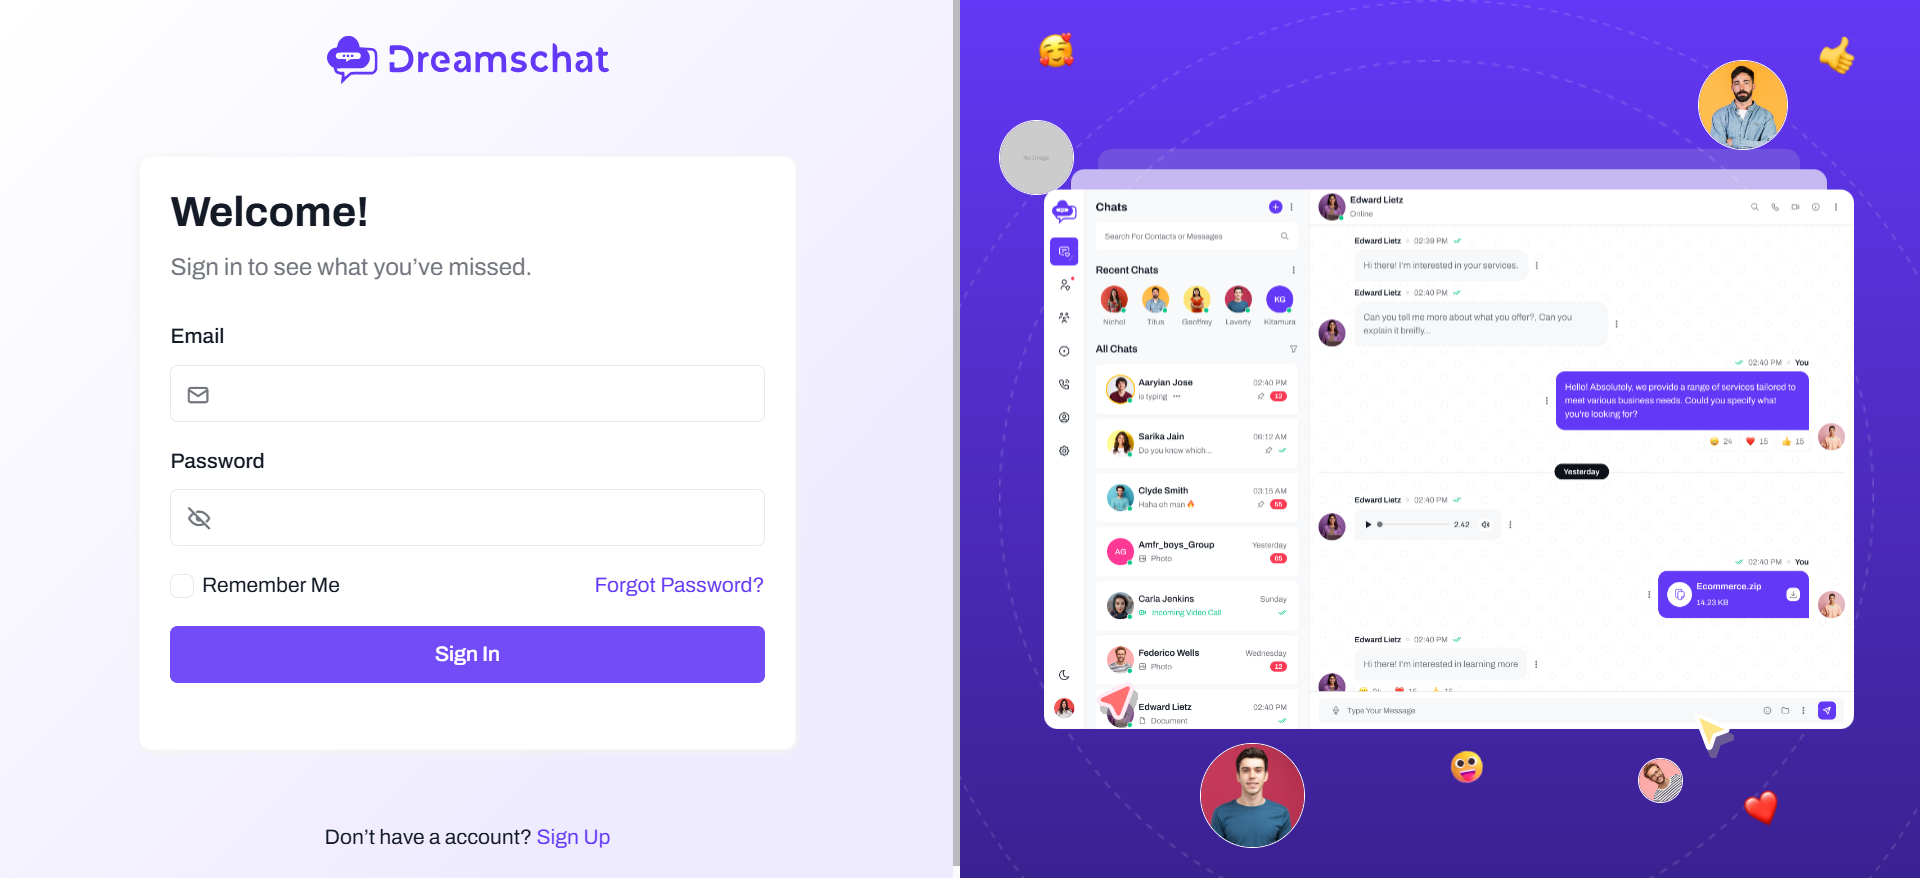
DreamsChat application allow to have a Chat with friends. You can send and share (images or videos or audio or pdf) ...etc. there is a database local to save your messages , so when user lost the internet connection he can write a message ,the message will be saved on database local and once the other user come online the app will send your message directly. Also you can delete conversation or messages.
- Login with Email & Password
- One to one chat
- Group chat
- Status
- Video call and Audio Call
- Block User
- Profile
- Dreams chat organizing content to follow natural eyes, striking balance between beautiful and visual hierarchy
- Email authentication
- Chat message encryption and decryption
Step 1:
Install & Start Xampp Server
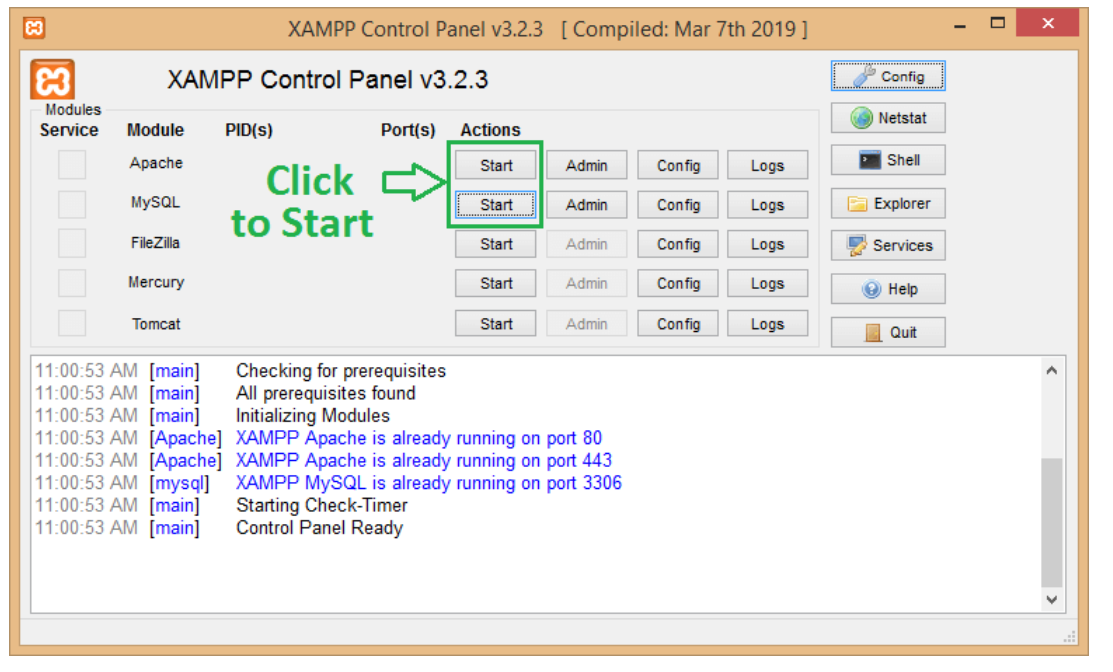
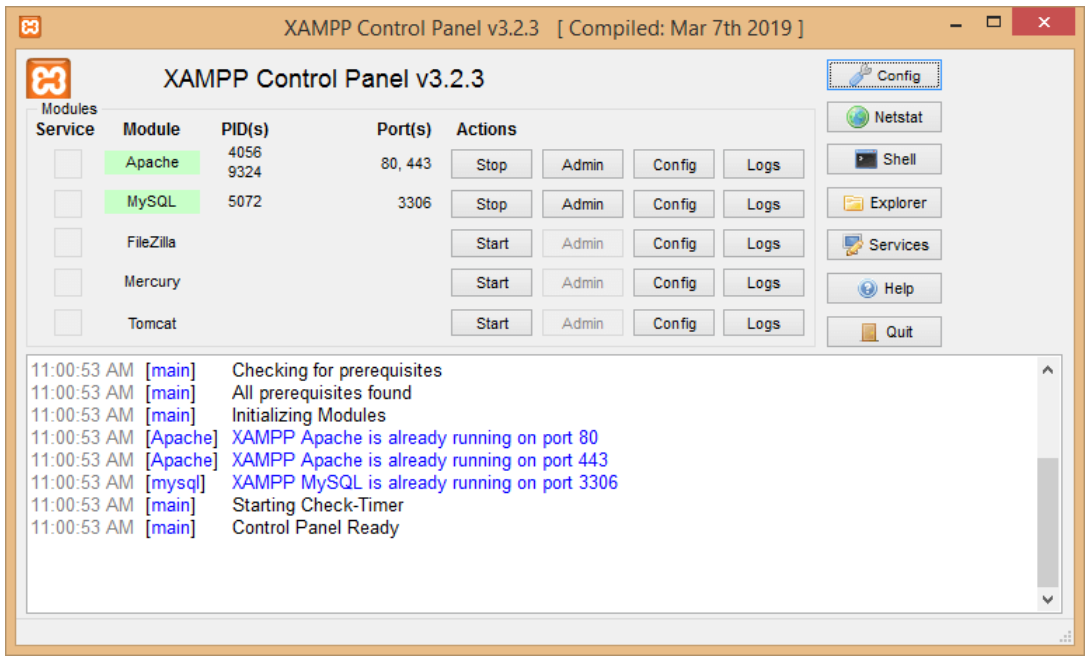
Apache and MySQL started successfully
Step 2:
Unzip laravel package.Downloaded laravel will be in zip format. Copy it and place it in your htdocs folder. Unzip and rename it. We are naming it as Laravel.
Create new file as name ".env" in your folder. Copy paste the content from the .env.example file.
Step 3:
run - "php artisan key:generate" in this folder command prompt
run - "composer install " in this folder command prompt
Step 4:
to run project - "php artisan serve " in this folder command prompt
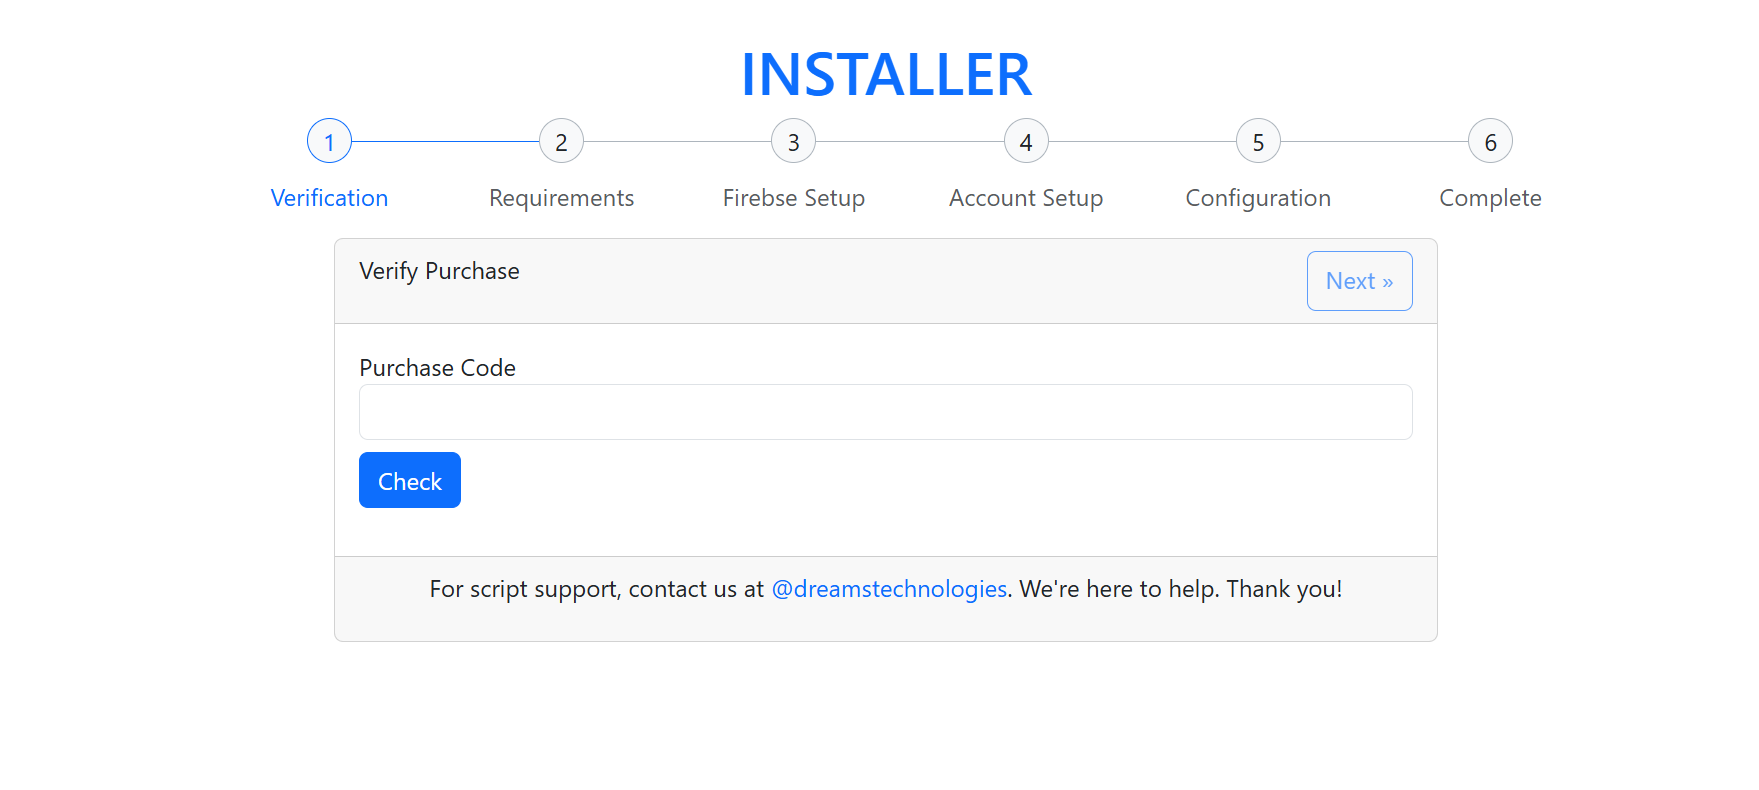
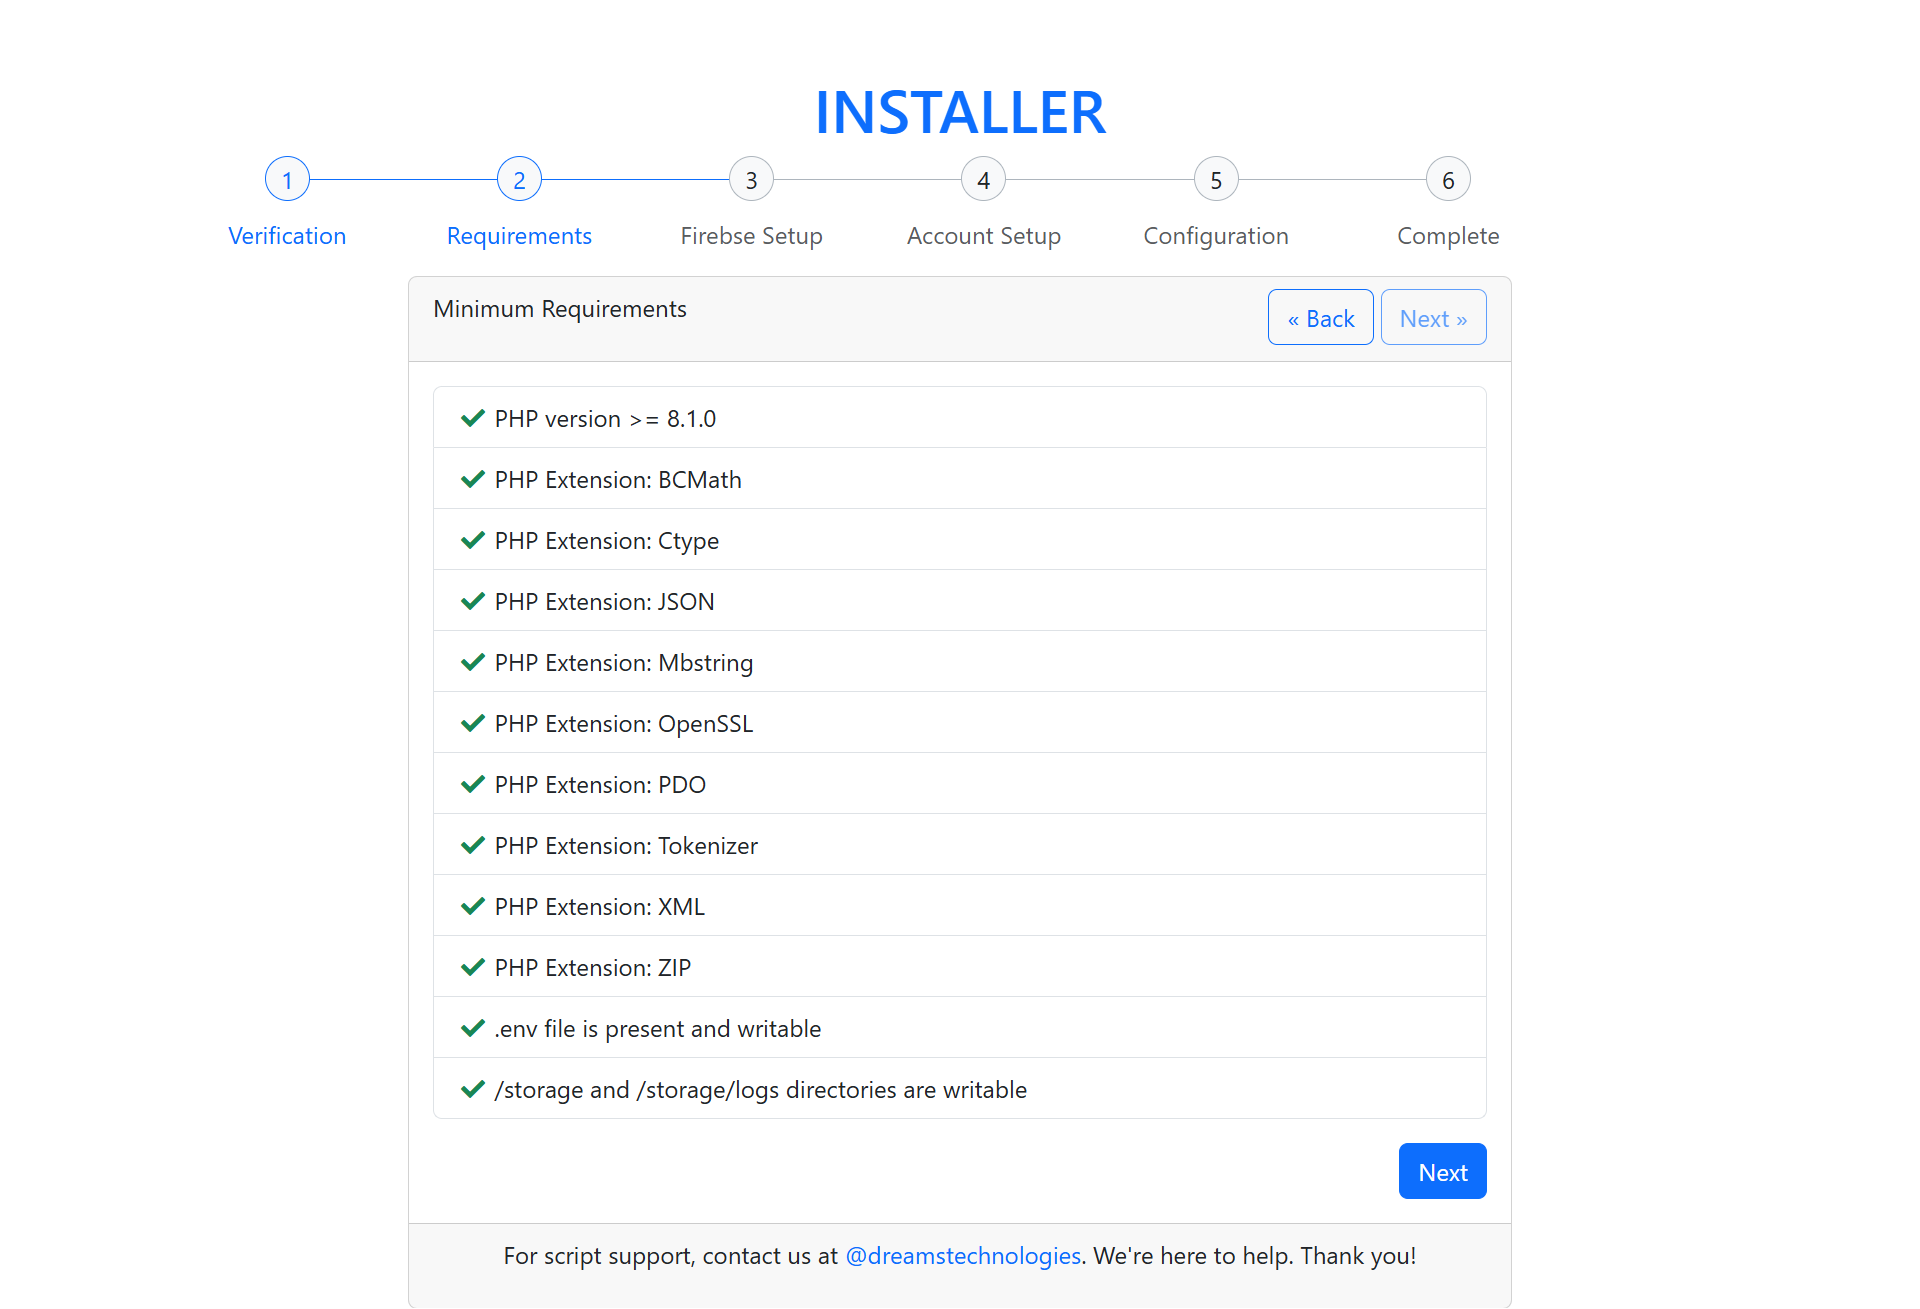
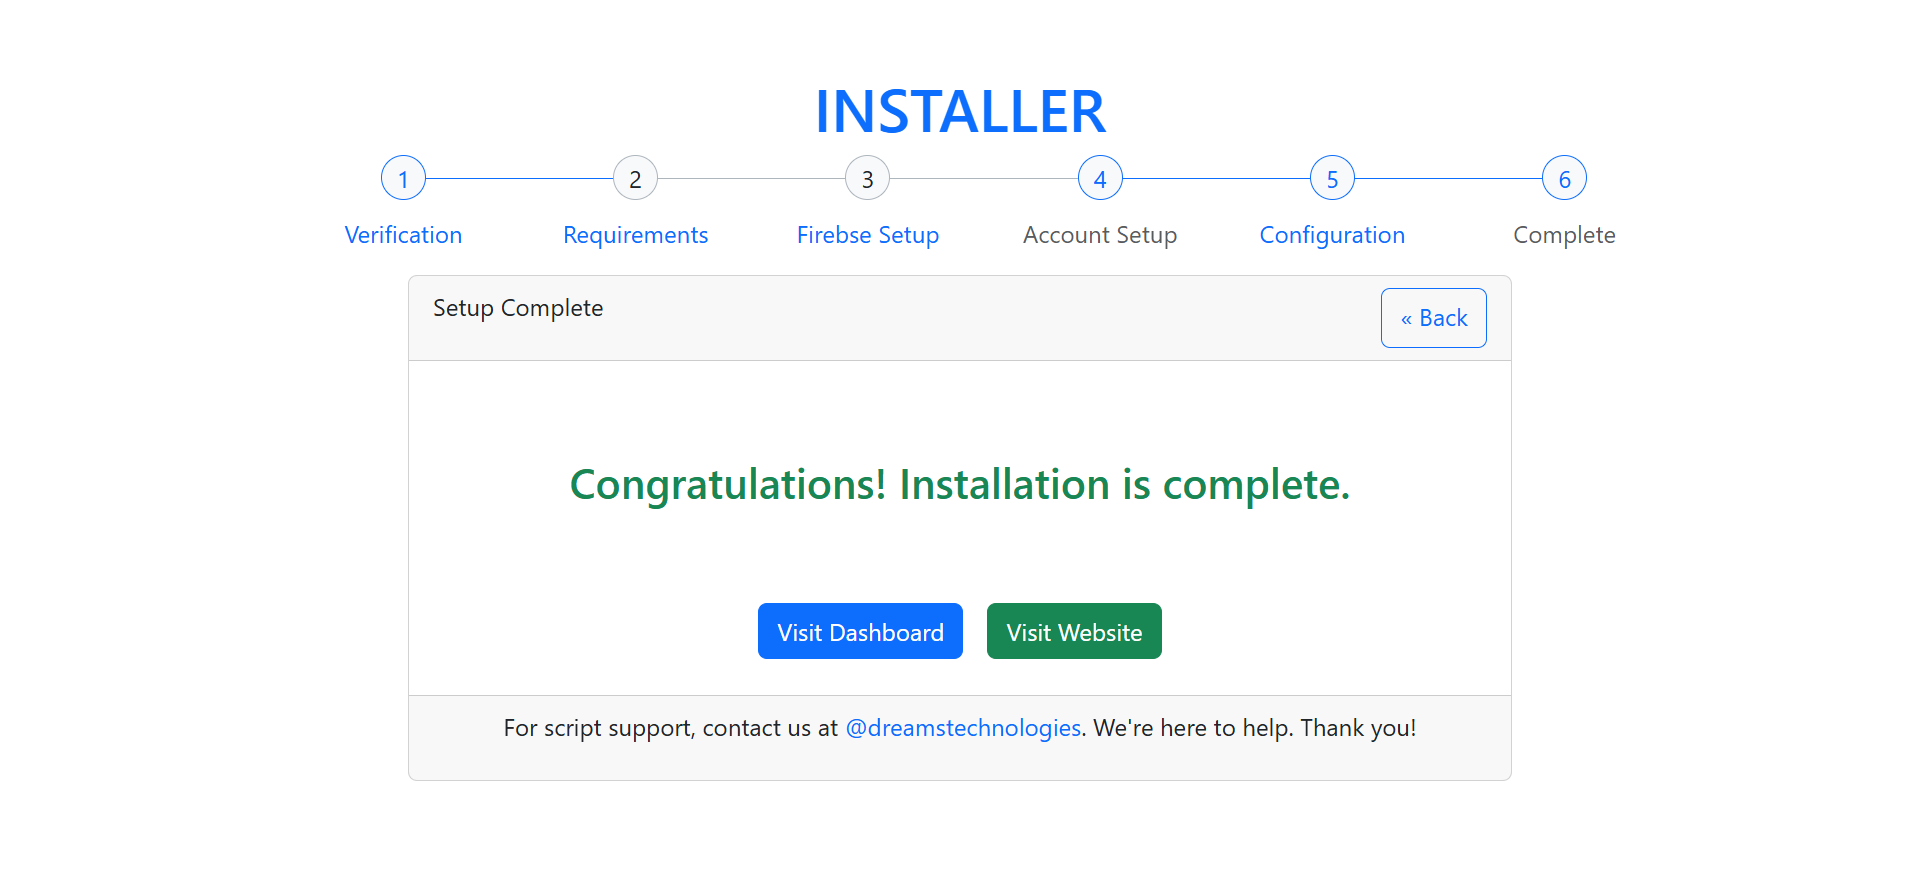
After running the project need to complete Installer Process shown in below image
Enter Your Purchase Code and click Next
If all minimum requirements meets click Next
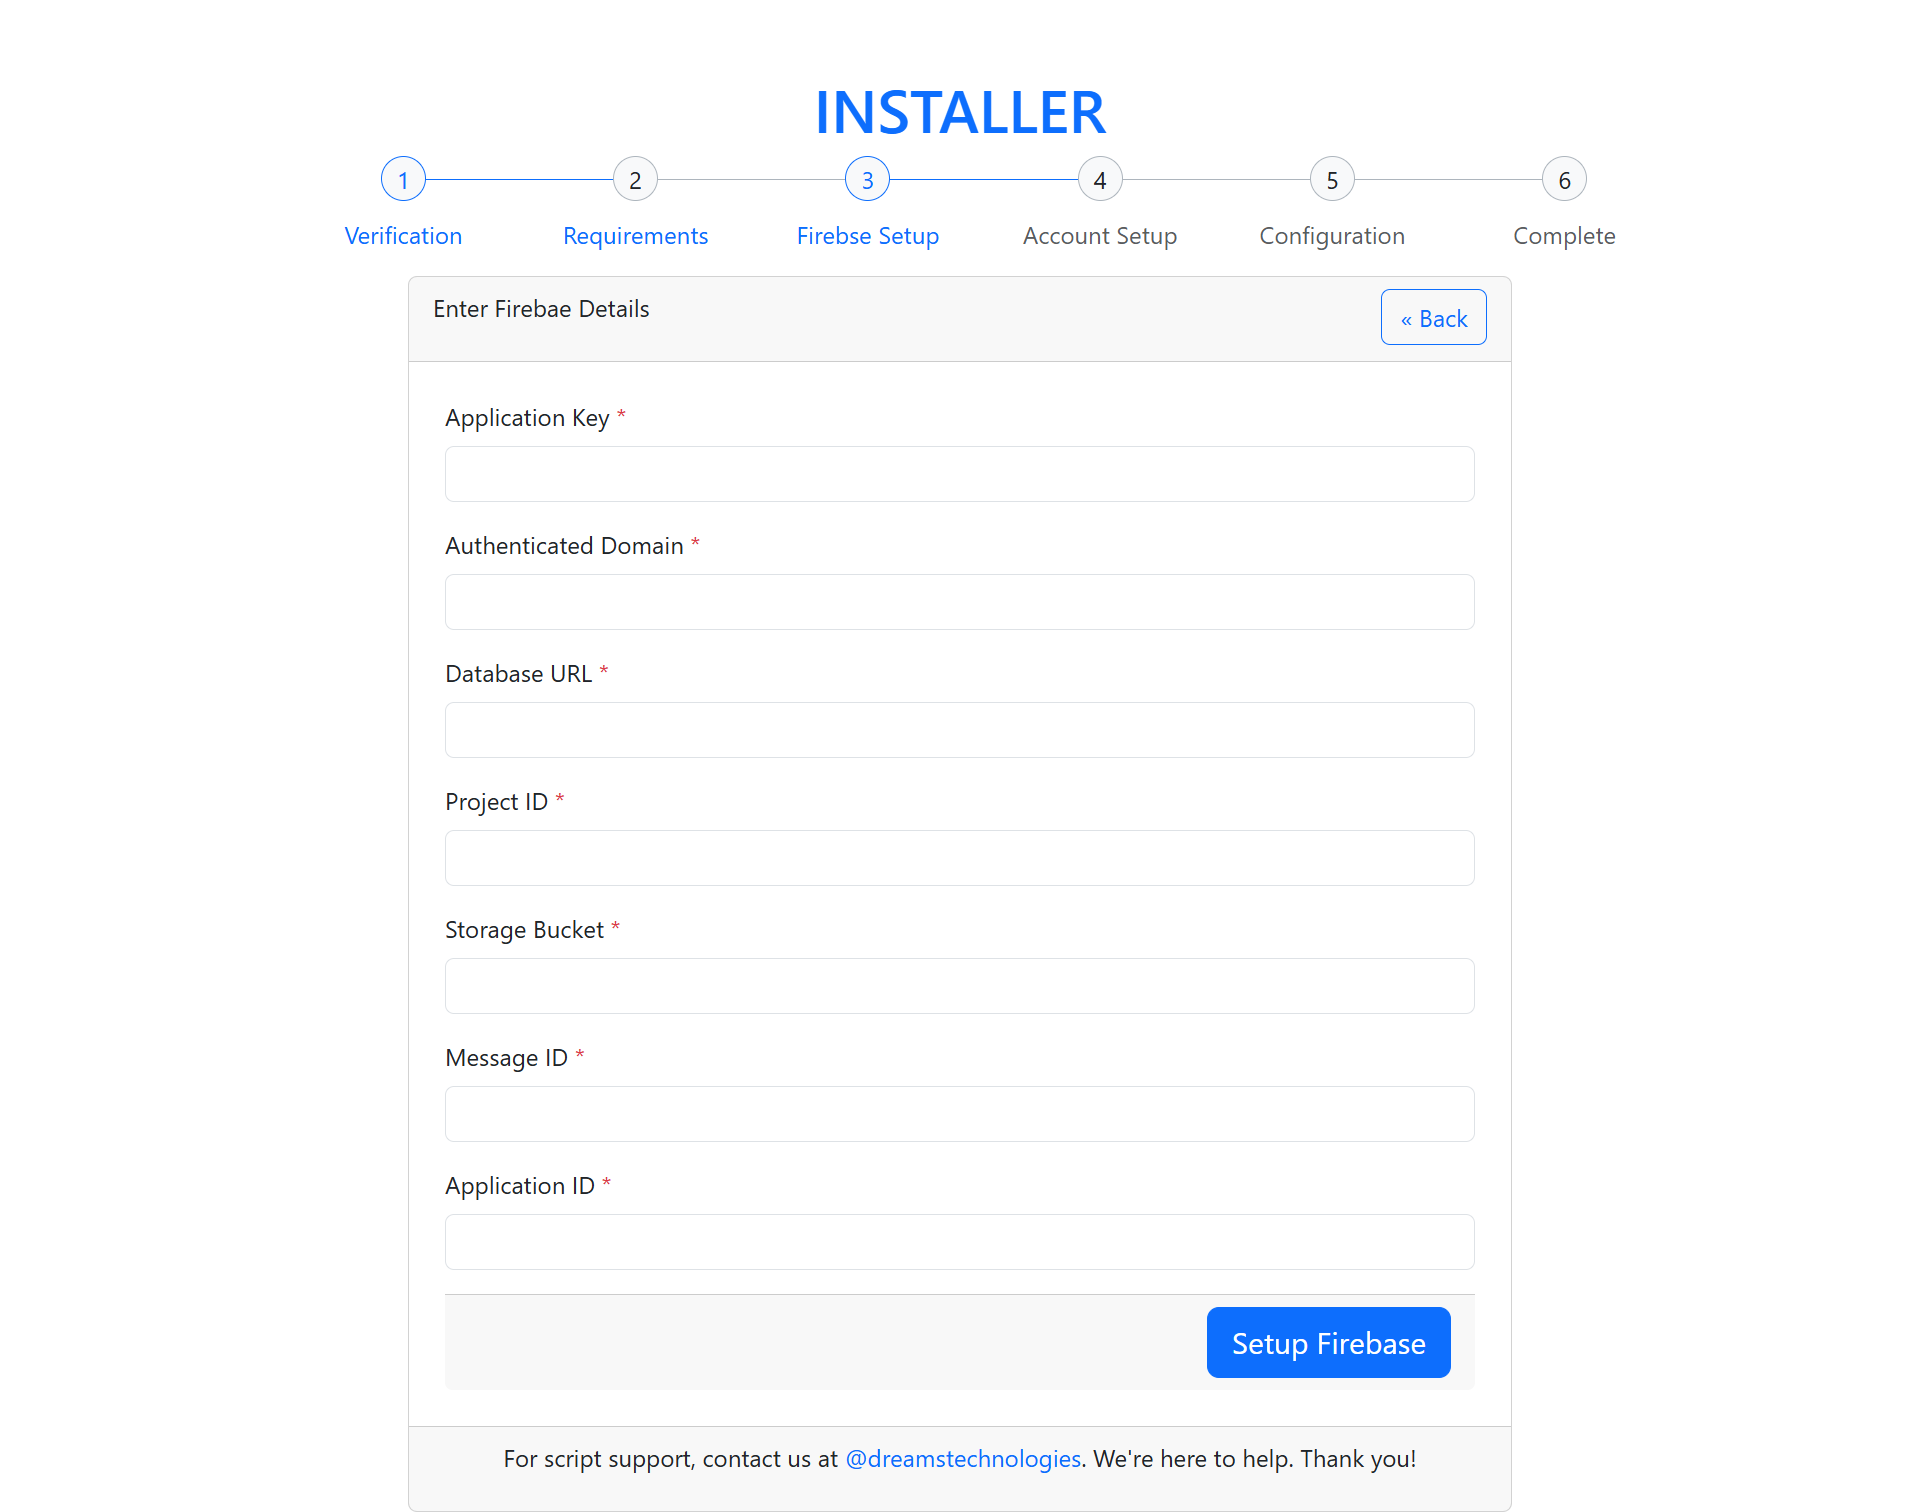
Fill the Firebase setup database details
To get firebase database details refer the settings firebase.
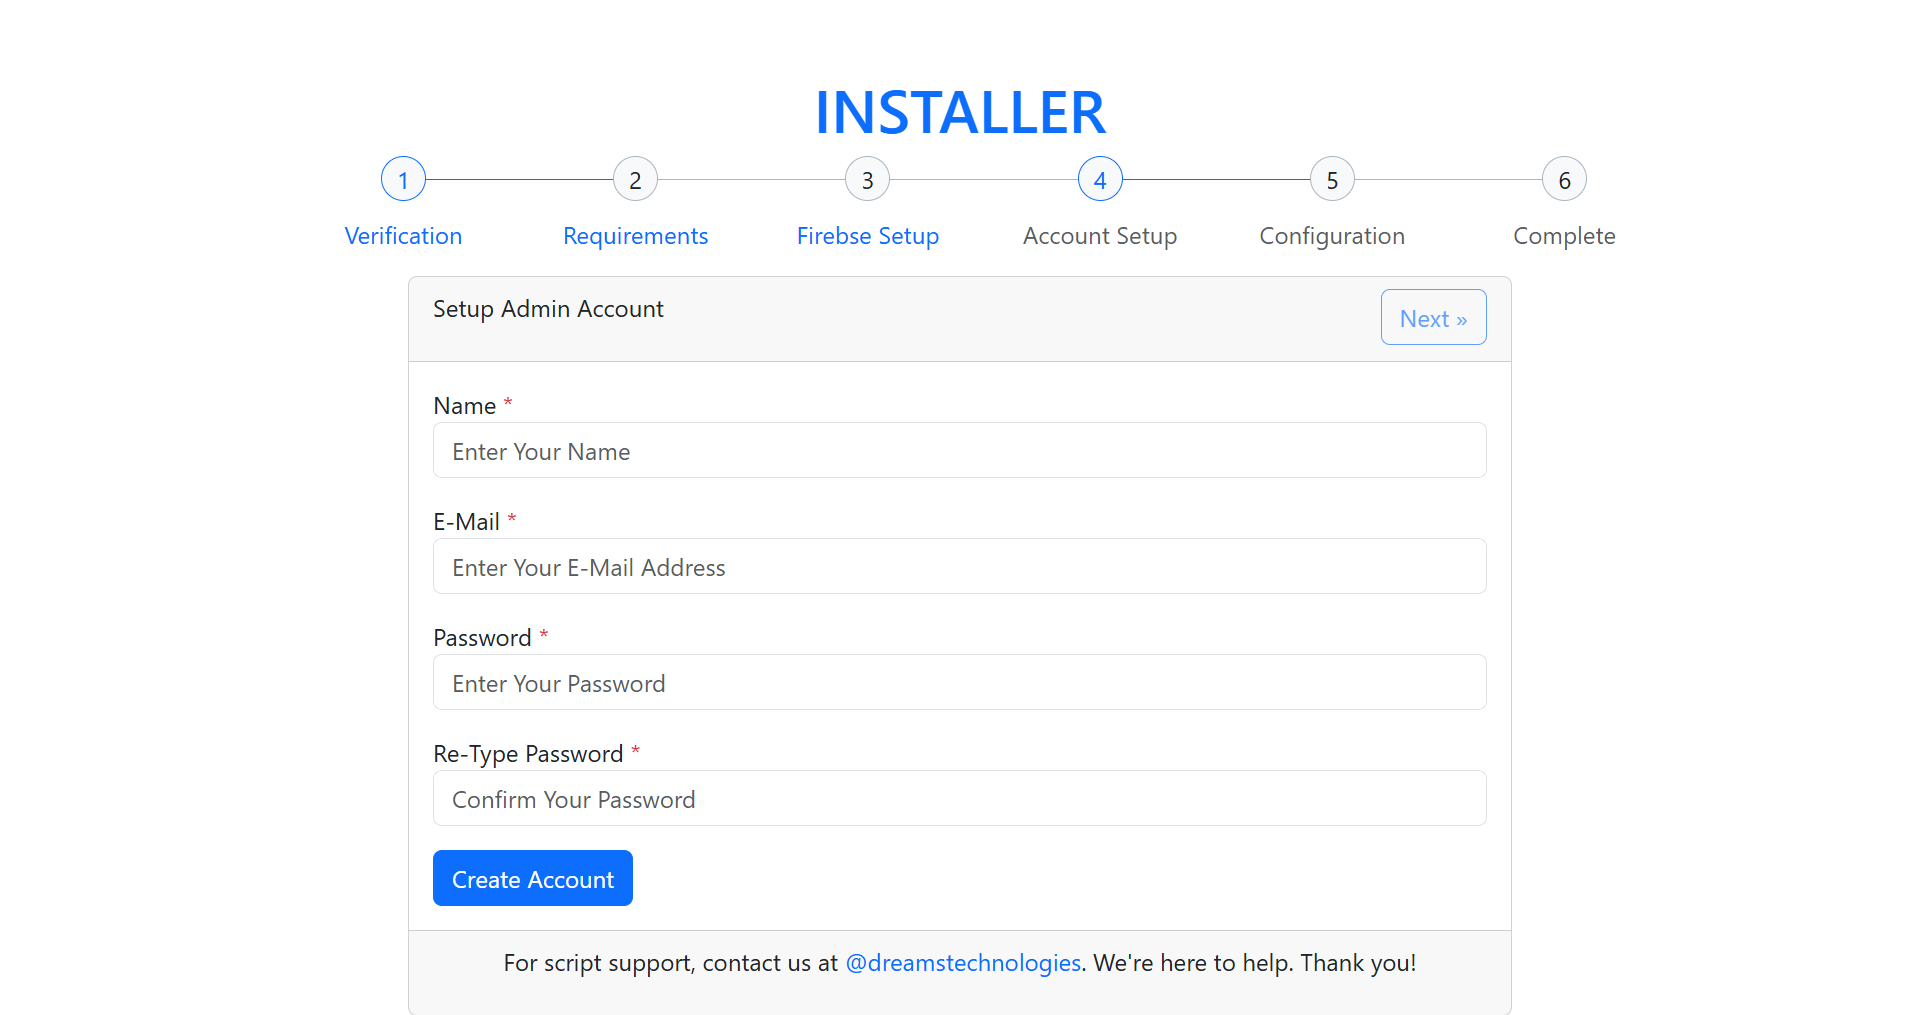
Fill the admin account details
Give Your App Name
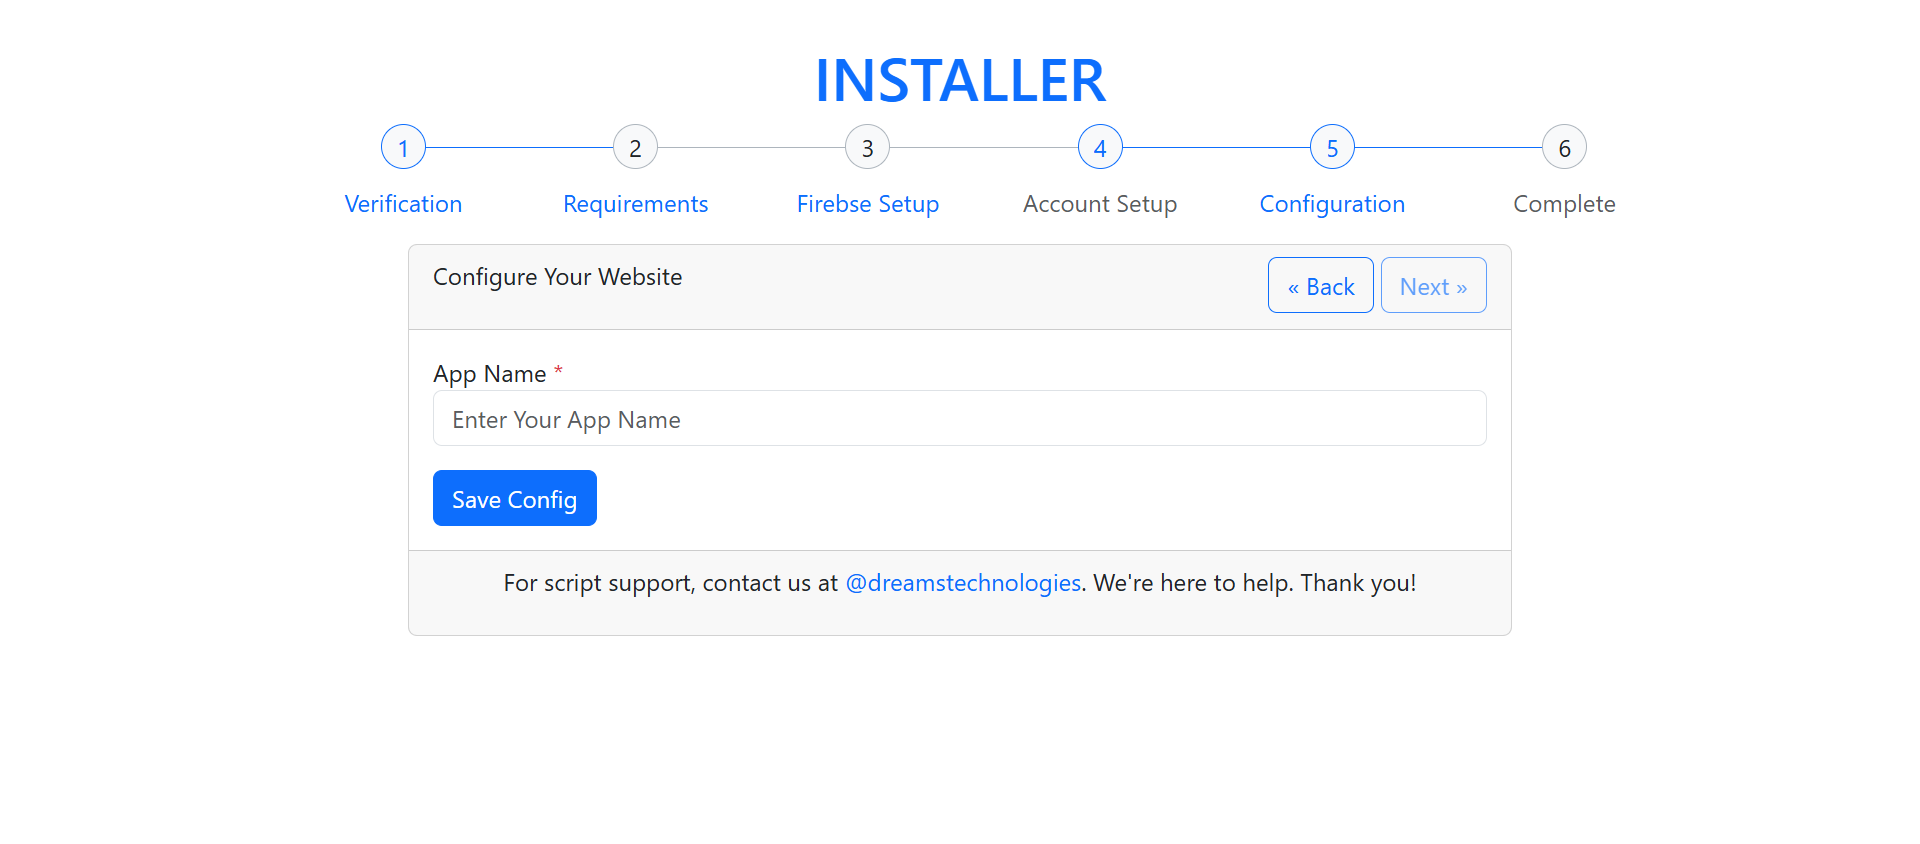
After filling the necessary details you will able to visit the site
In Firebase, Authentication add the user as shown in image.
Example Email : [email protected]
Example password : [email protected]
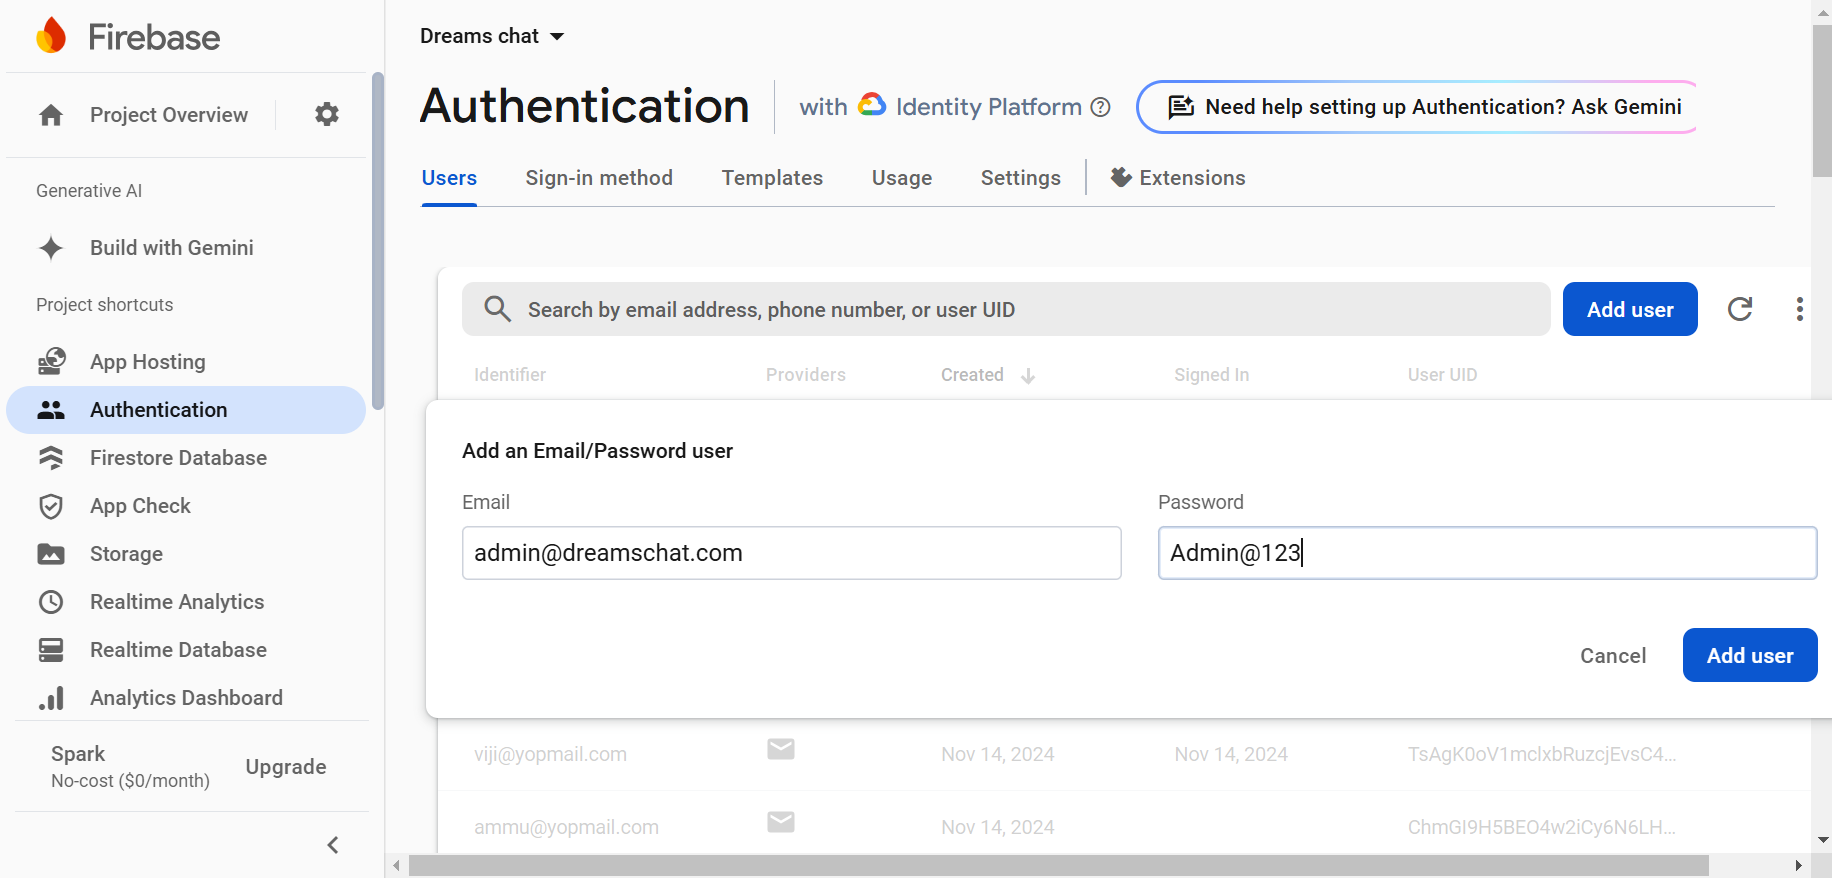
And also add in Realtime Database
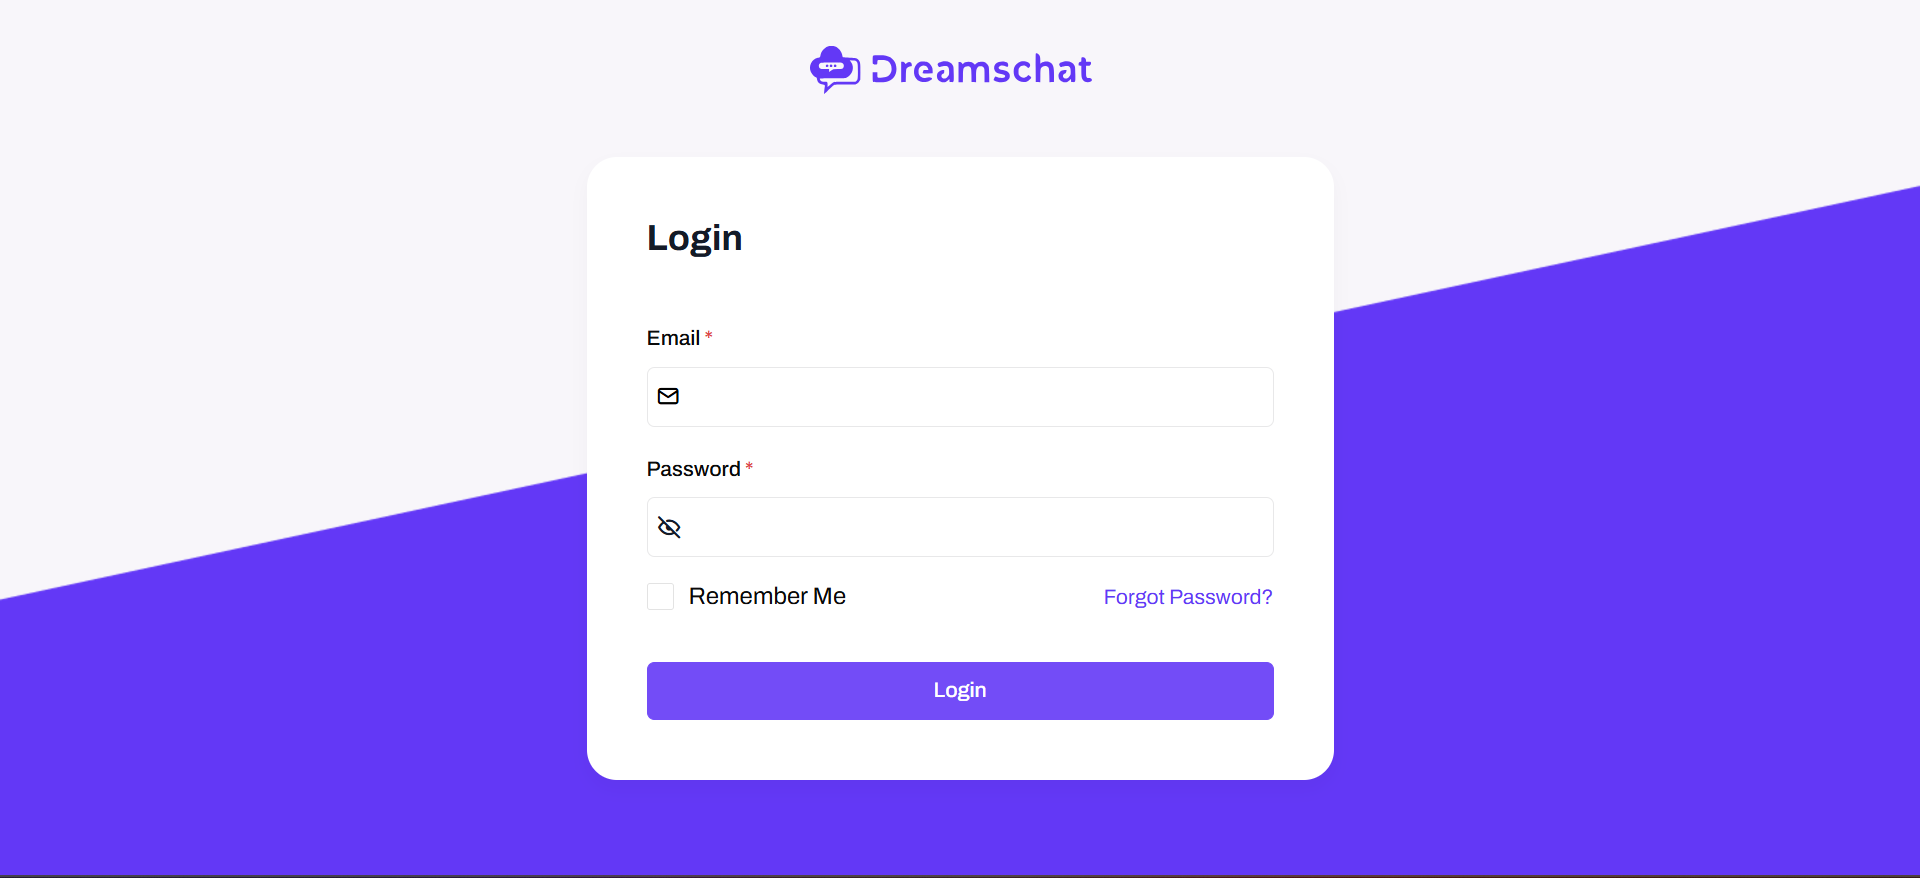
After the installation process completed, you can log in to the admin panel by adding “/admin/login” to the end of your website URL.
Example : yourwebsiteurl.com/admin/login
Example email : [email protected]
Example password : Admin@123
Go to firebase console “https://console.firebase.google.com/”
To create a project, follow these steps:
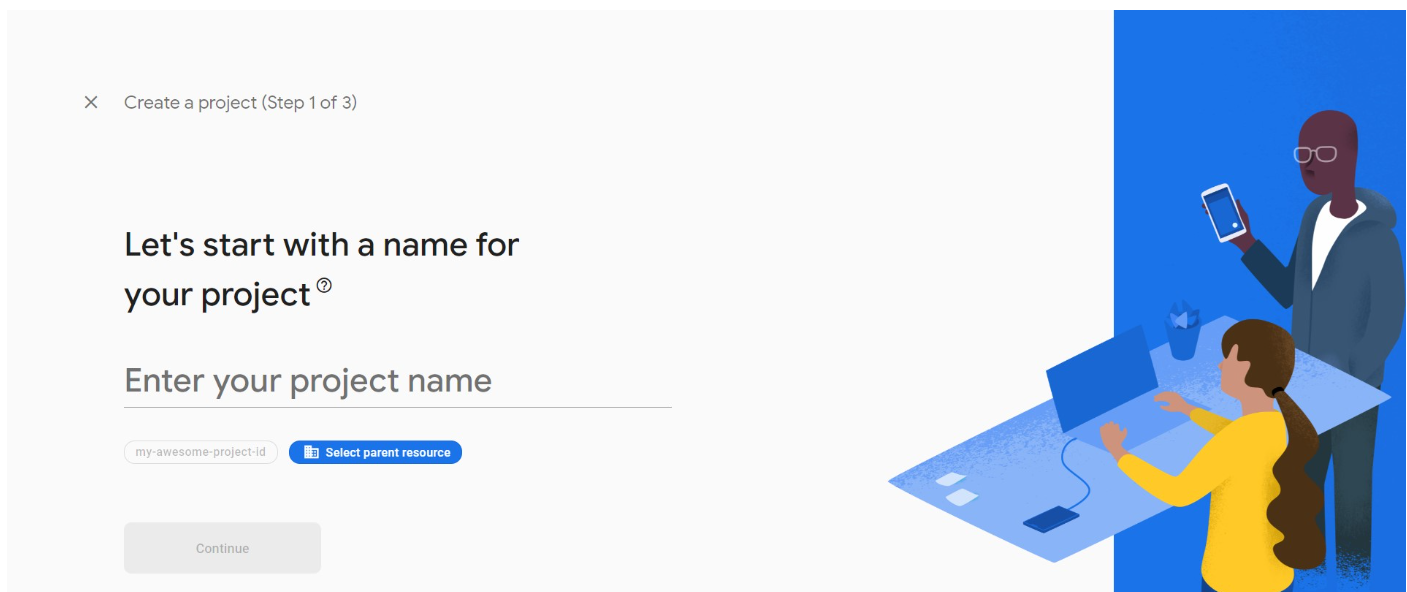
Provide a resource and a domain.
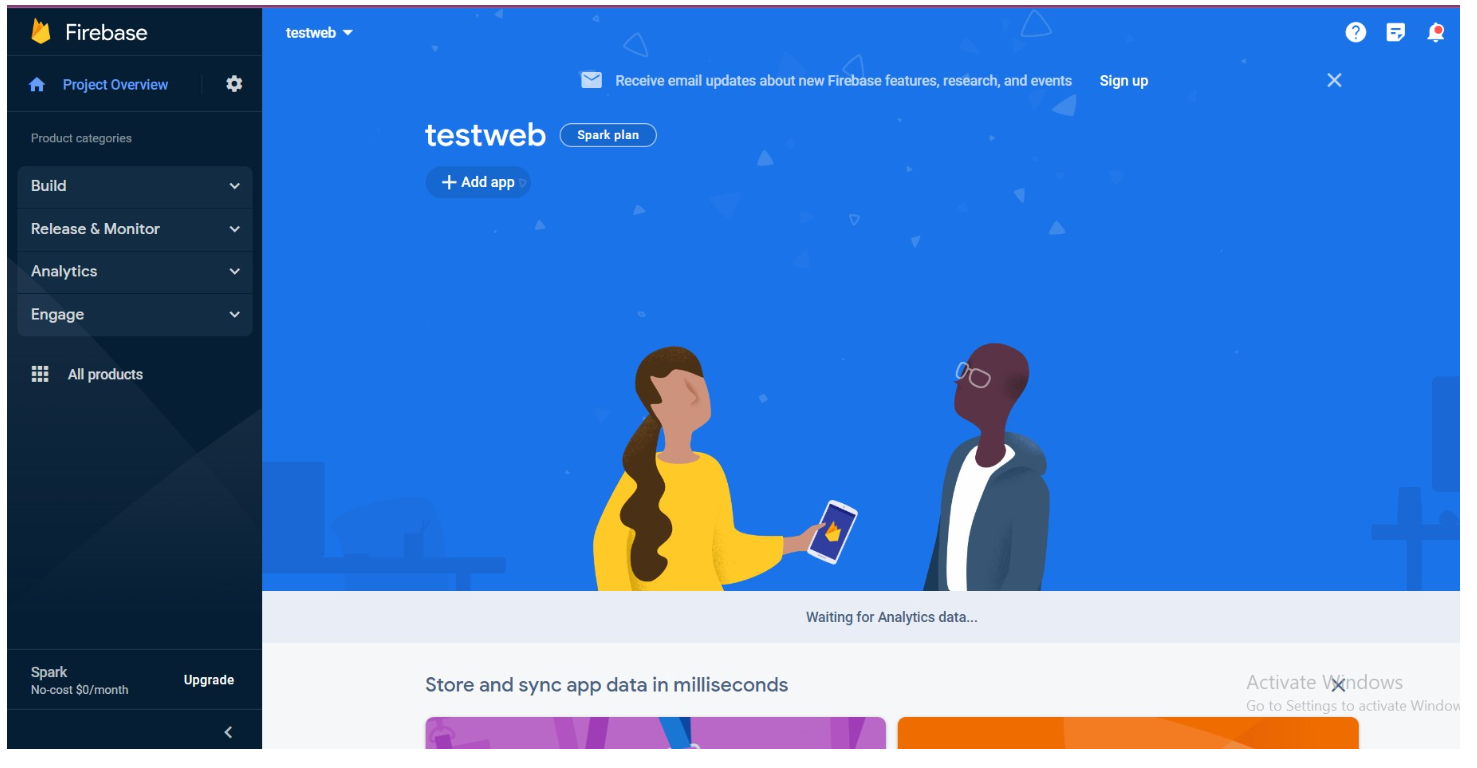
The Web application is now ready .
To create a database, follow these steps:
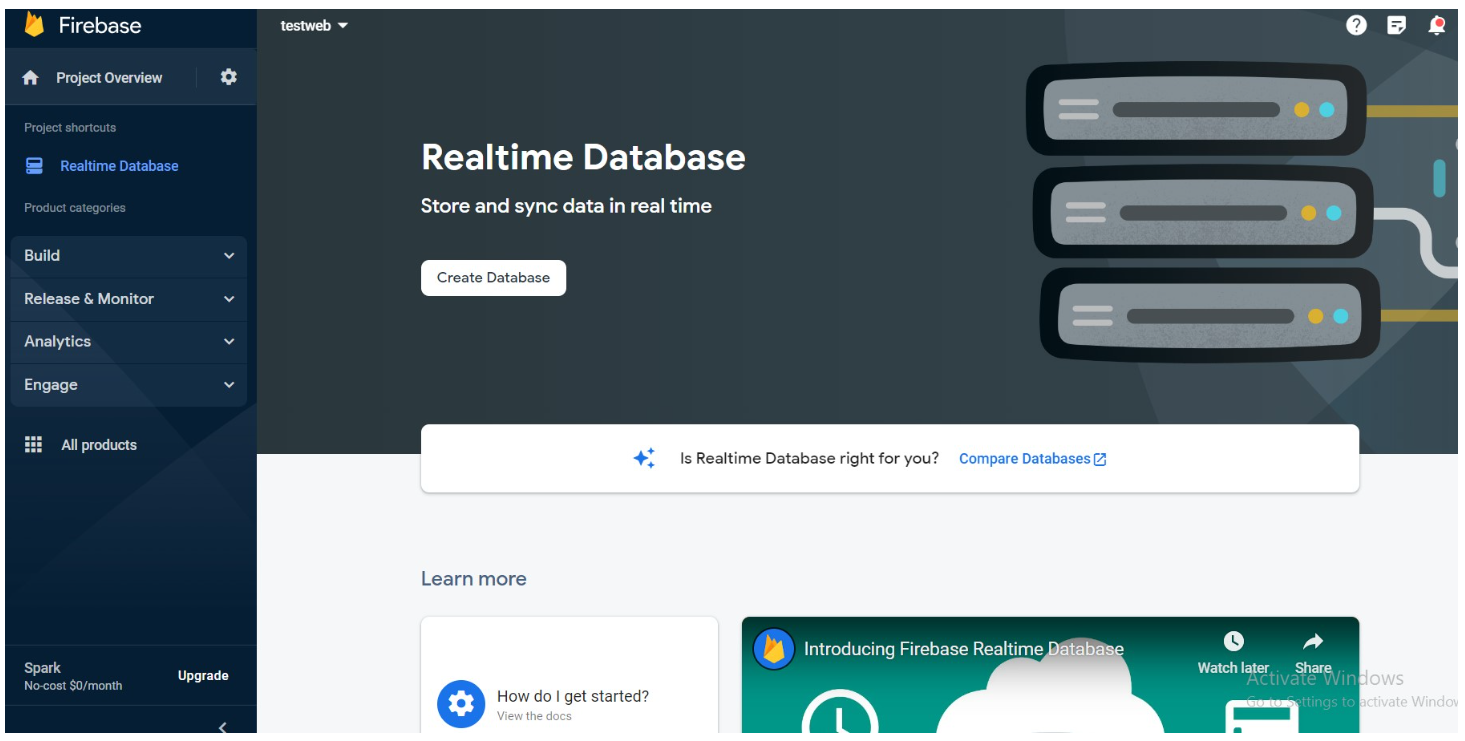
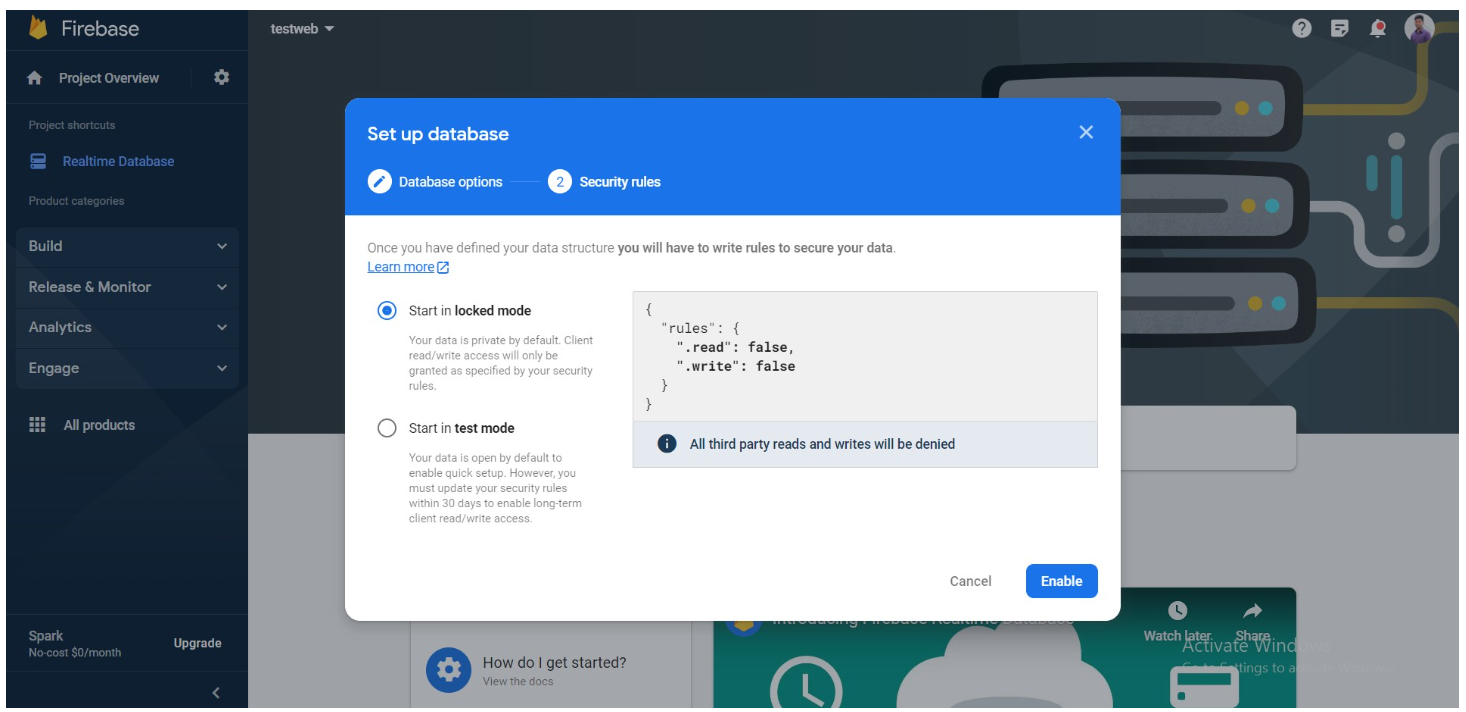
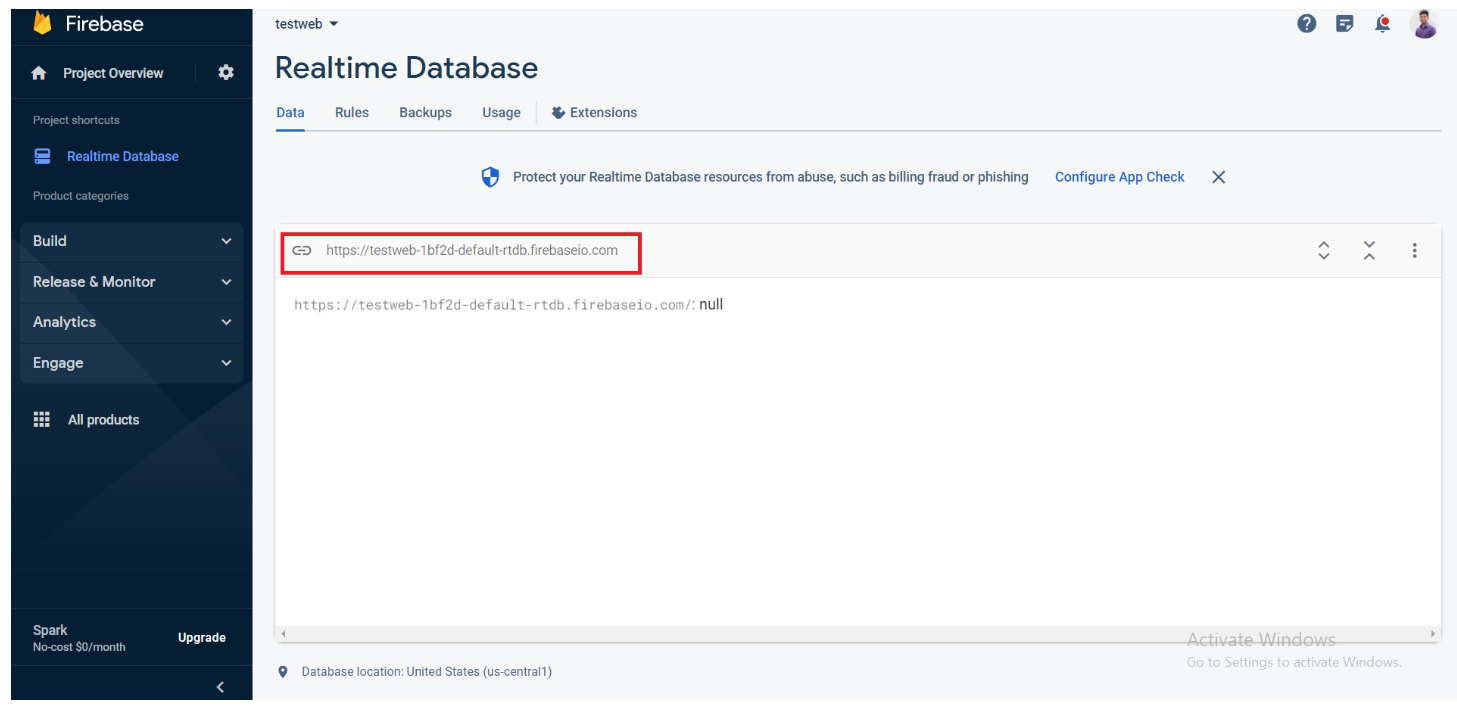
You can find the URL for the database here:
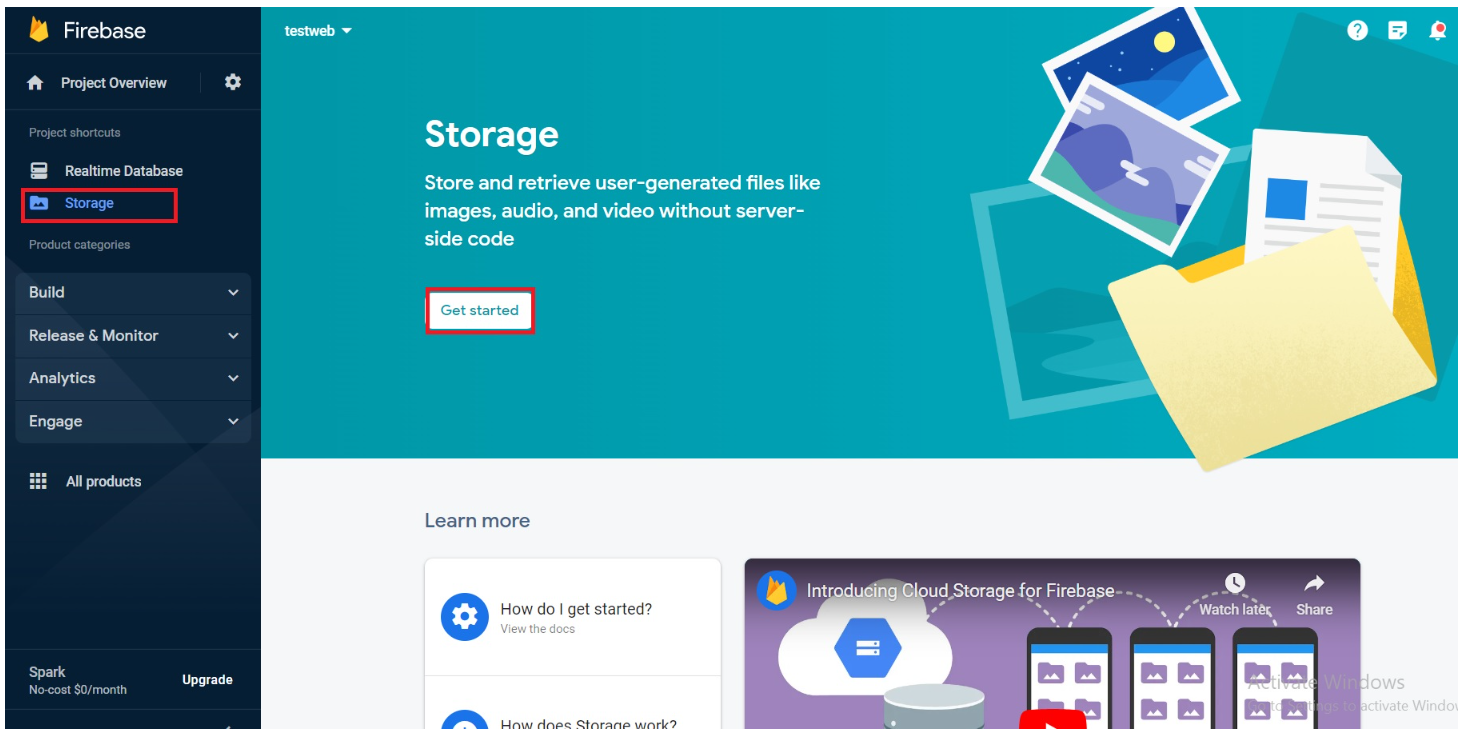
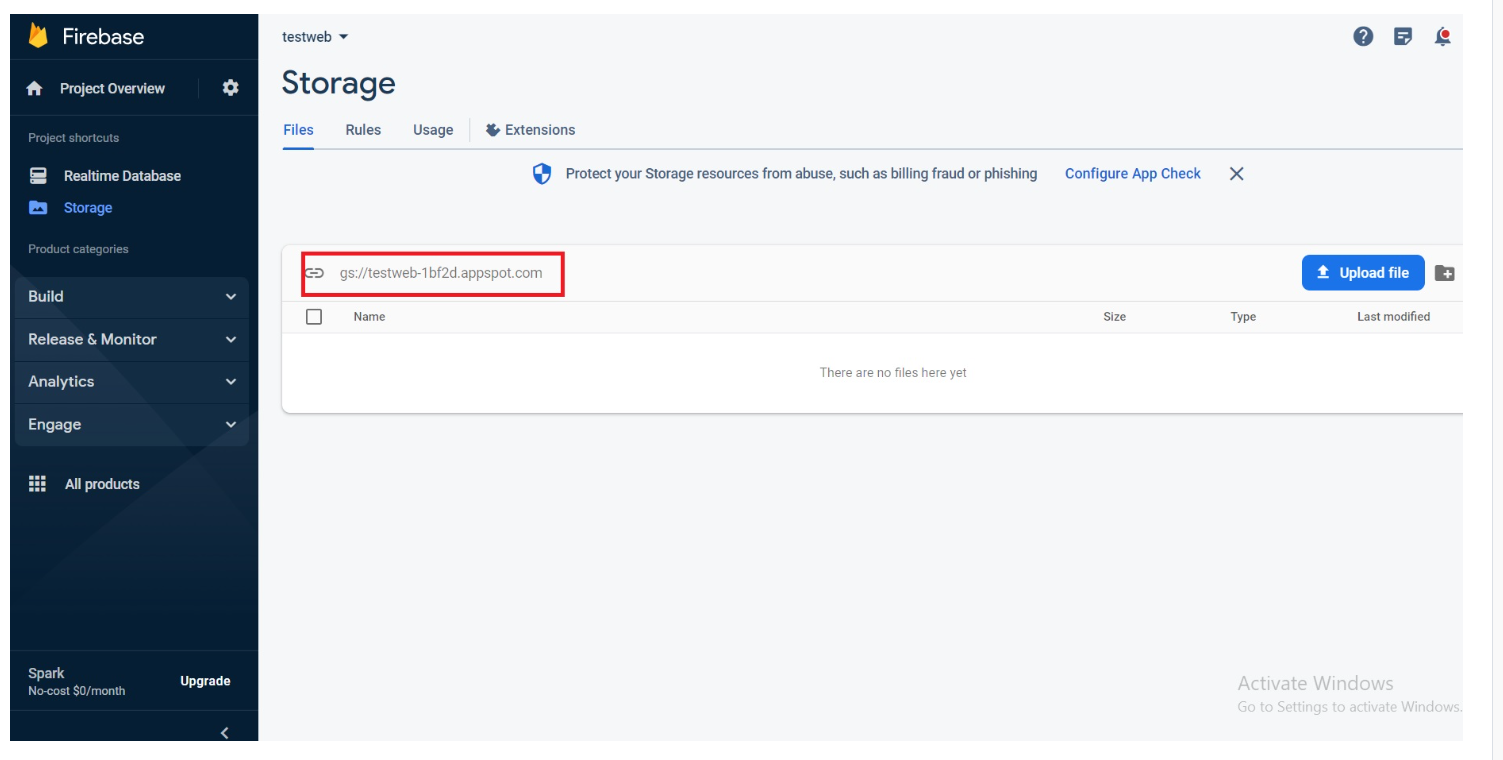
To create storage for image and video uploads, follow these steps:
Note: If the storage is not created or configured properly, image and video uploads will not work as expected.
Select the region closest to where the app will be used to ensure faster performance.
Select the region closest to where the app will be used to ensure faster performance.
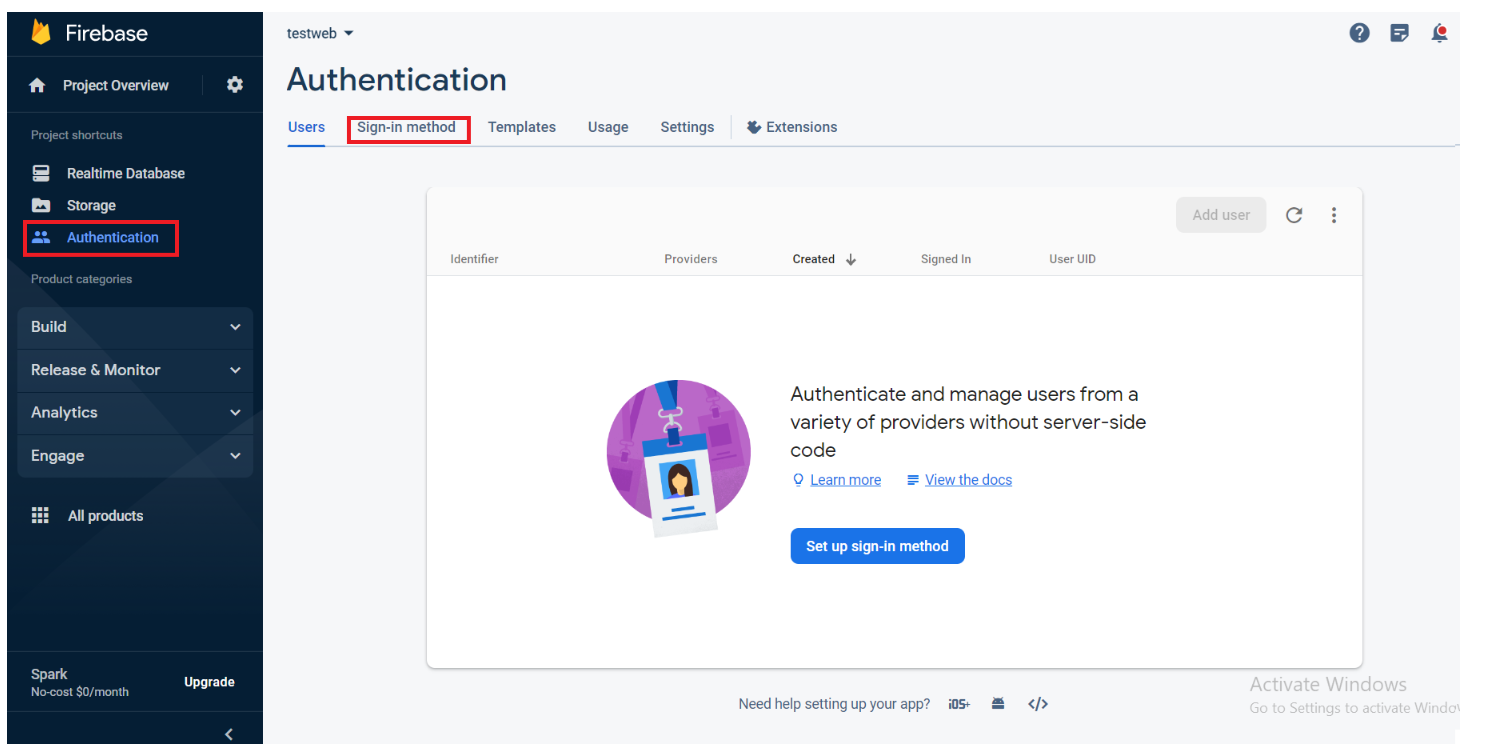
Enable Authentication
Go to Build ->Authentication
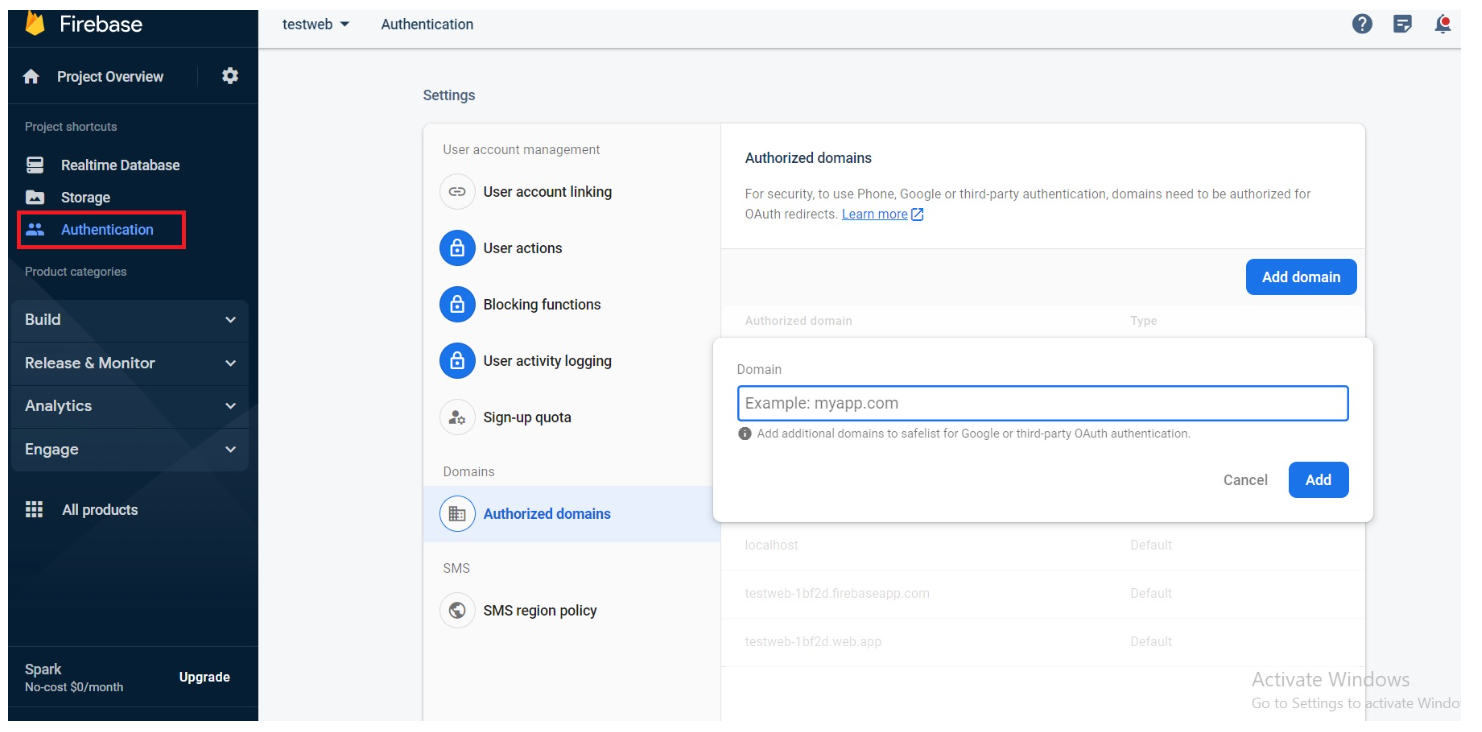
Hostname Configure In Firebase
Add your domain to the list.
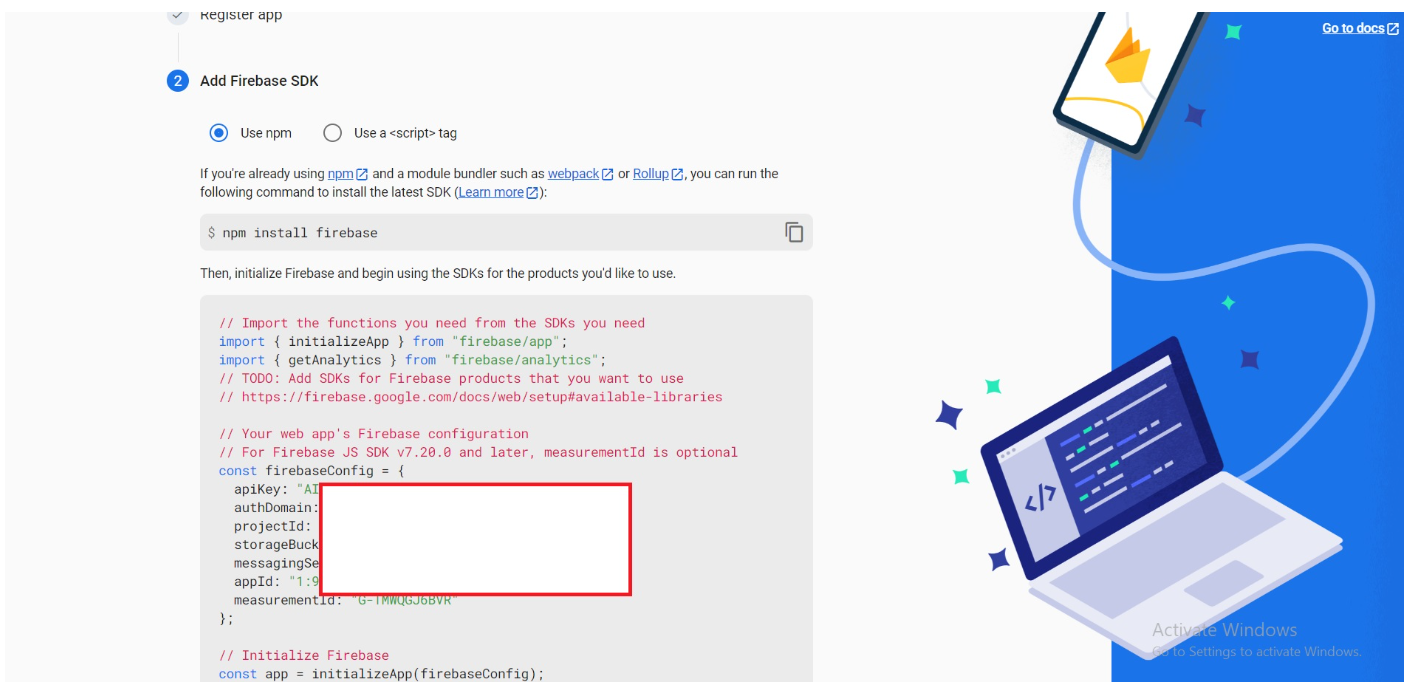
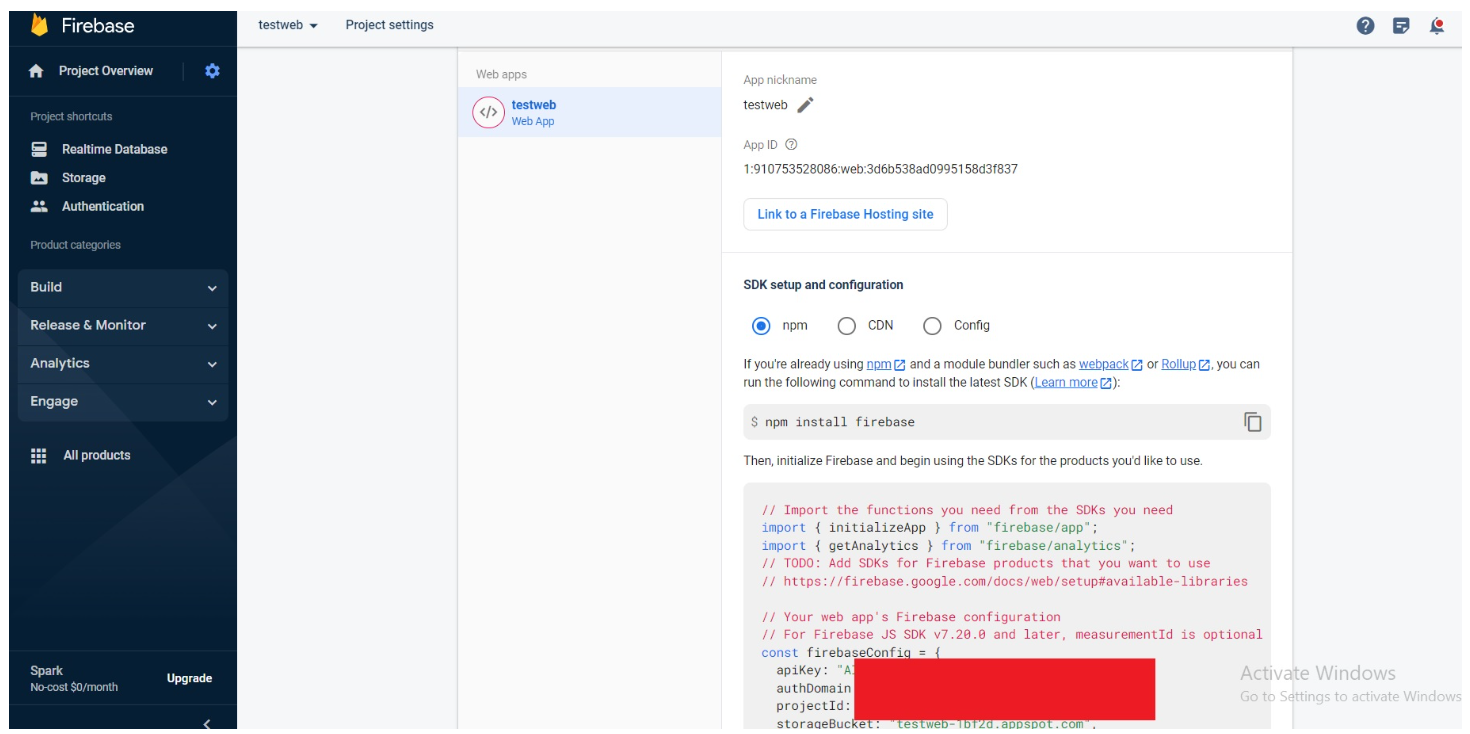
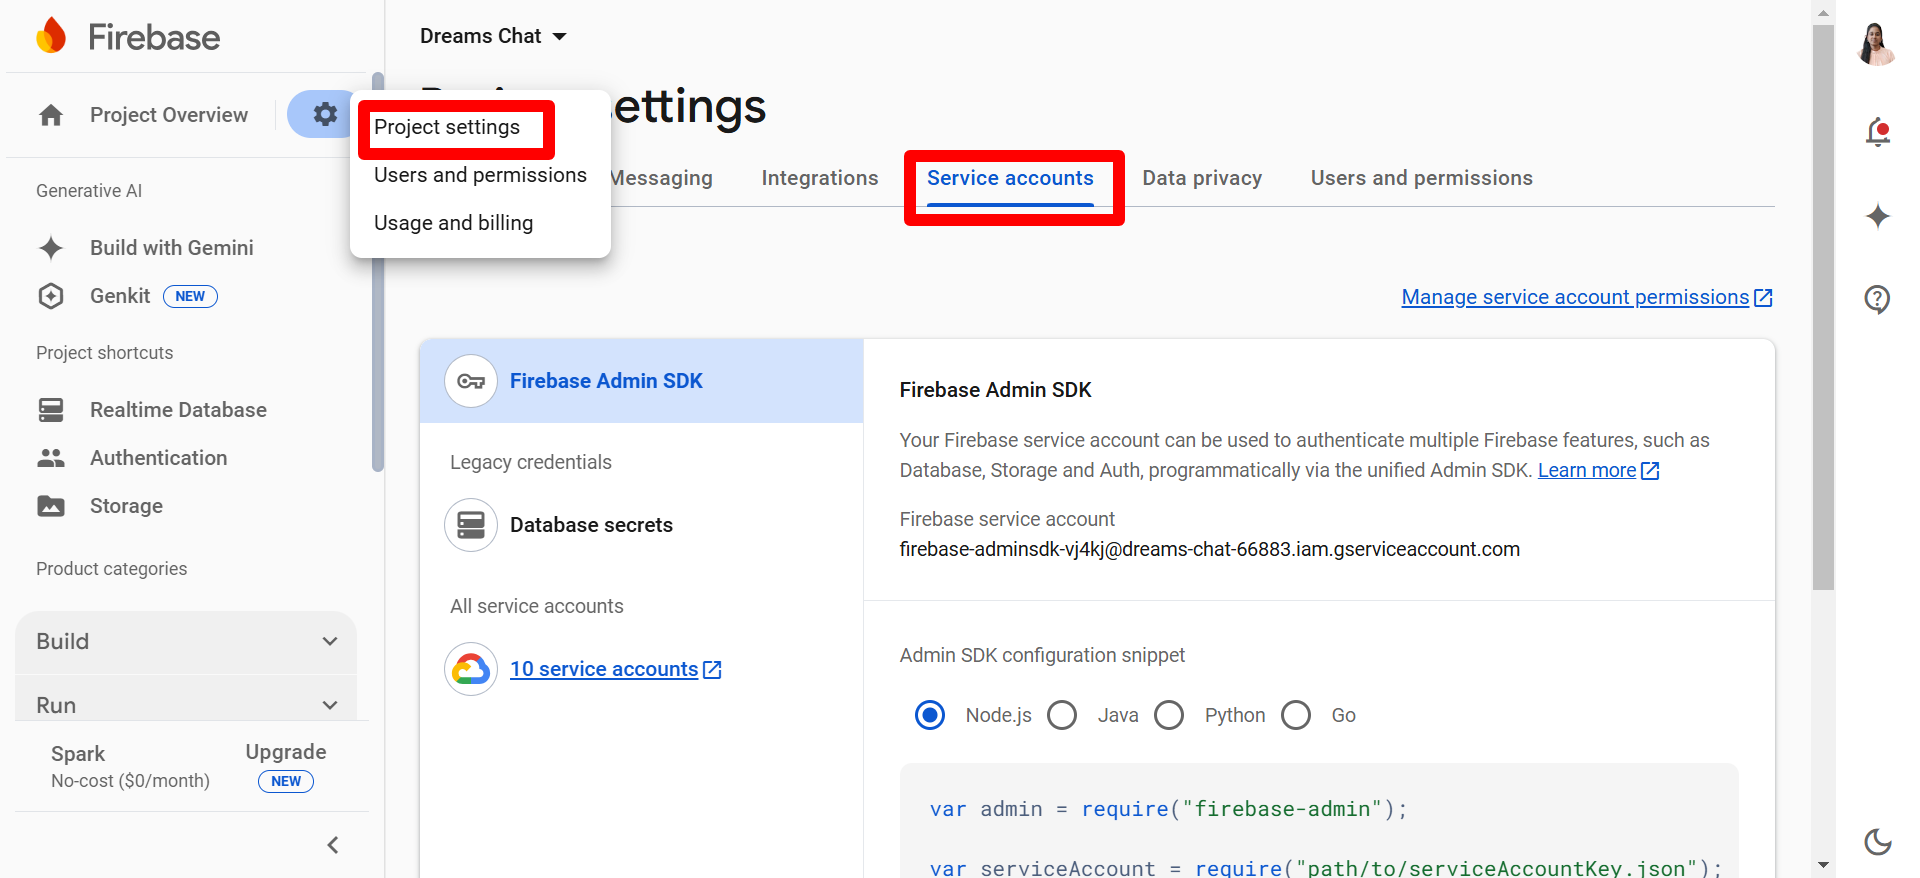
Under General settings you can see the configuration
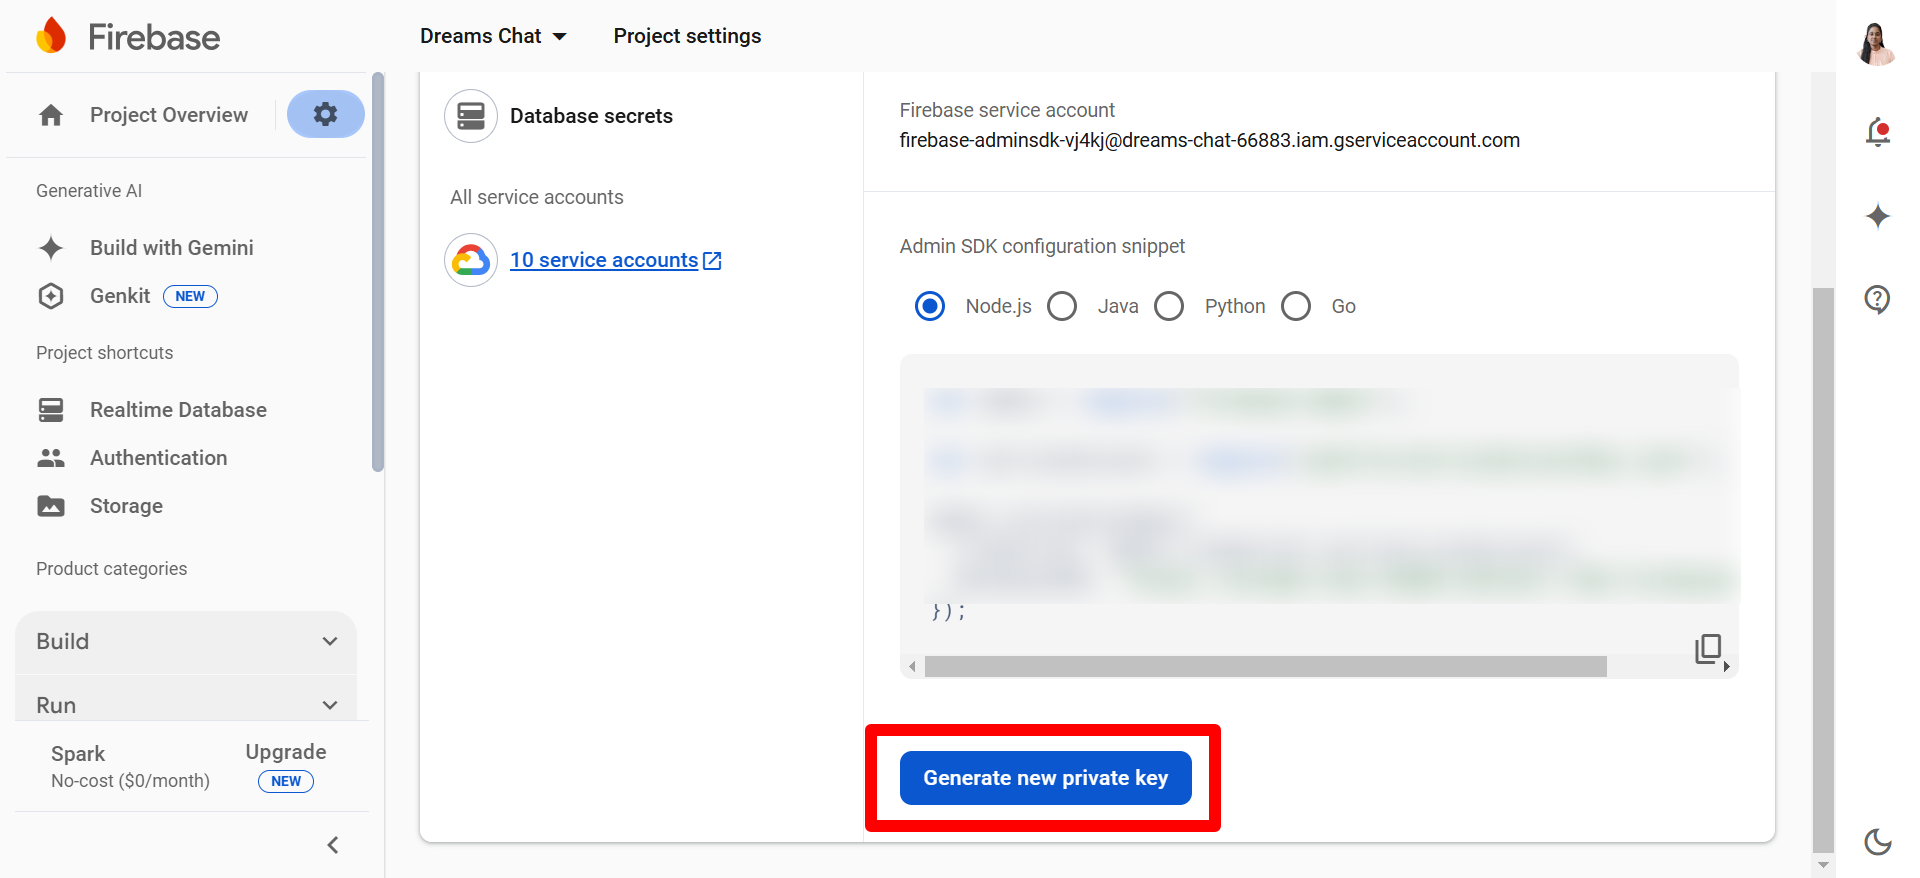
For download json file, follow below steps
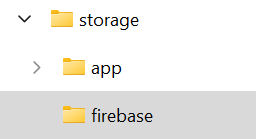
Once Json file downloaded, Add inside the storage->firbase in your project with this name "firebase_credentials.json".
Note: Delete old file(firebase_credentials.json)
Email configuration - In below page click edit icon
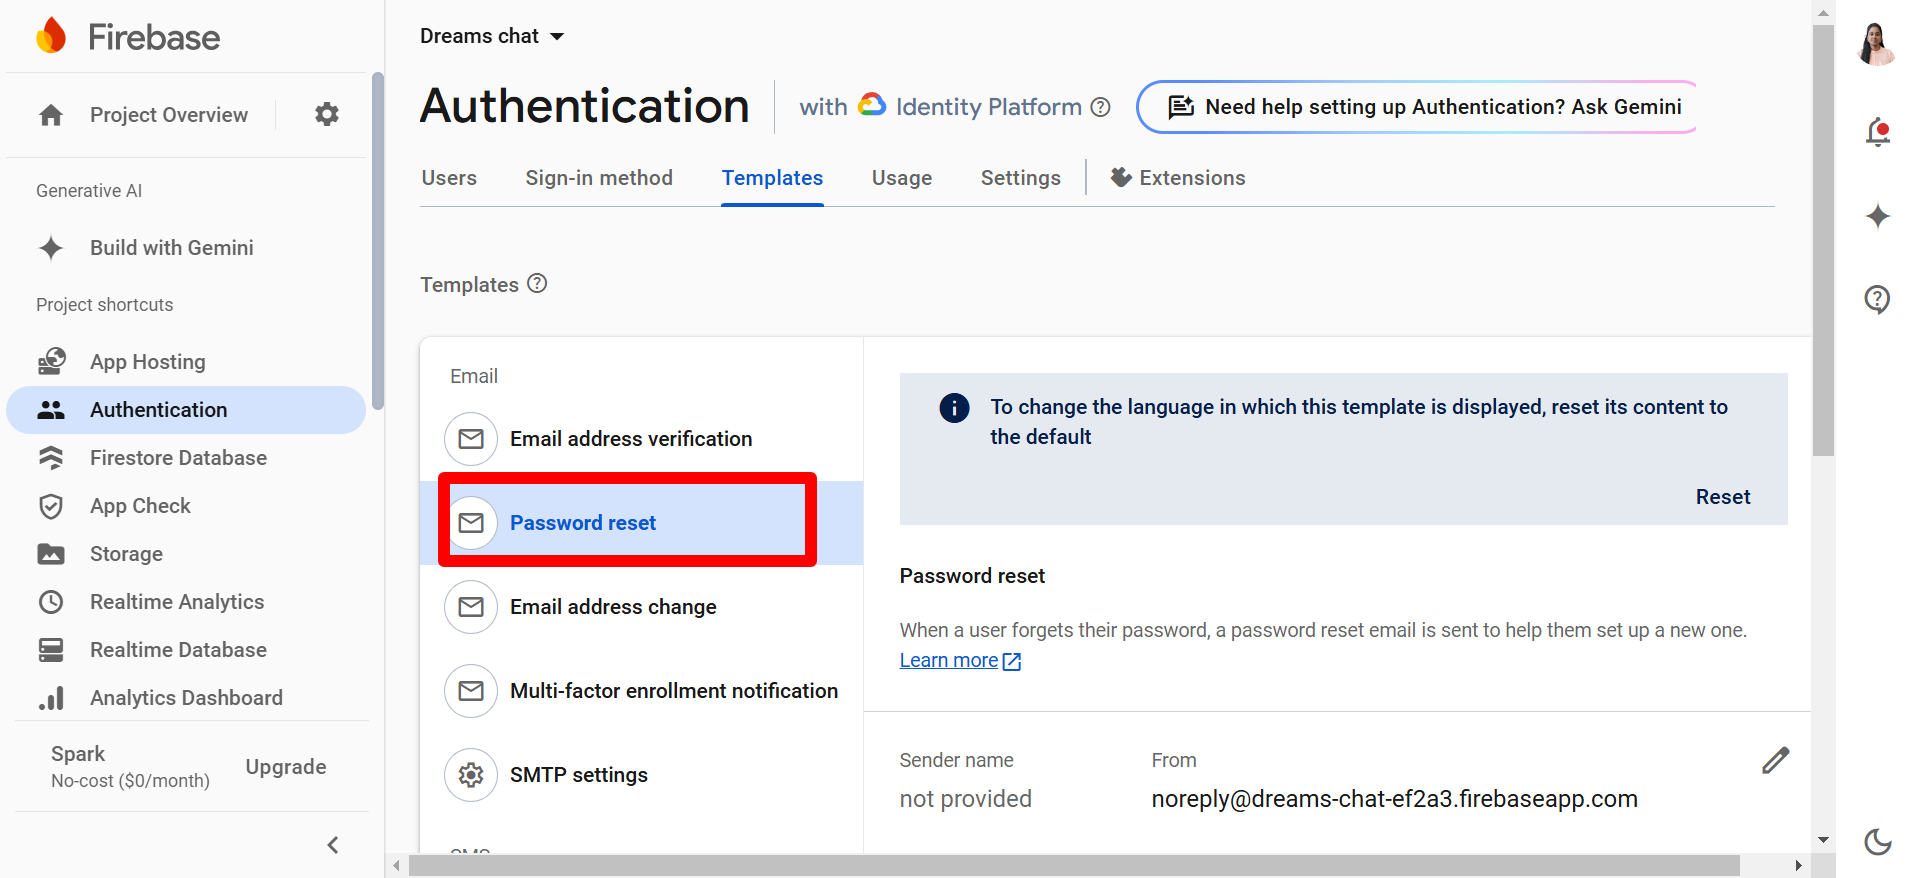
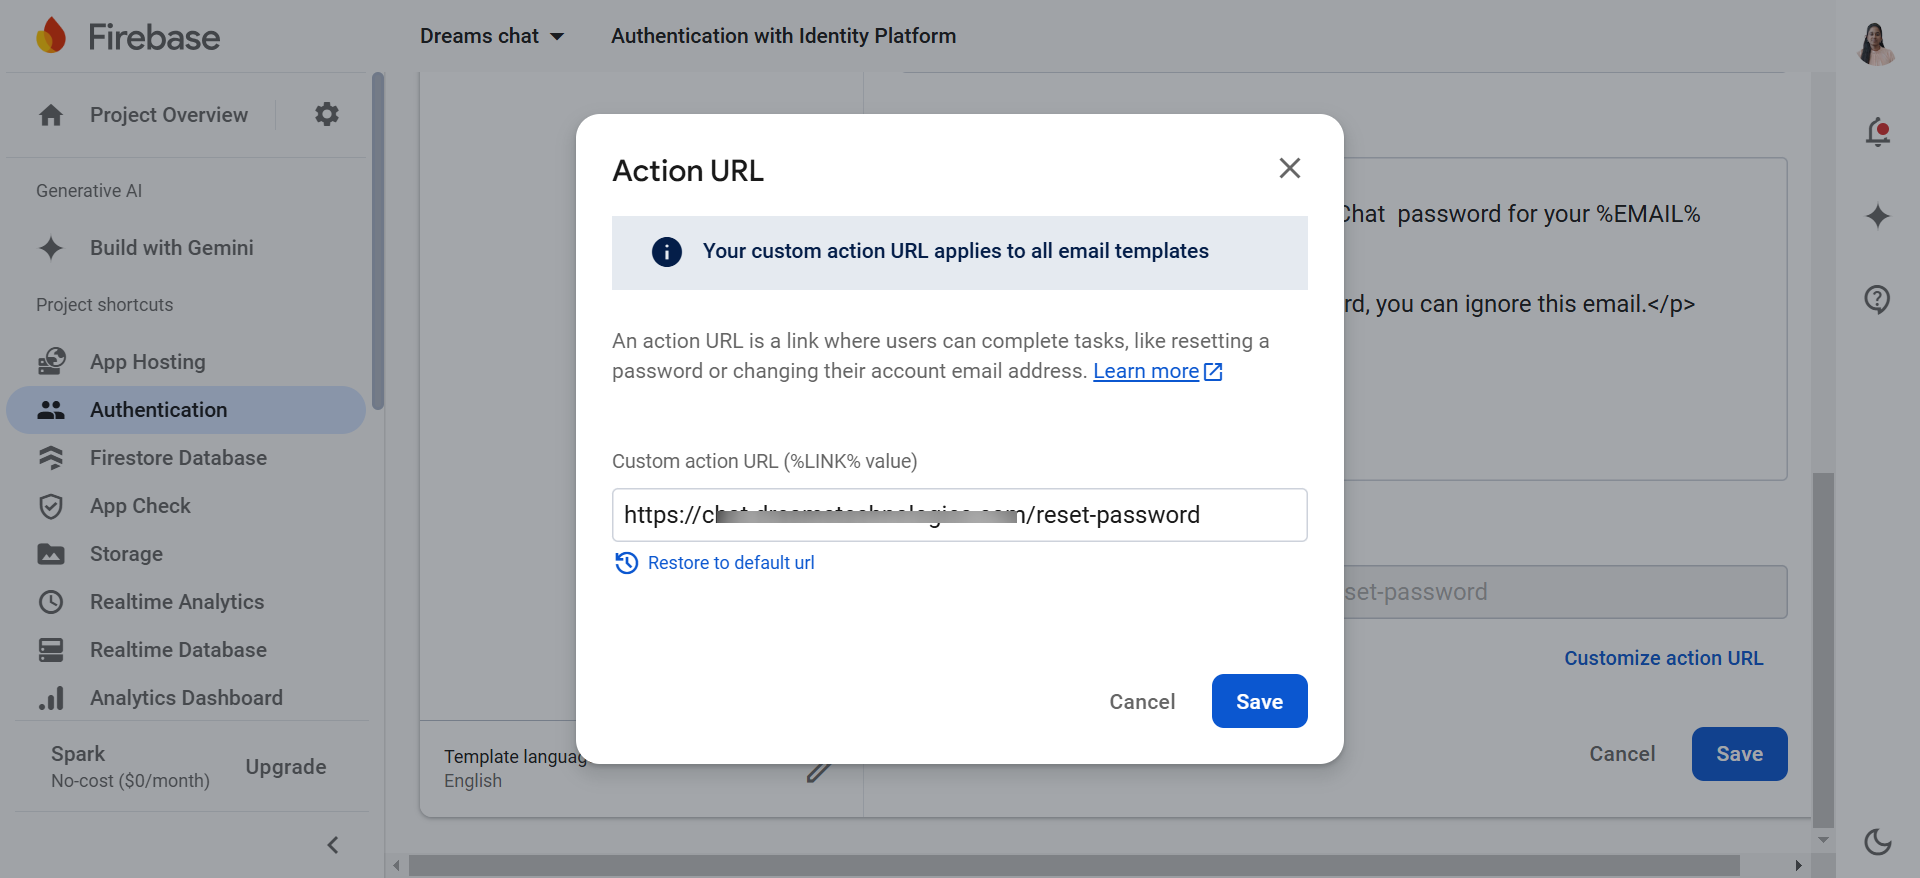
click the customize action url
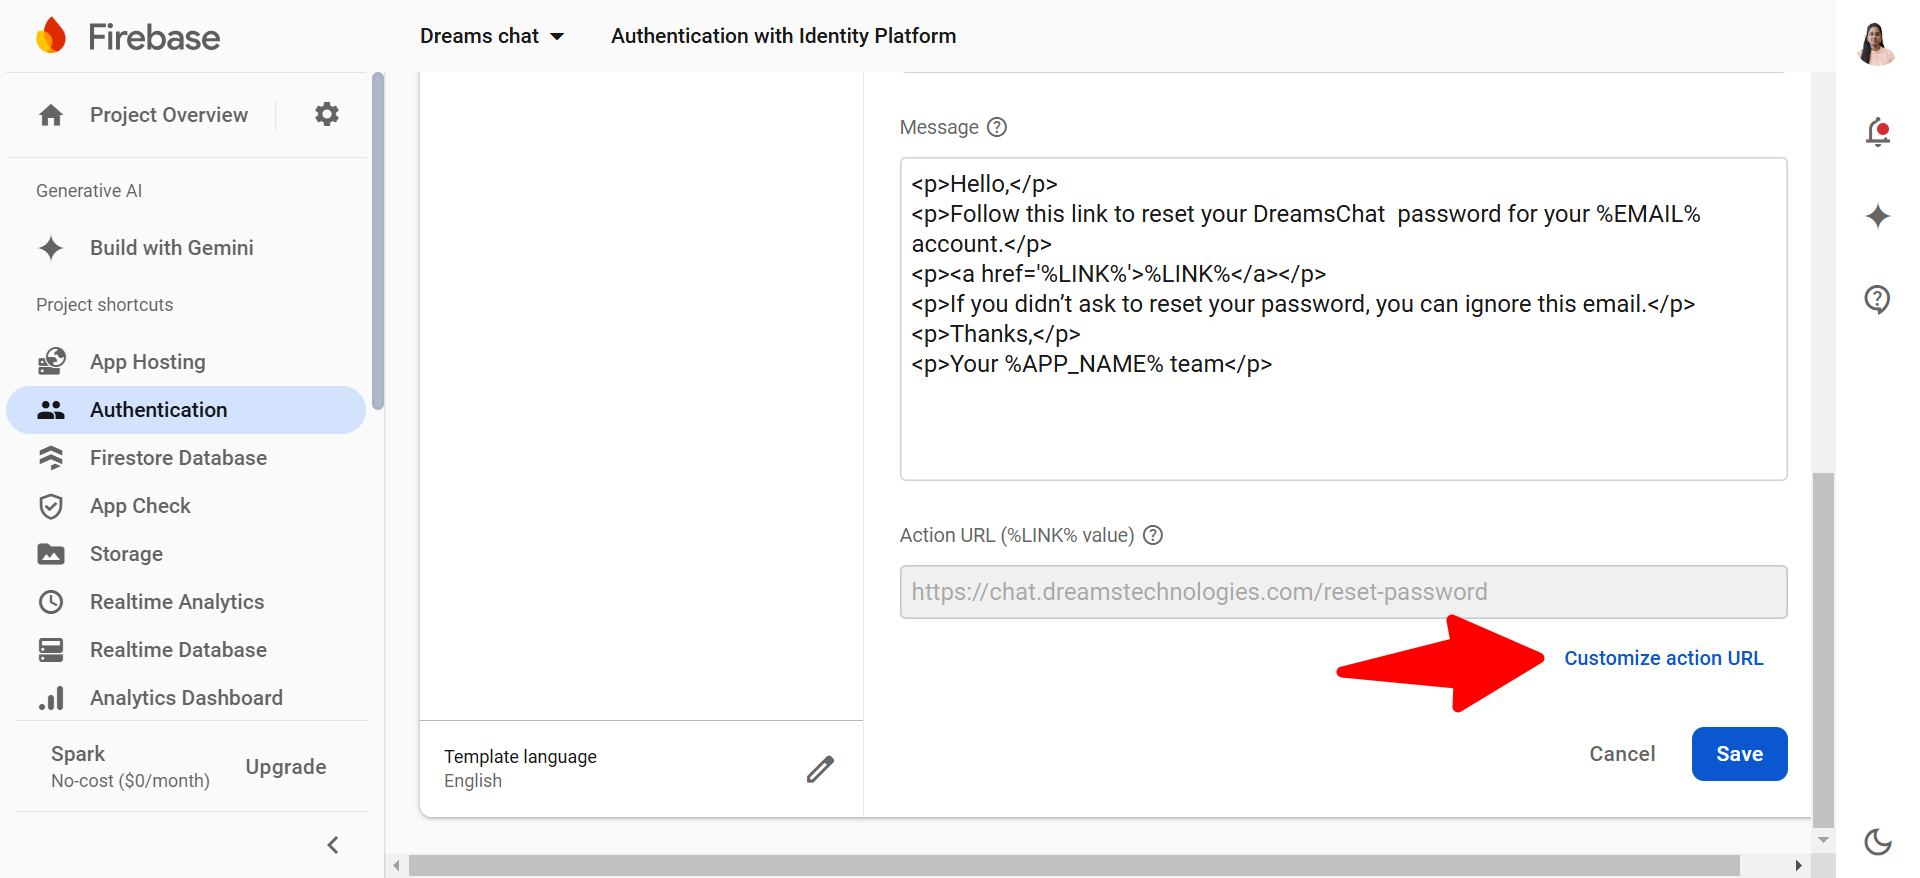
Here give your domain url and save
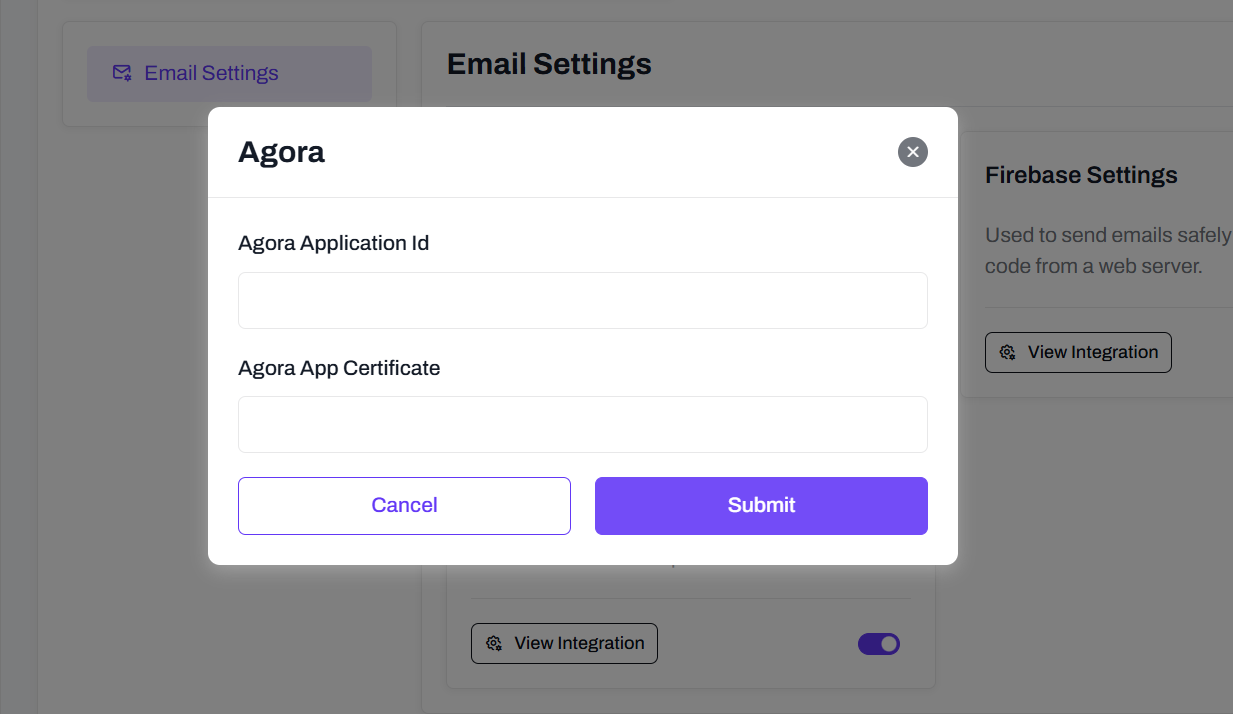
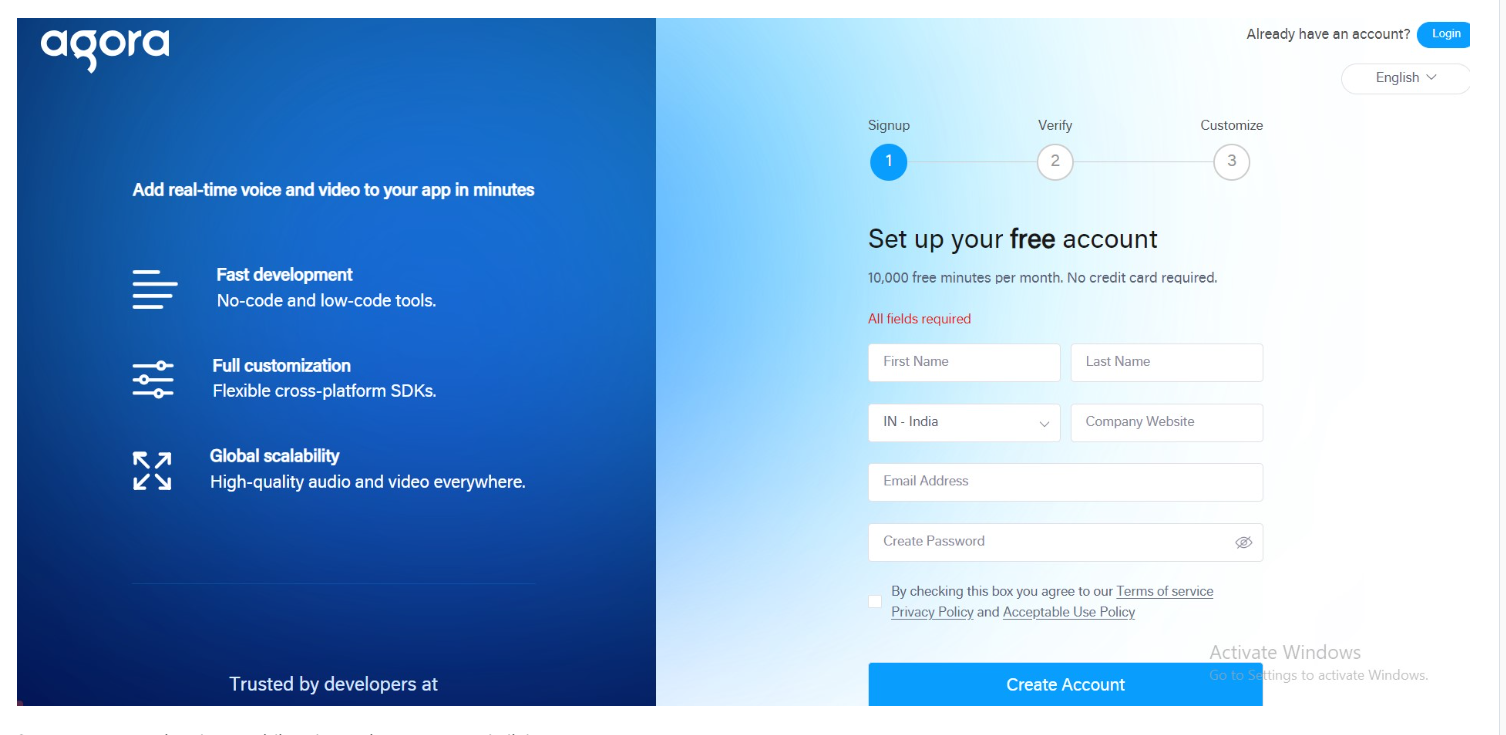
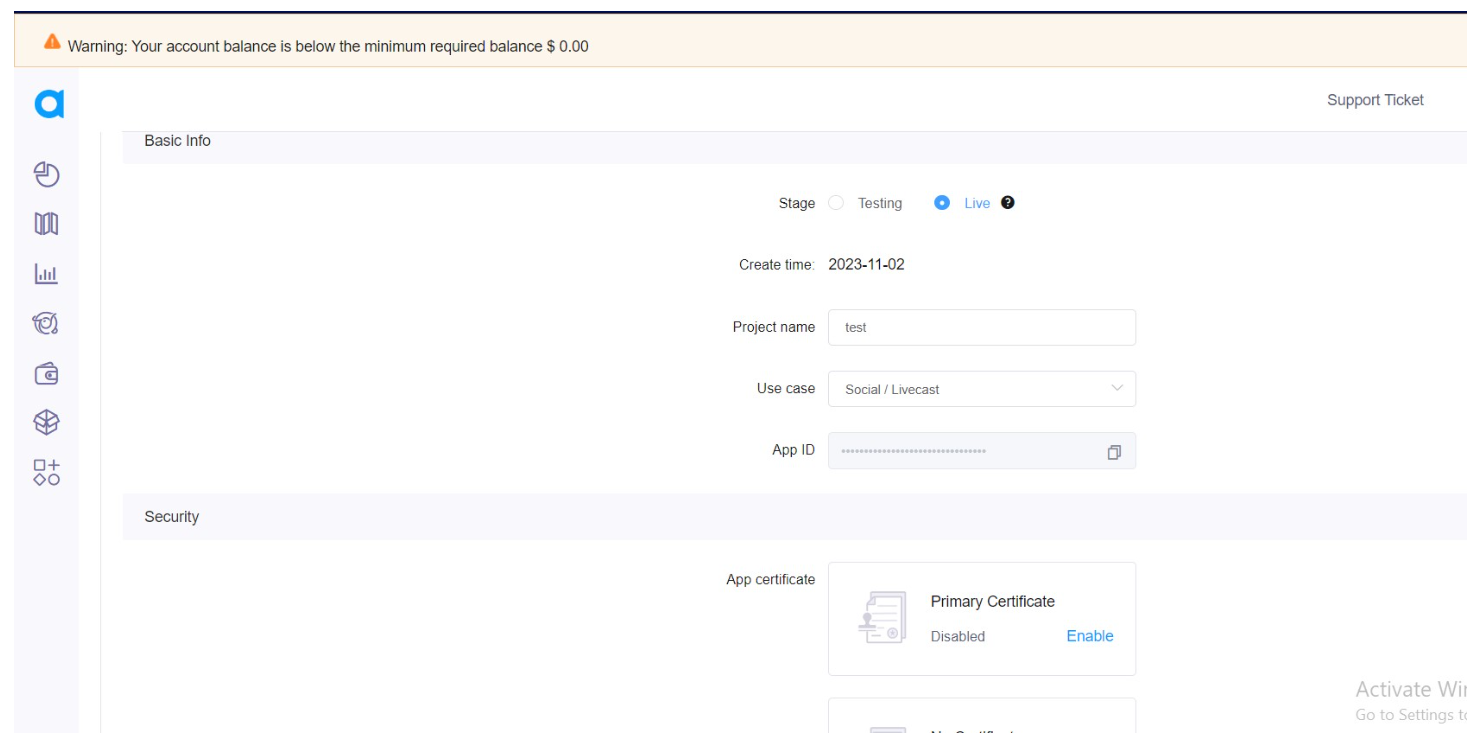
First, create your Agora account by clicking this link: “https://www.agora.io/en”
Then, follow the steps to complete the account creation process.
Create a new project by providing the project name and clicking Create.
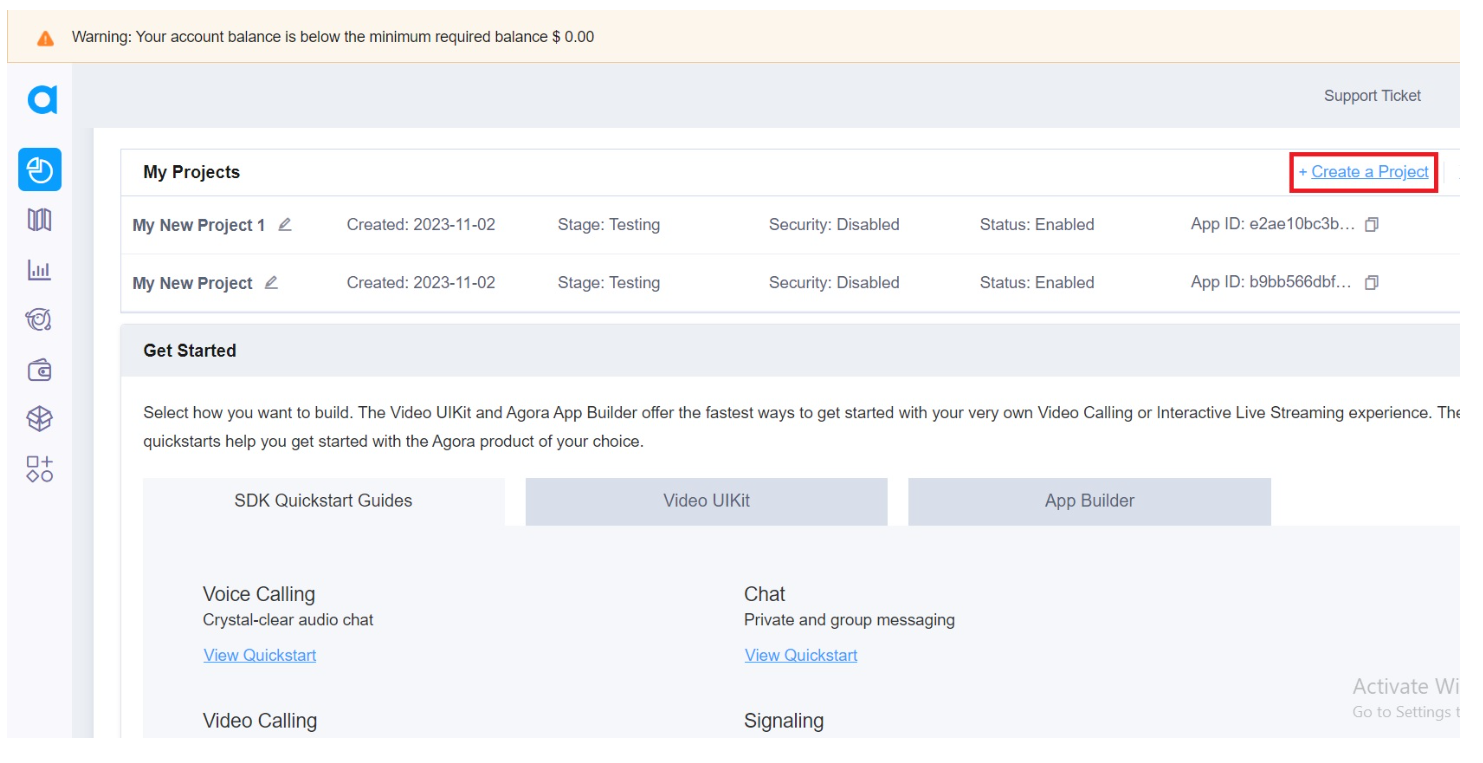
Click Next and close the next steps.
Click Next and close the next steps.
Change the app to Live, save the project, and ensure that the app's primary certificate is disabled.
FAQ 1 – Admin Panel settings
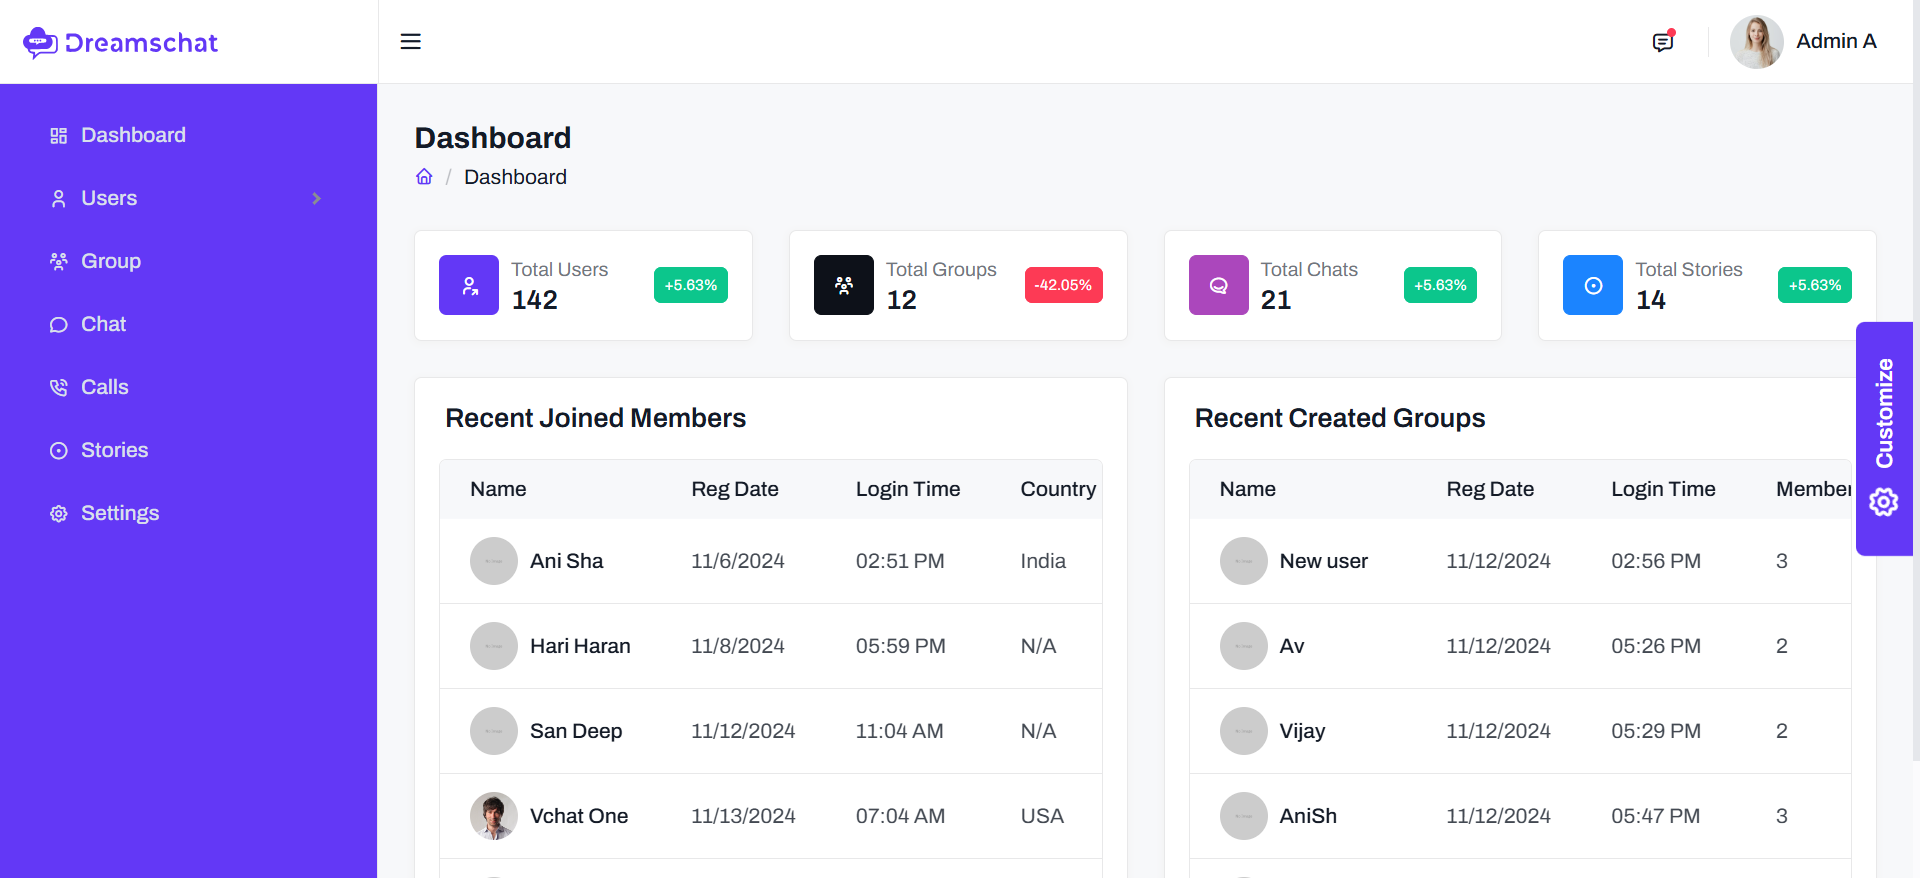
Admin Dashboard
Default page after successful login by admin. Following details are visible to admin.
- Total number of users
- Total number of Groups count
- Total number of Stories
- Recent User List
- Recent Group List
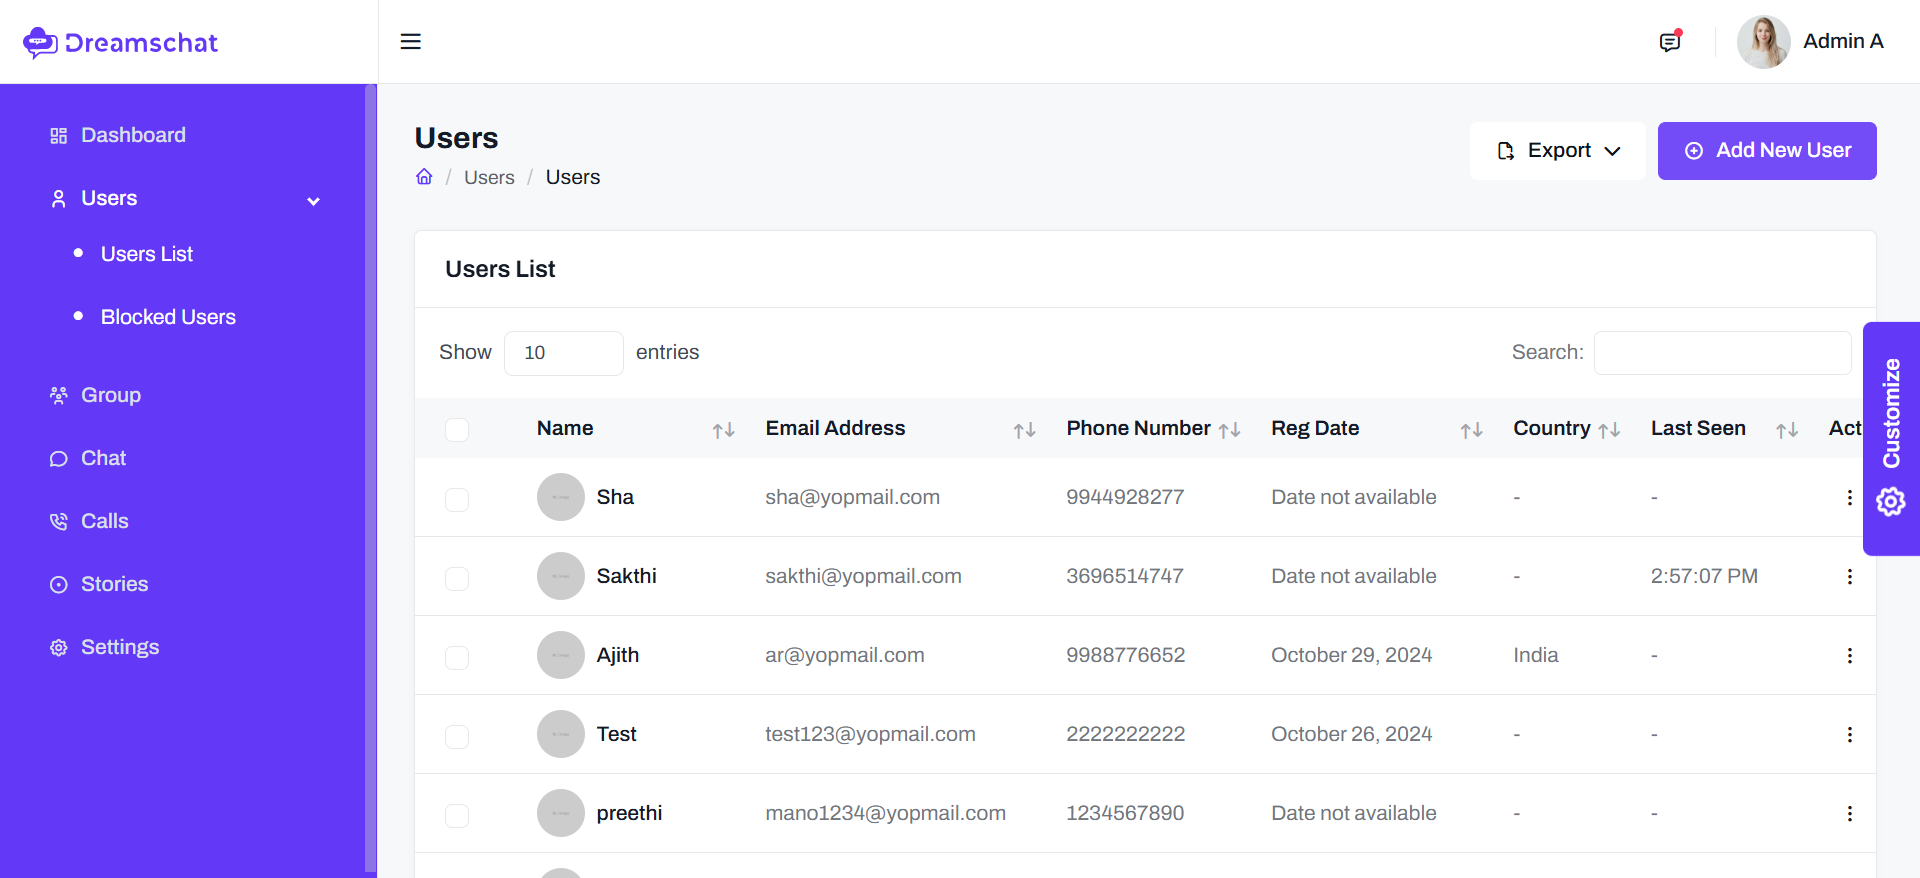
Users
Admin has the option to view all active and inactive users. Also, has an option to ‘Delete’, ‘Edit’, ‘Block’
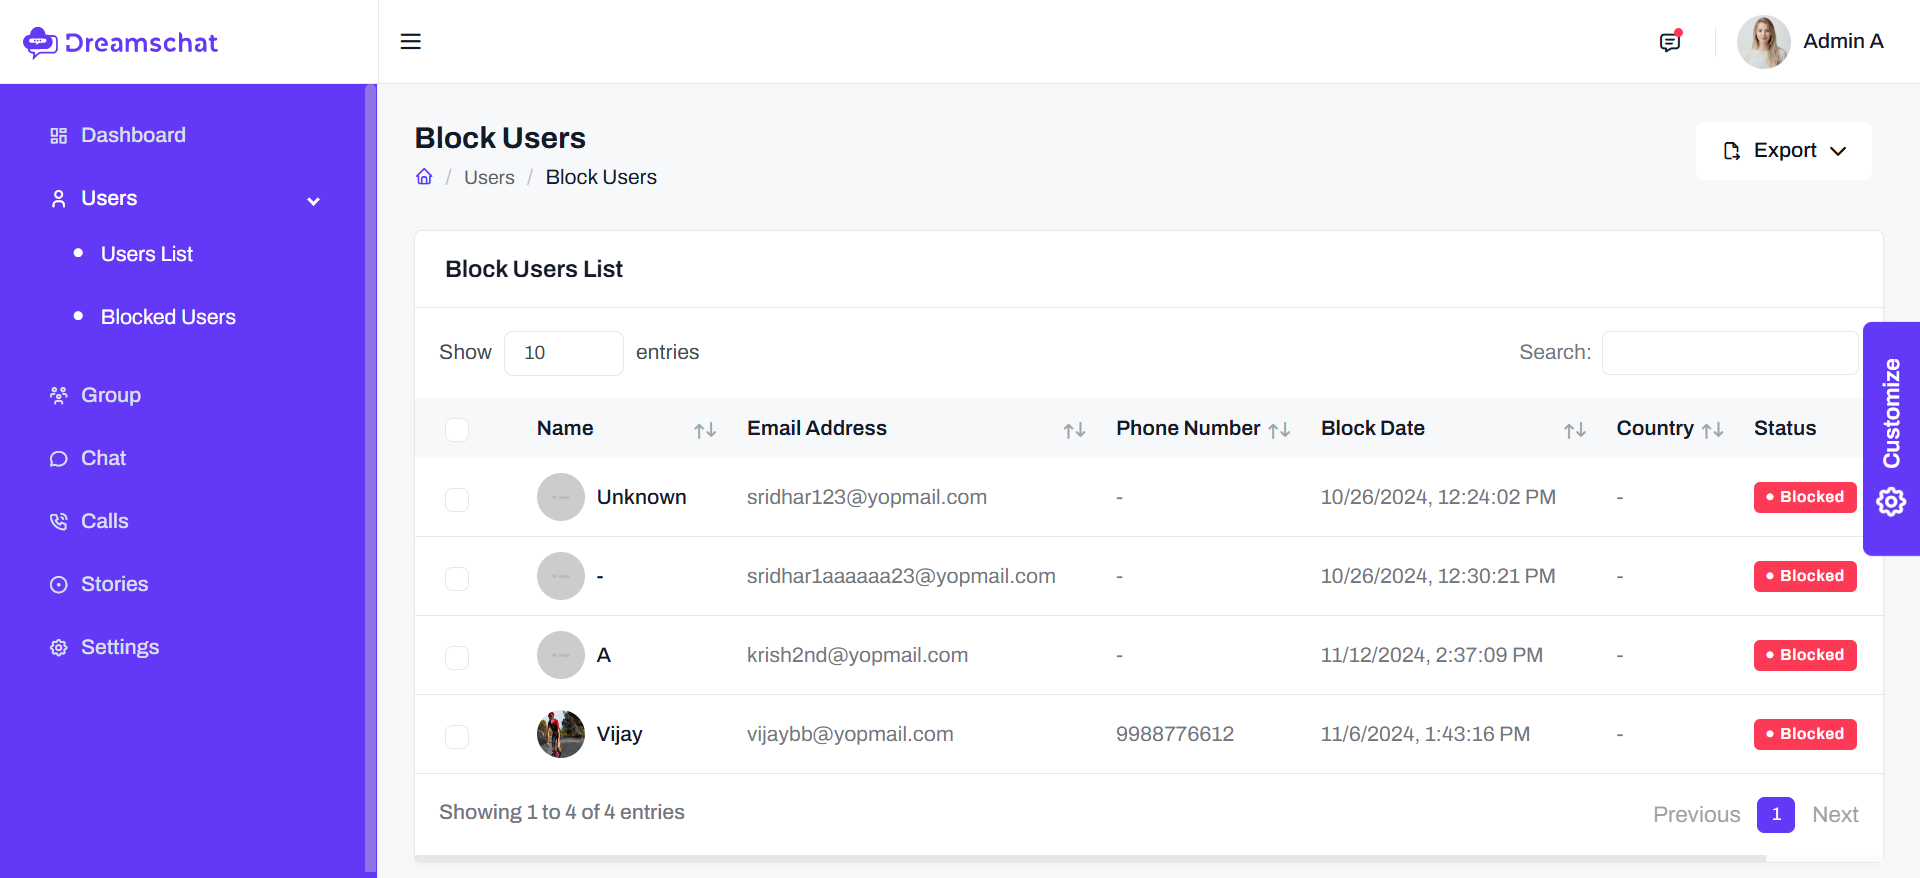
Blocked Users
Admin can view all blocked users details.
Chat List
Here admin can view From chat and To chat details and chat counts.

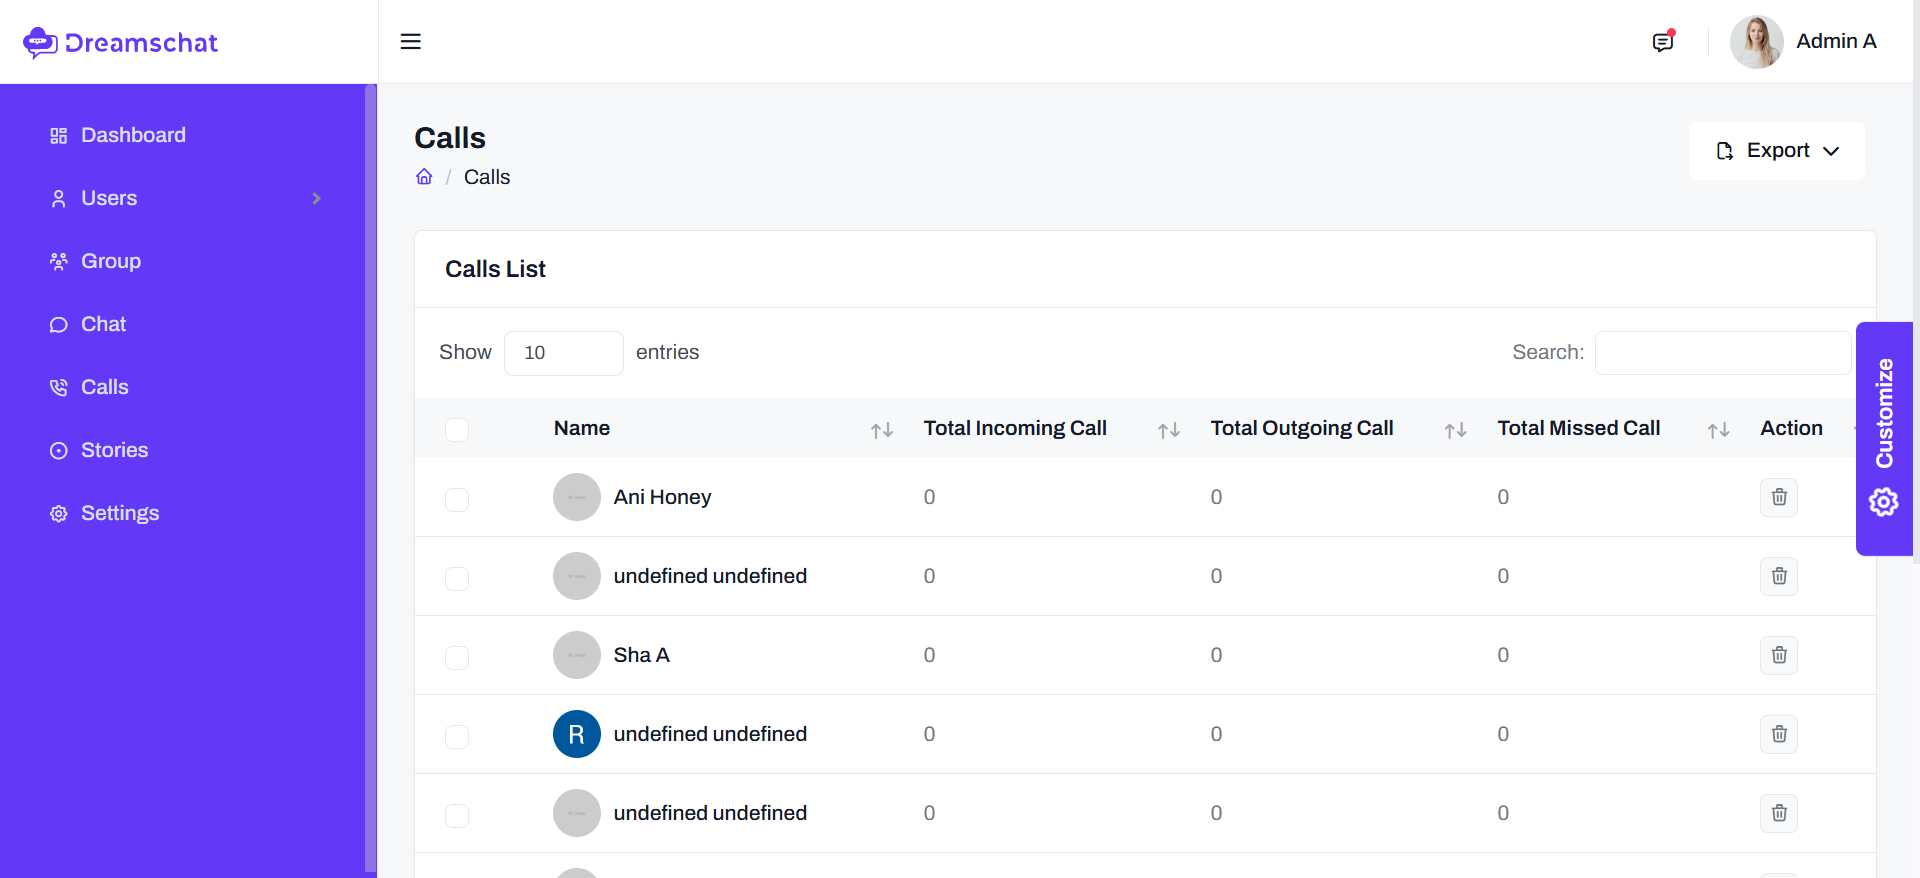
Call History
In call history tab admin can view total cal history like Total Incoming Call,Total Outgoing Call,Total Missed Call.And also has an option to ‘Delete’.
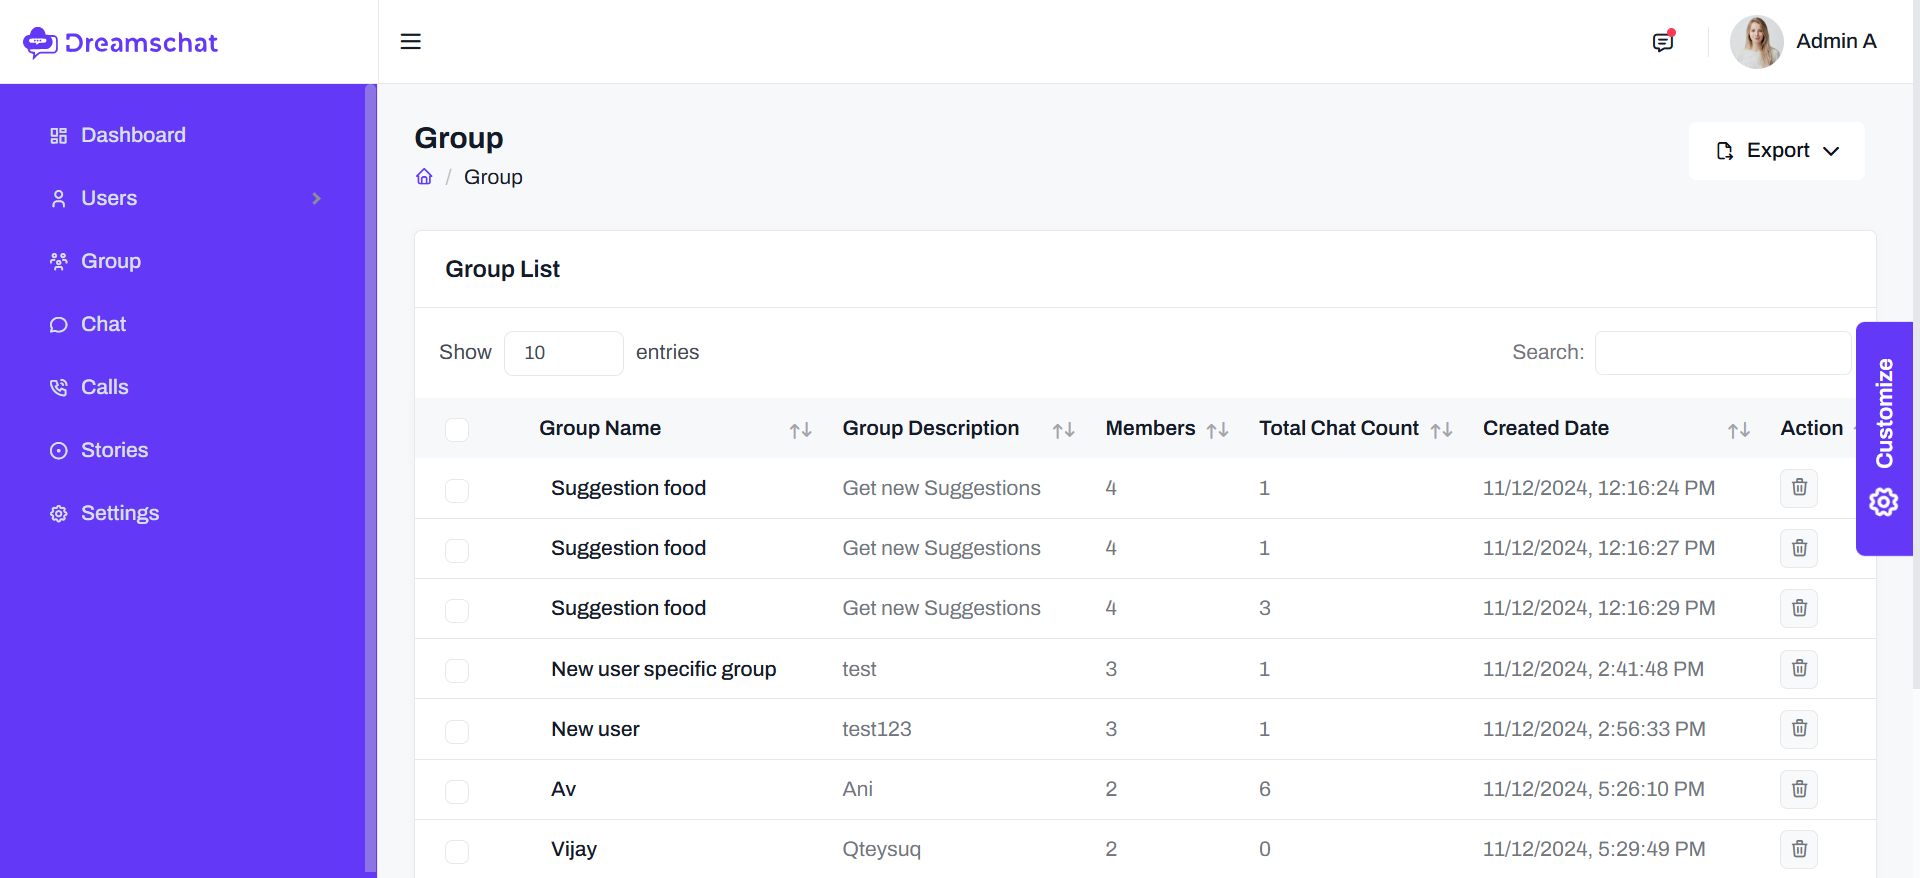
Groups List
Admin can view all Groups details. Also has an option to ‘Delete’
Stories List
Admin can view all Stories details. Also has an option to ‘Delete’

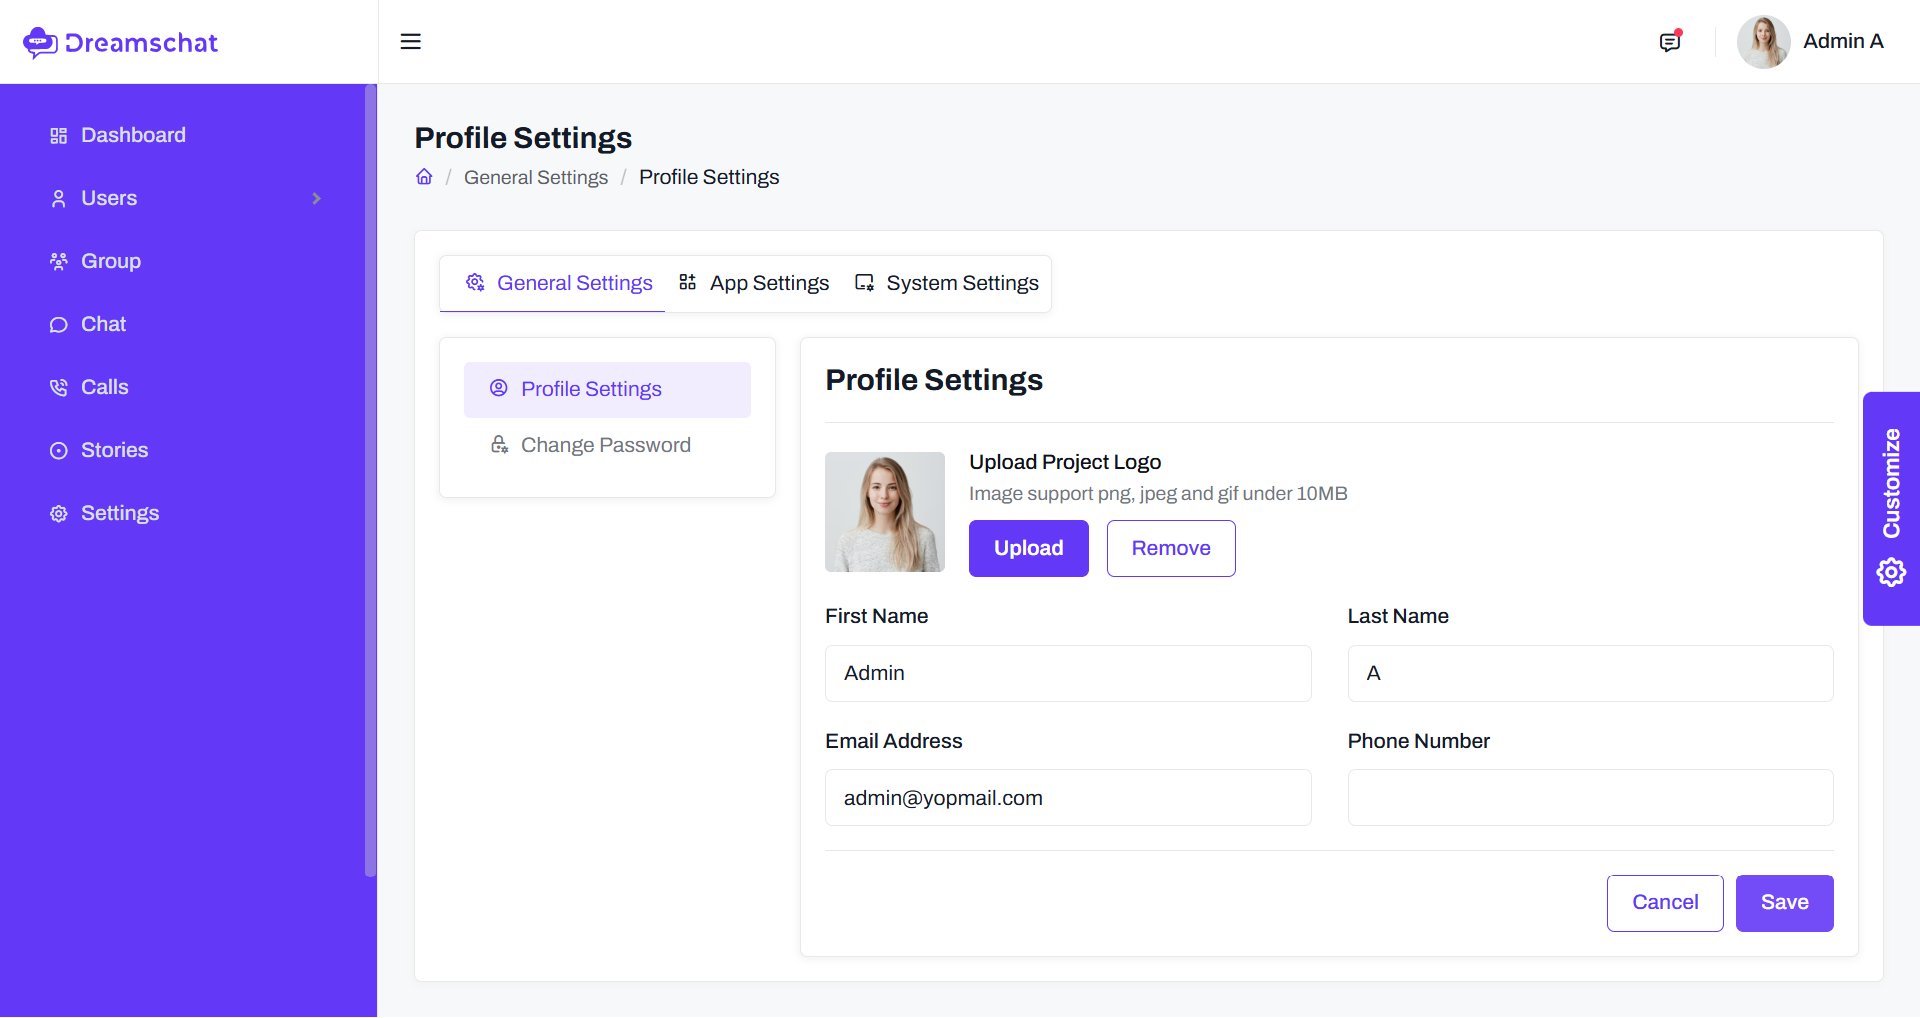
Admin Settings
Admin can have the settings previlages
FAQ 2 - Web App Features
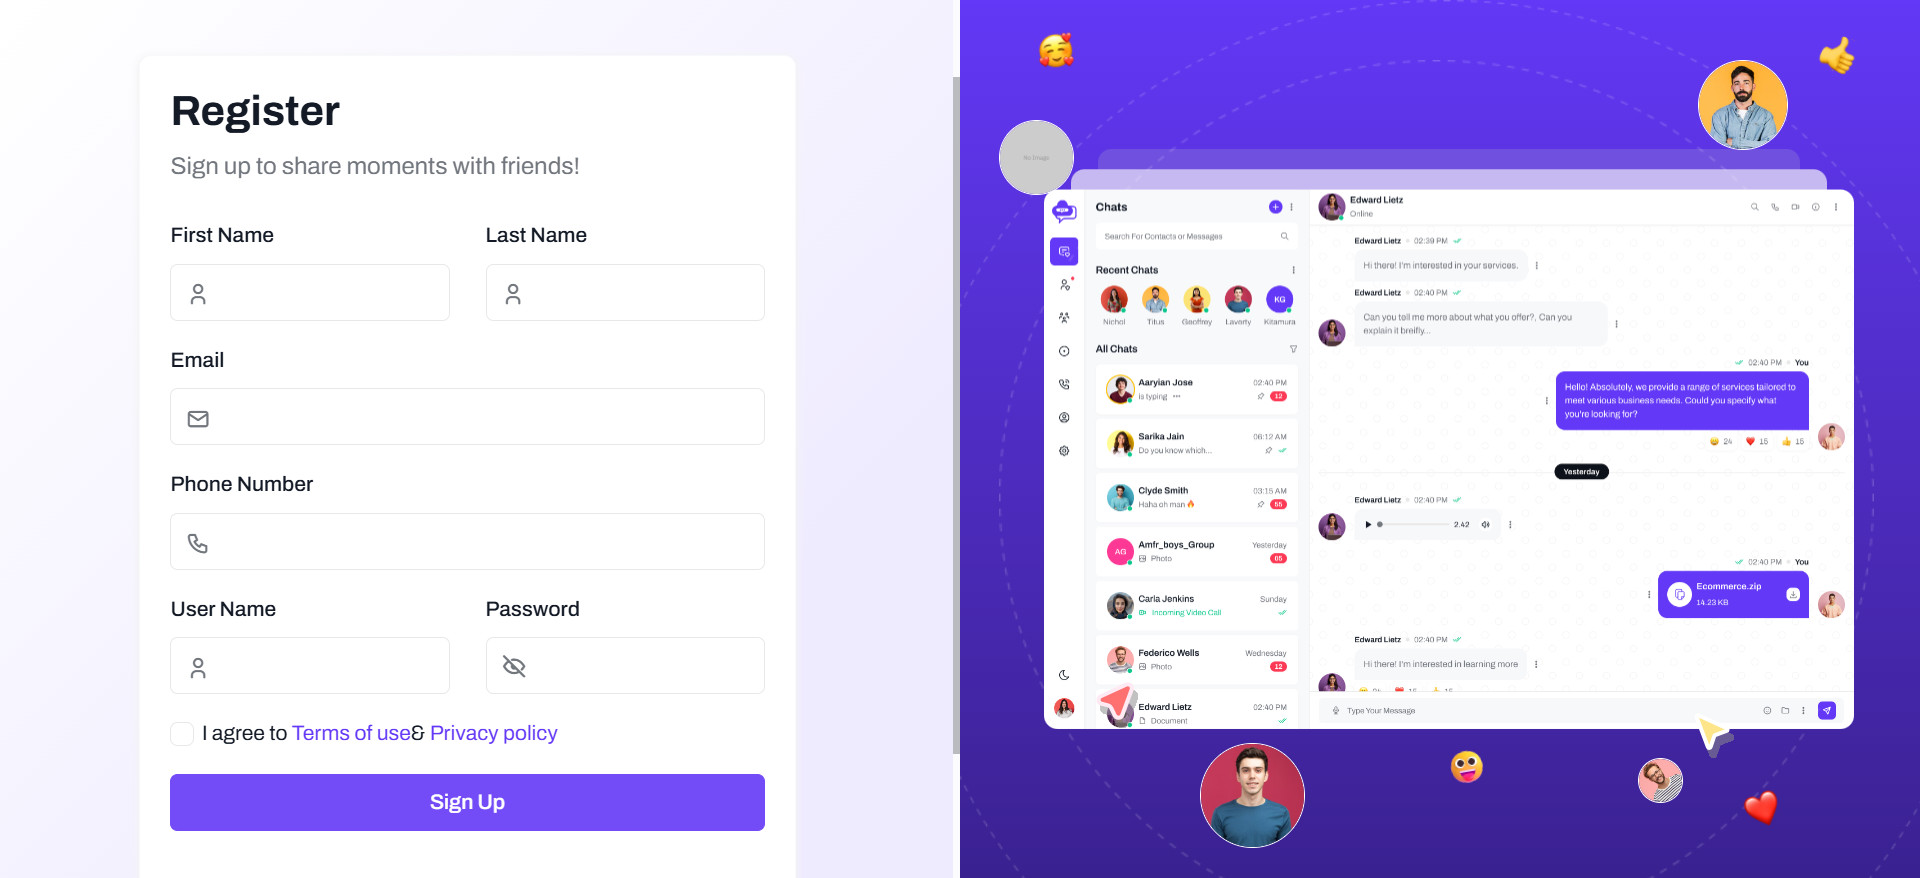
User Signup
Once you have entered the mobile number, Username, Password and Email, Authentication user also created in firebase databse.
User Login
Once you regegistered your mobile number, username and password you have login to using Email & Password.

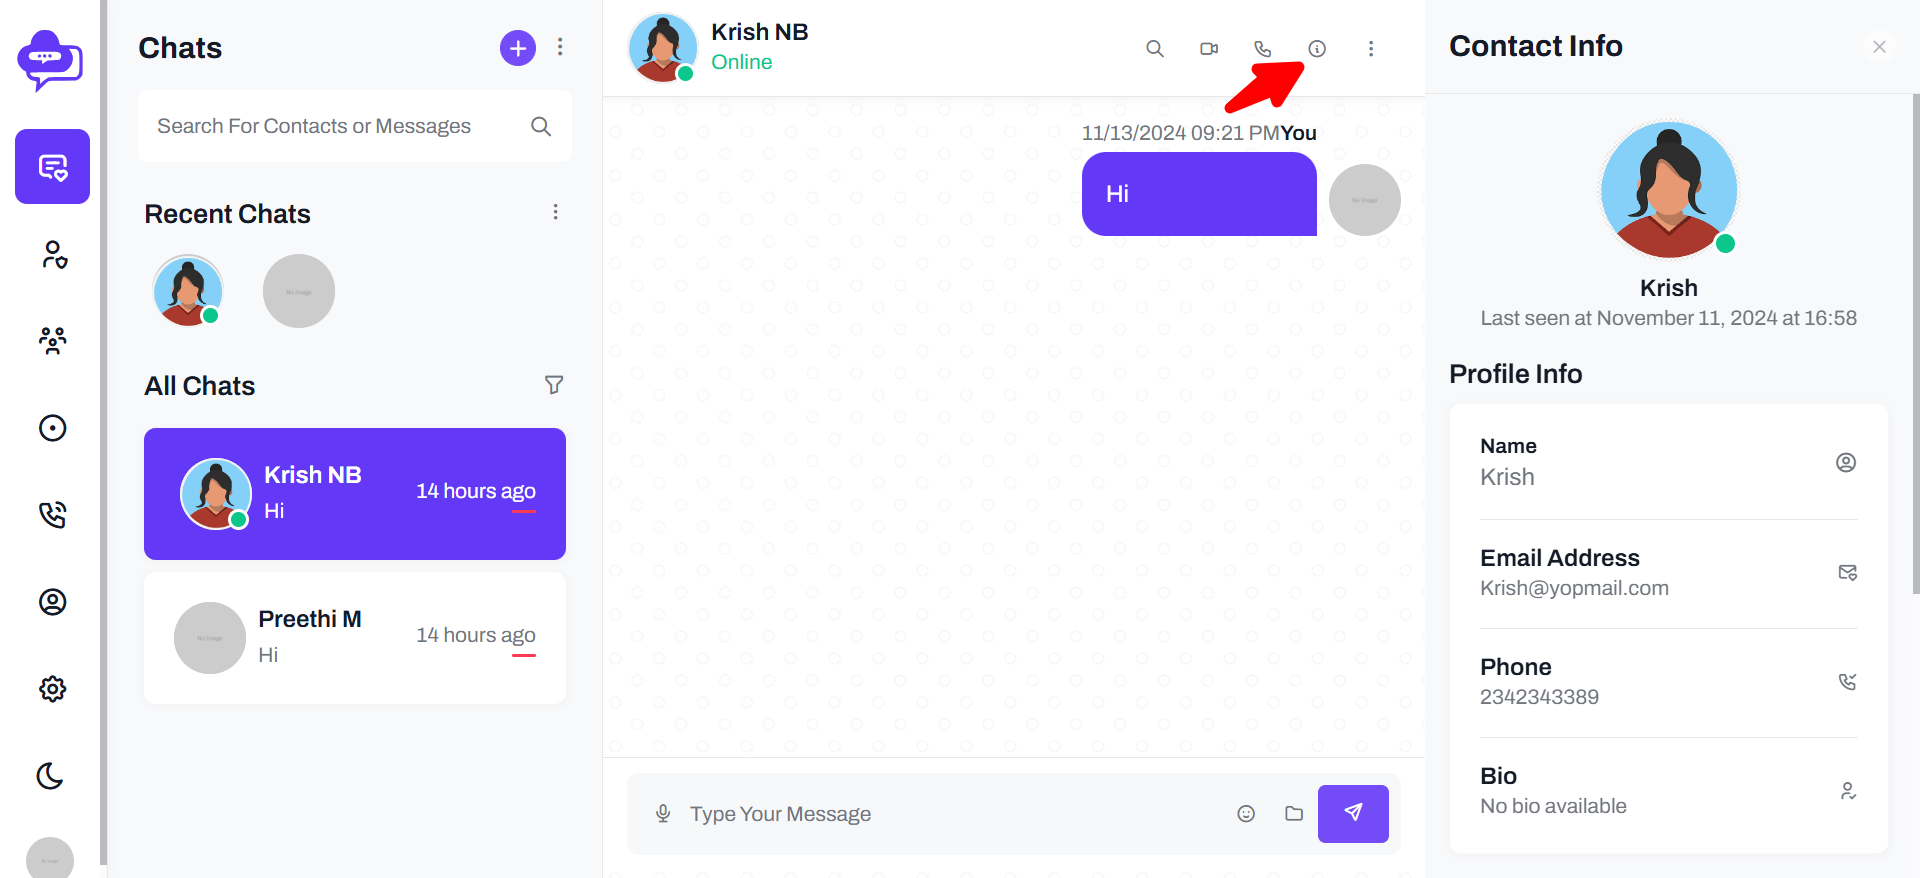
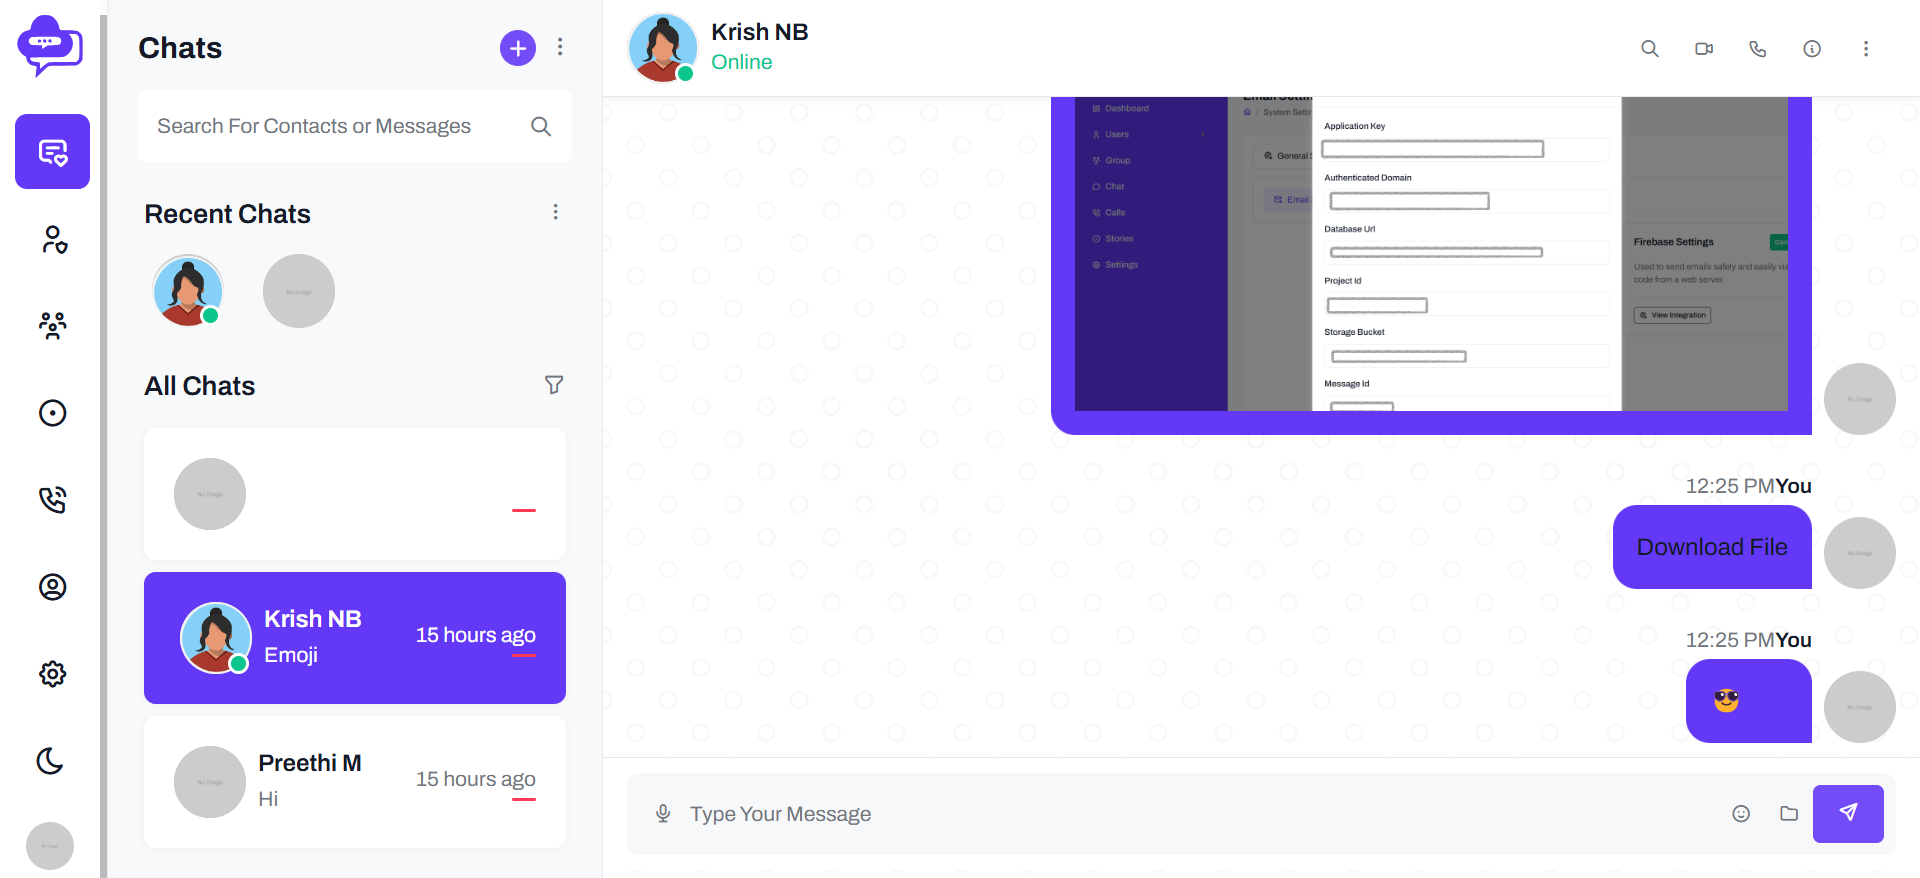
Chat
In home page user can chat their Dreams chat registered members and user can view and search profile picture and about.And also has an option to ‘Block User’, ‘Delete Chat’, Reply Chat’.
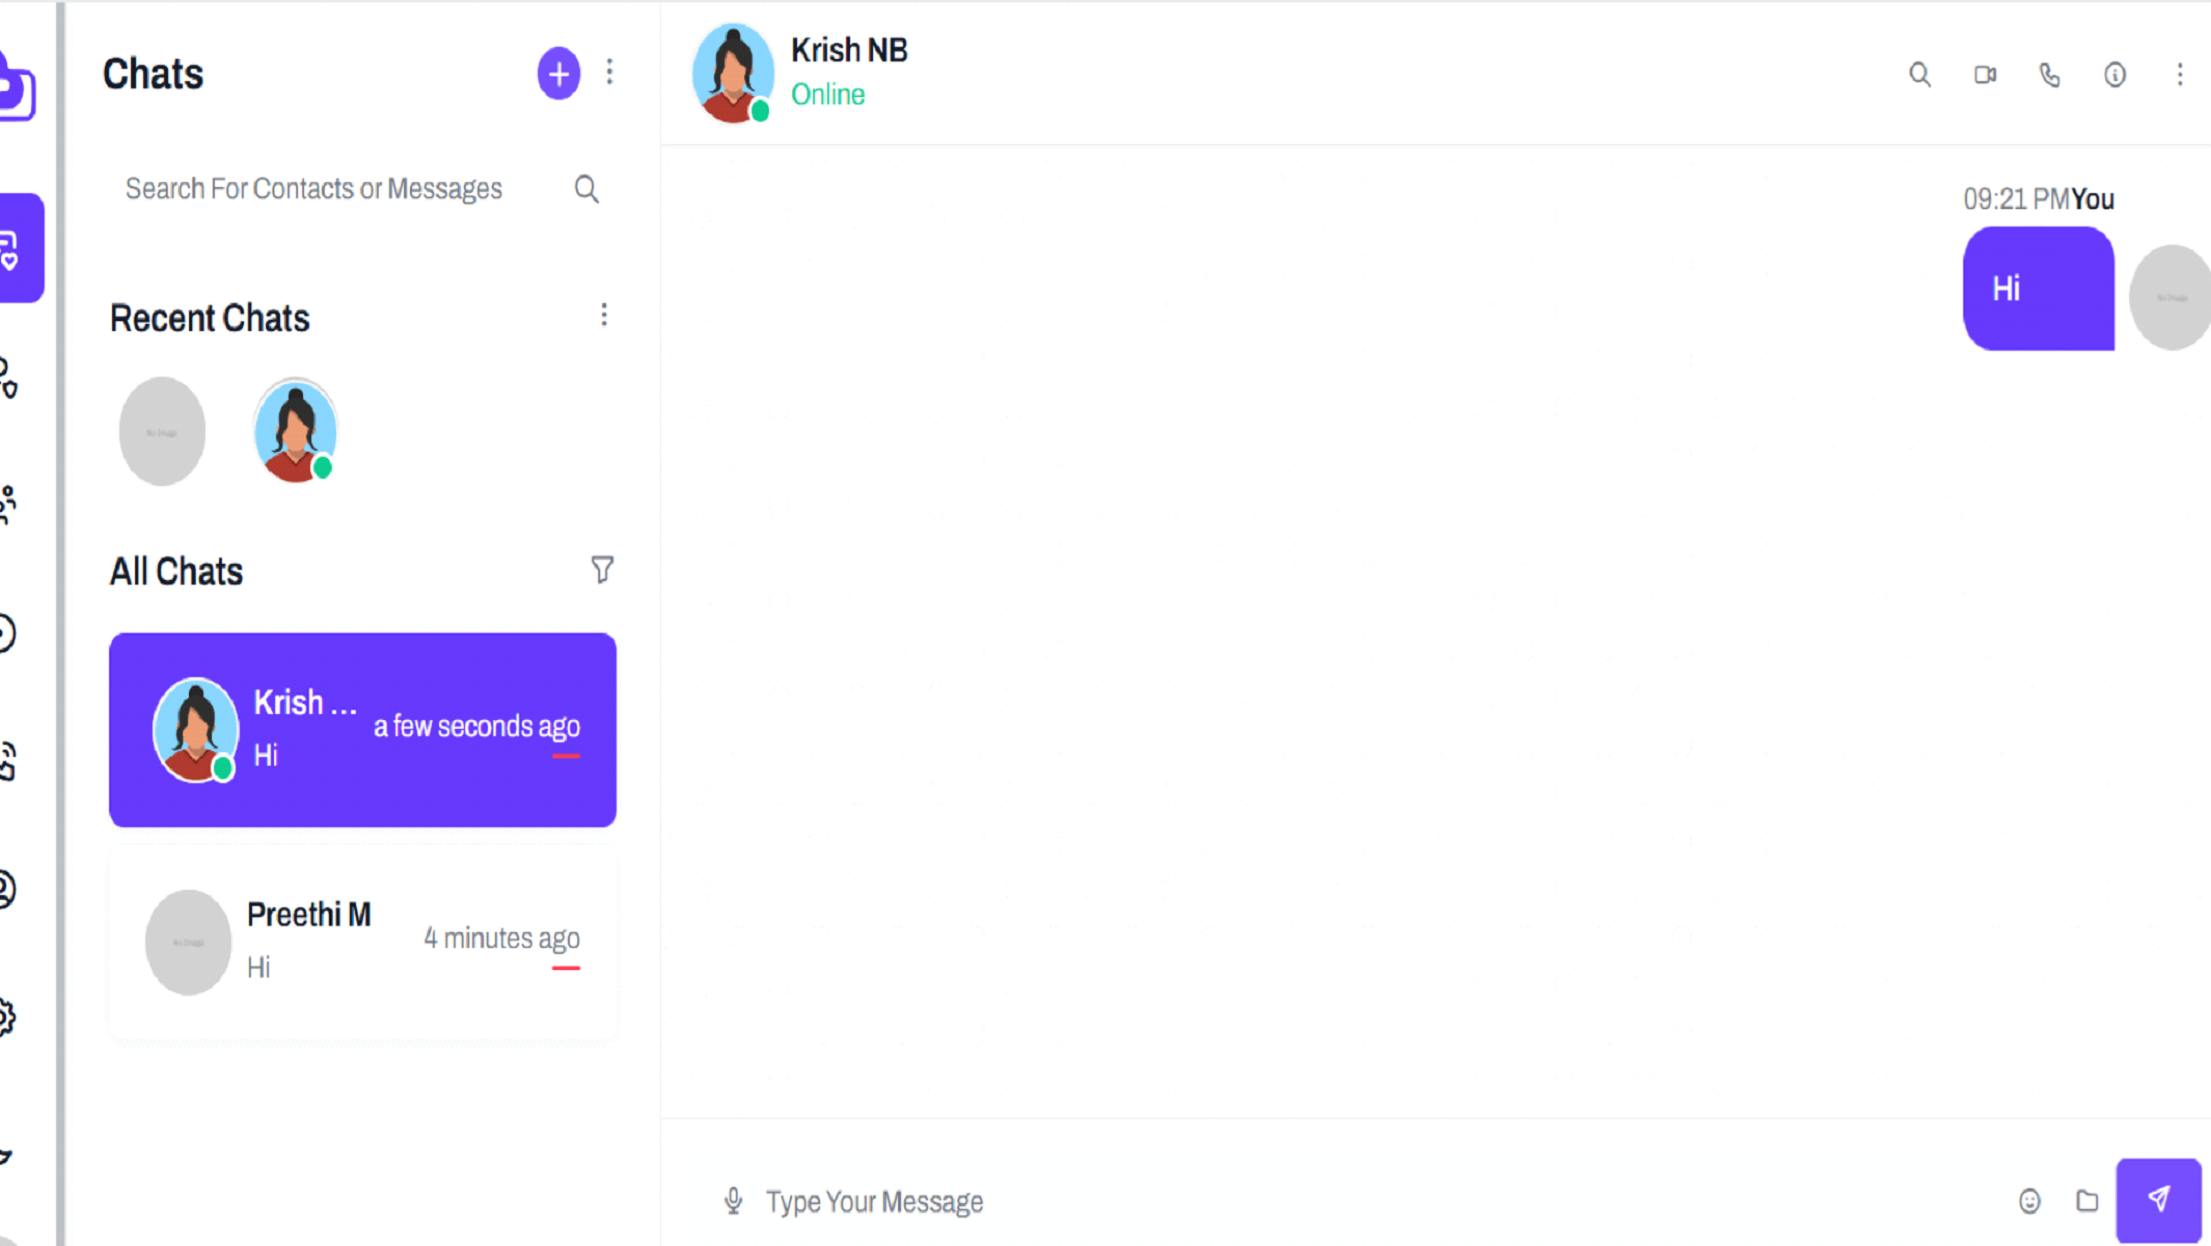
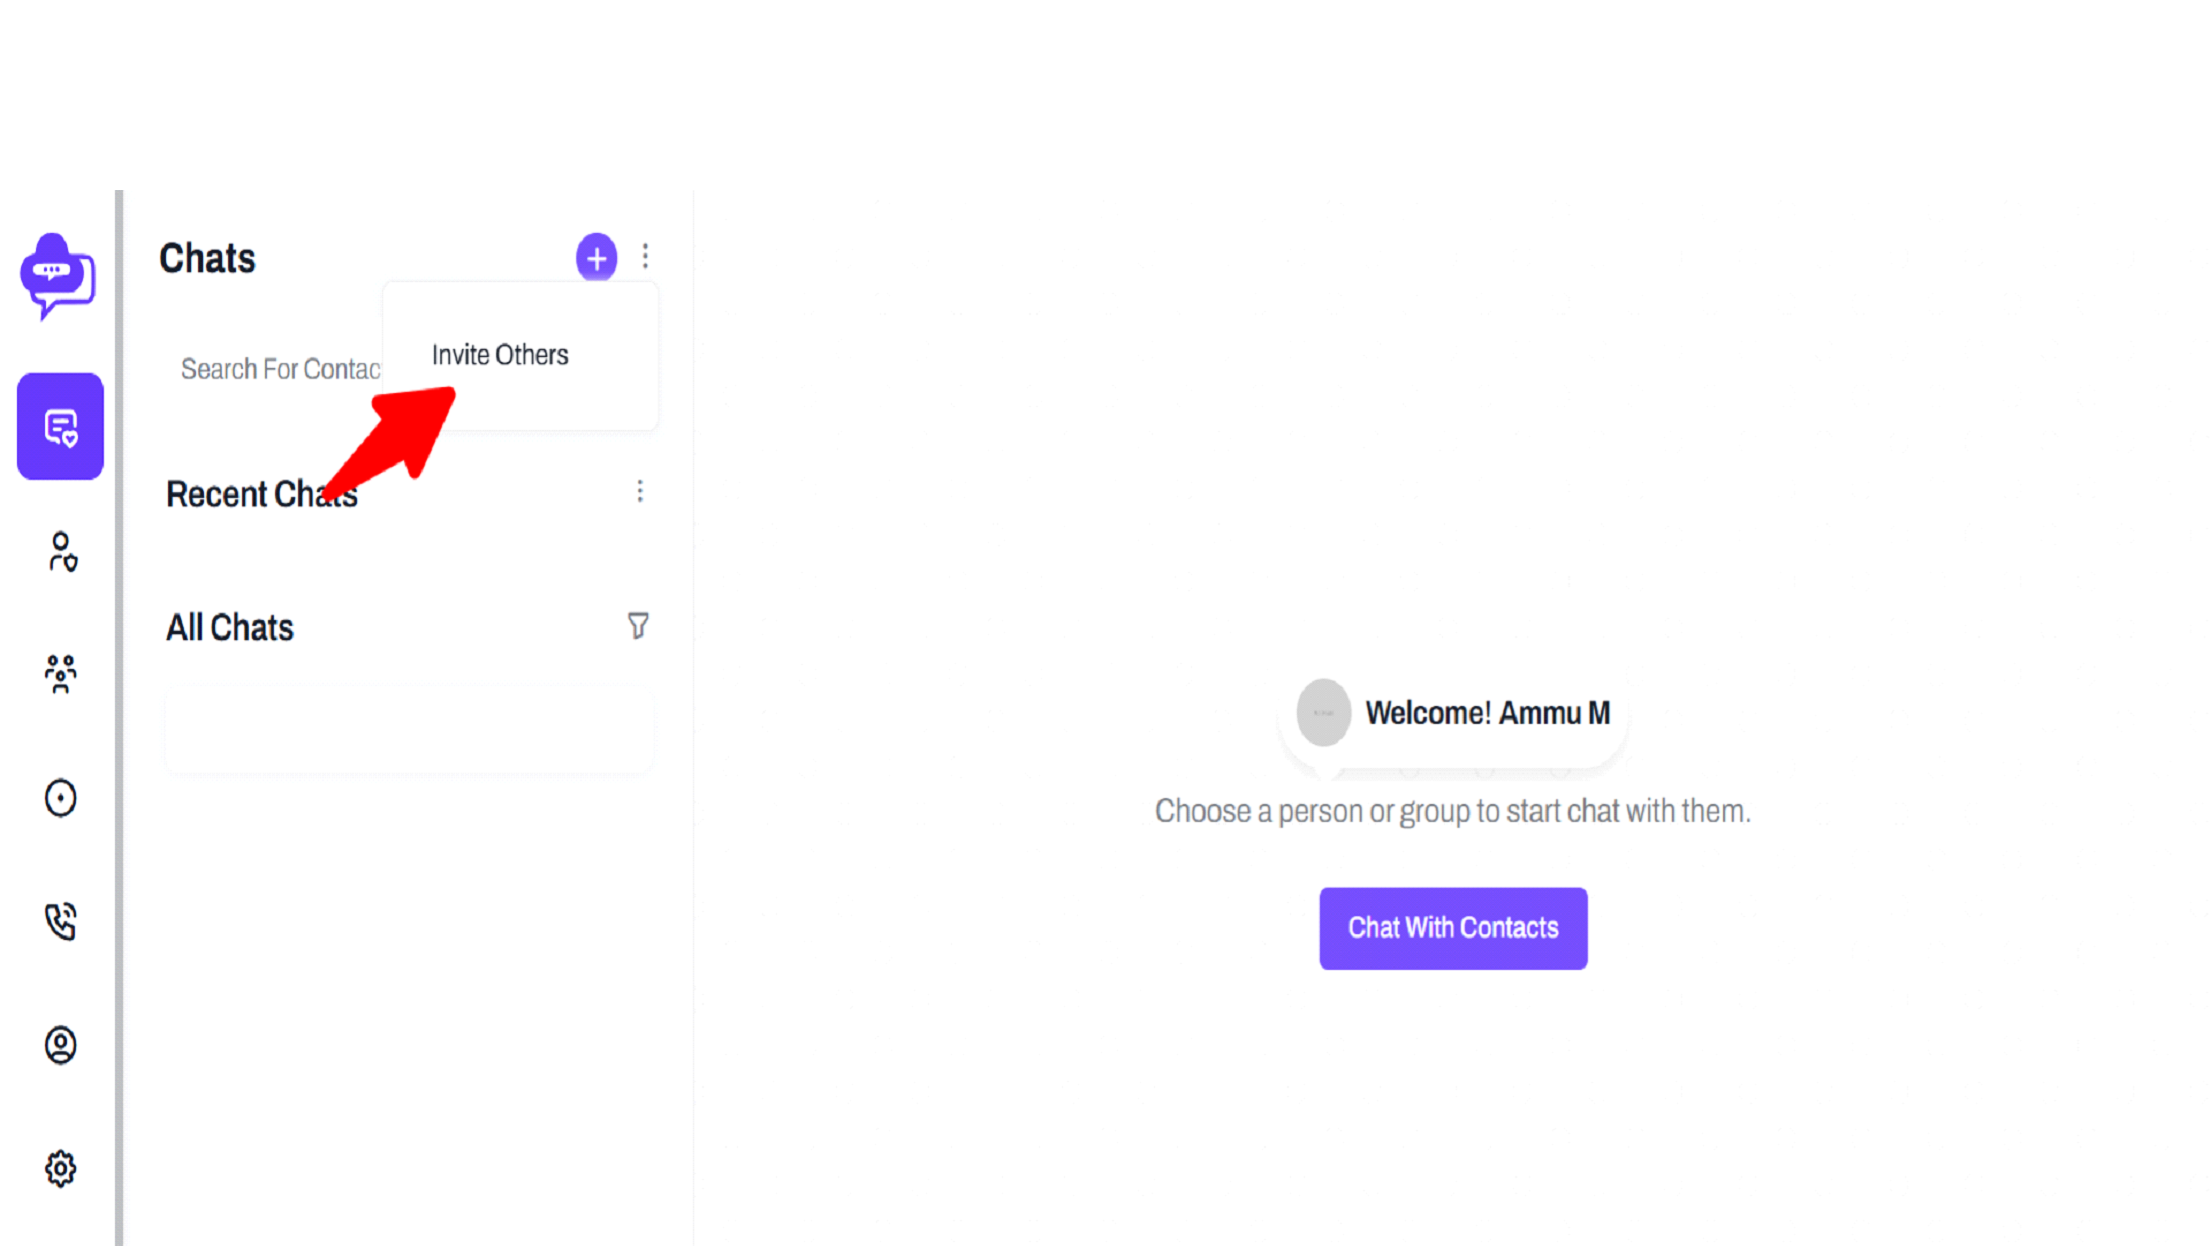
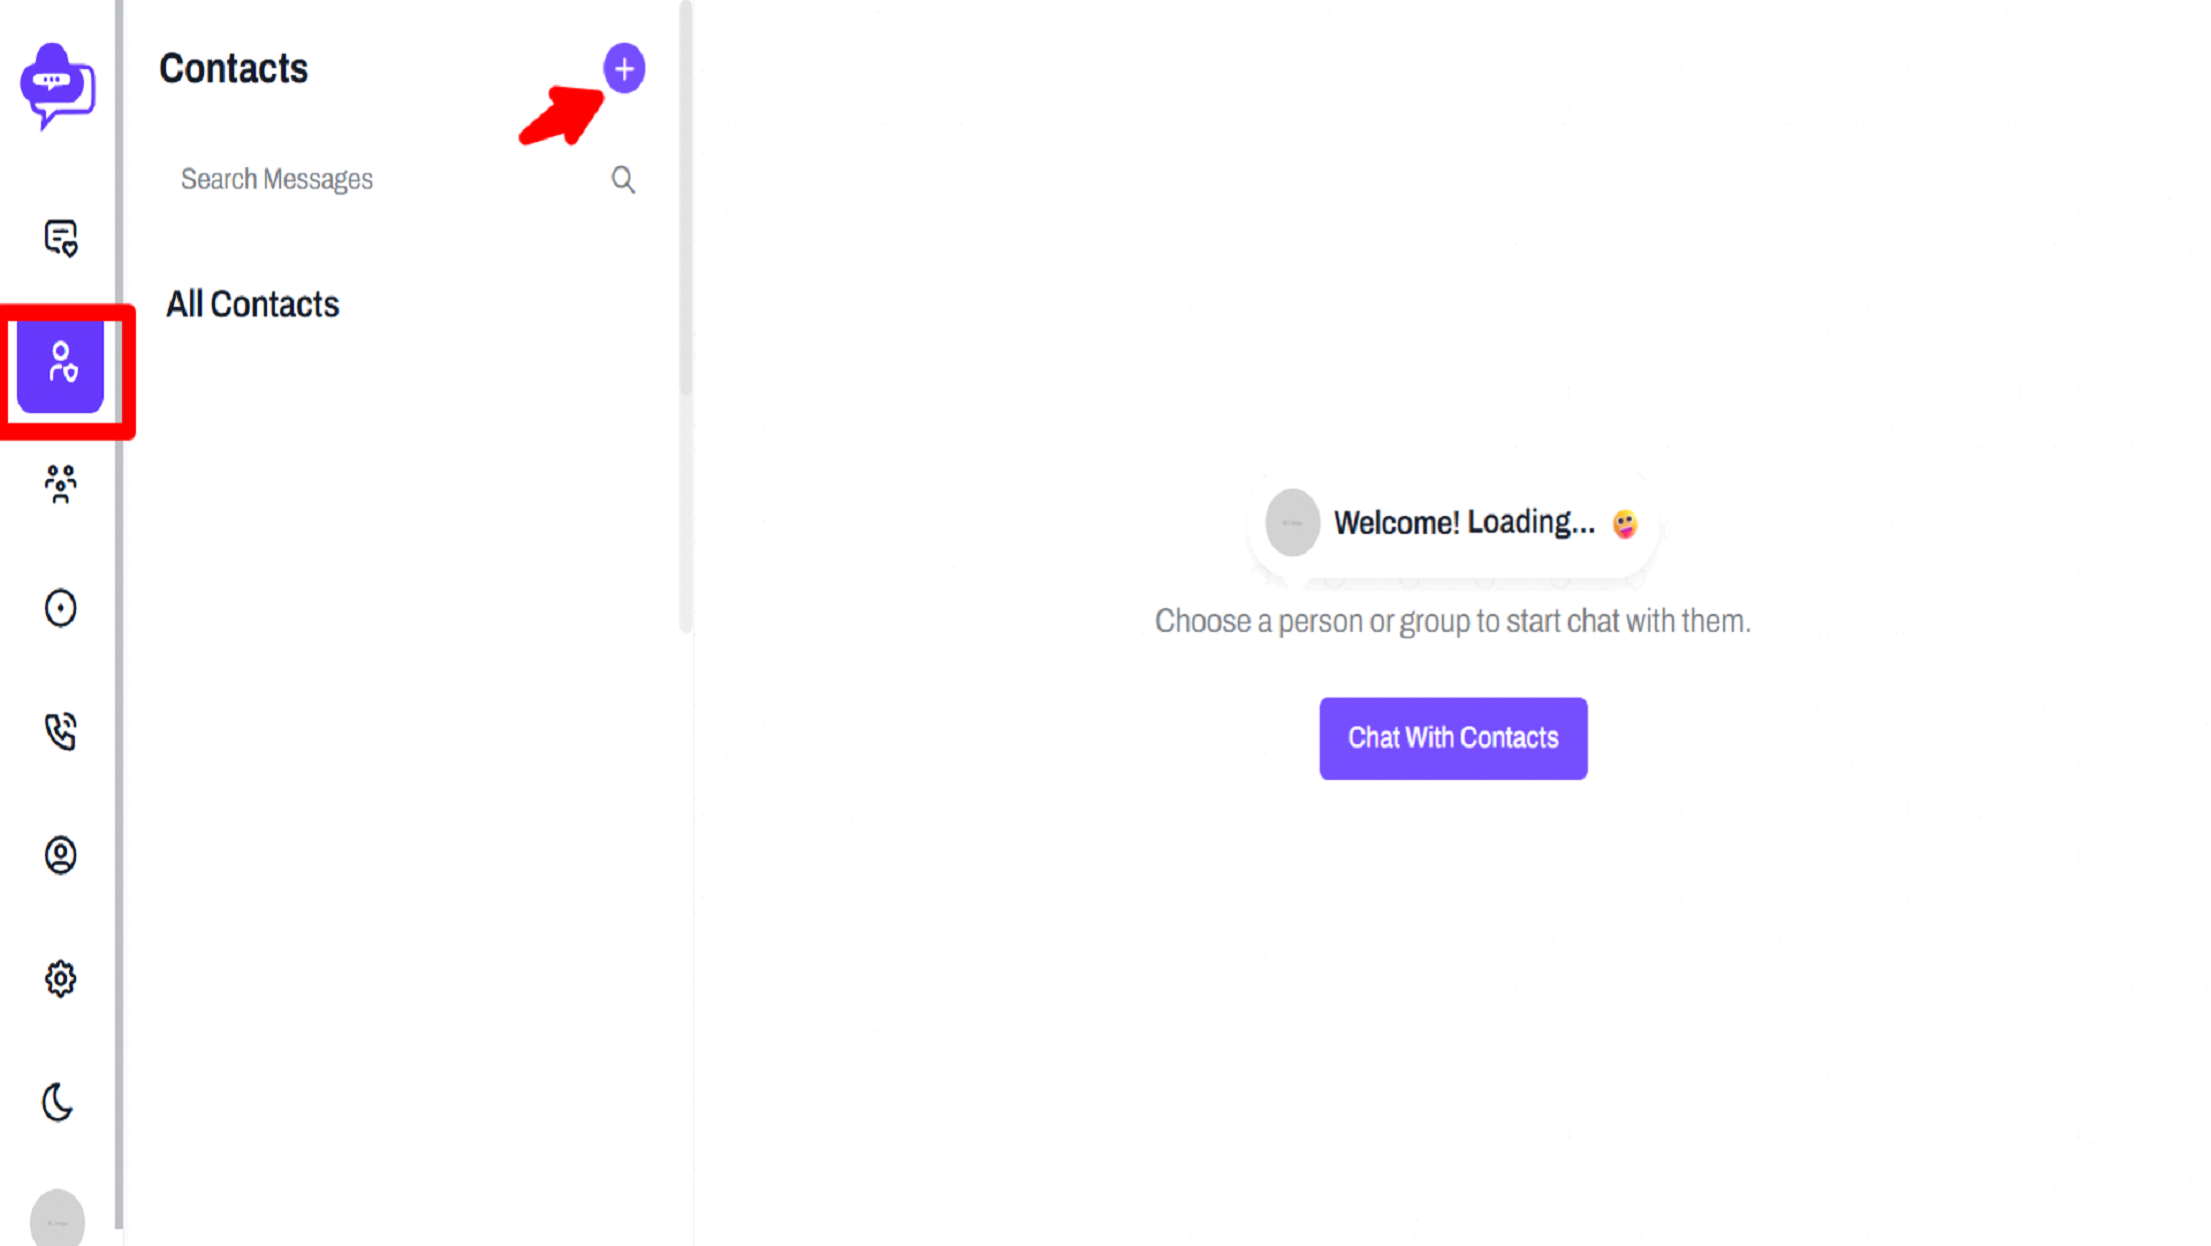
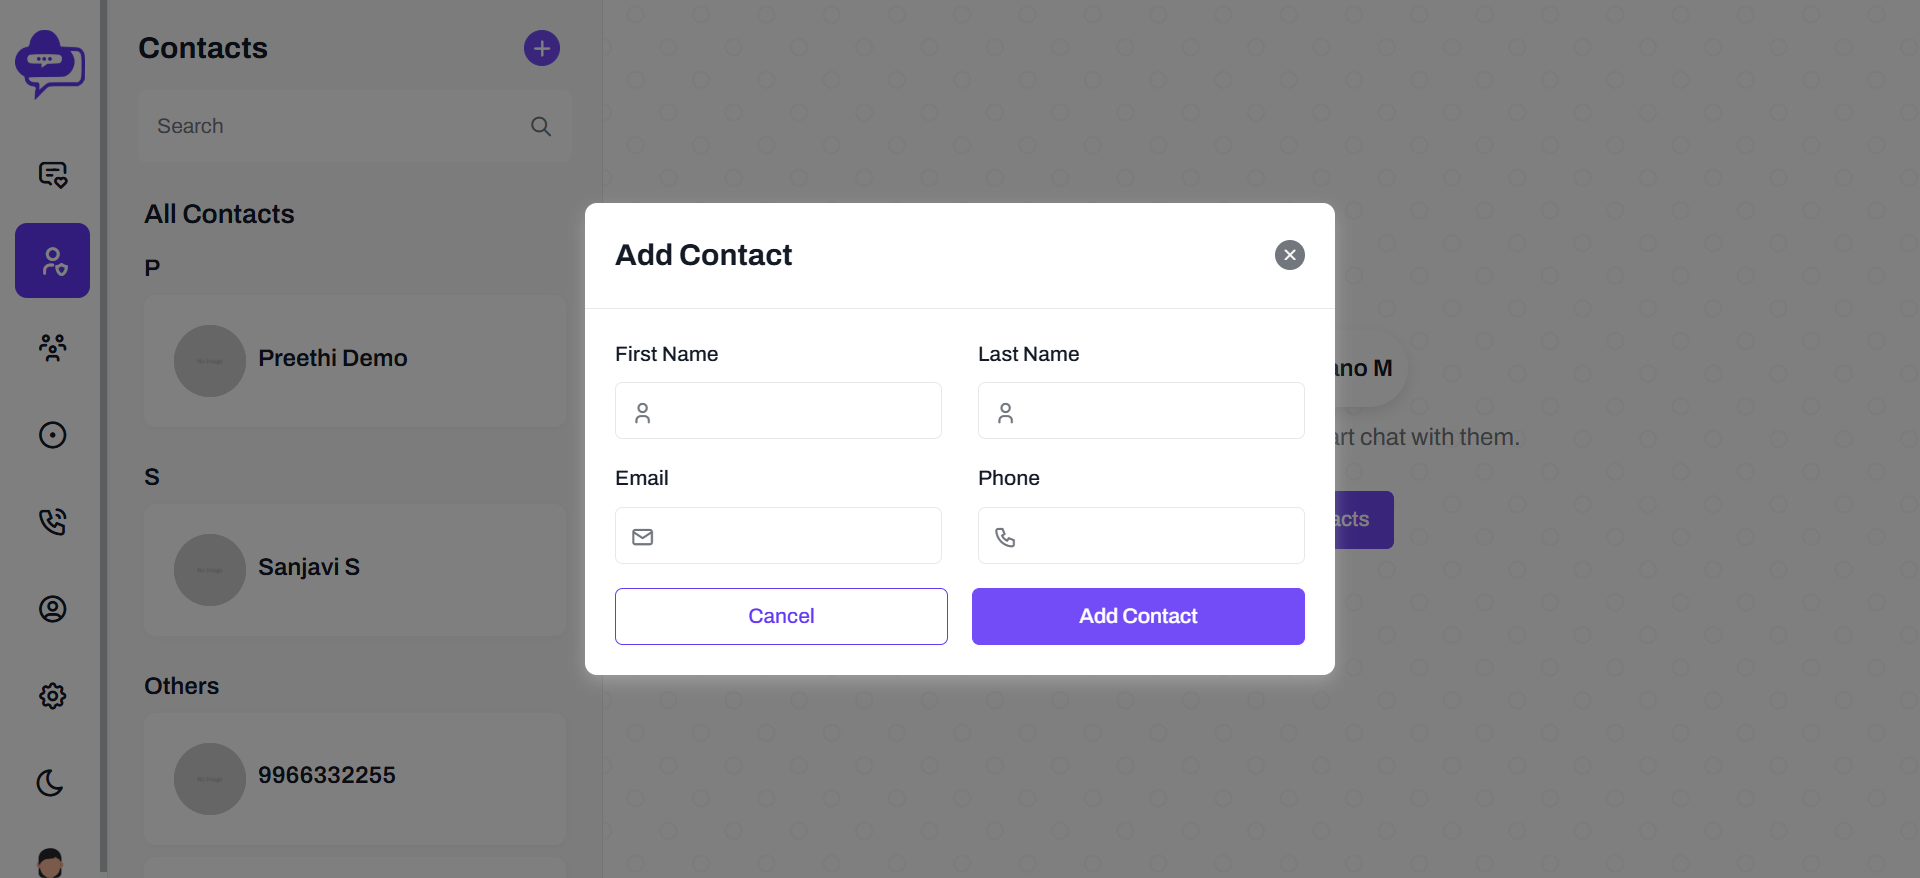
Logged in user can add friends by Add a contact through contact after you click the pluse icon to create a new chat.
User can upload photos, videos, documents to particular friends and users can chat with smileys.
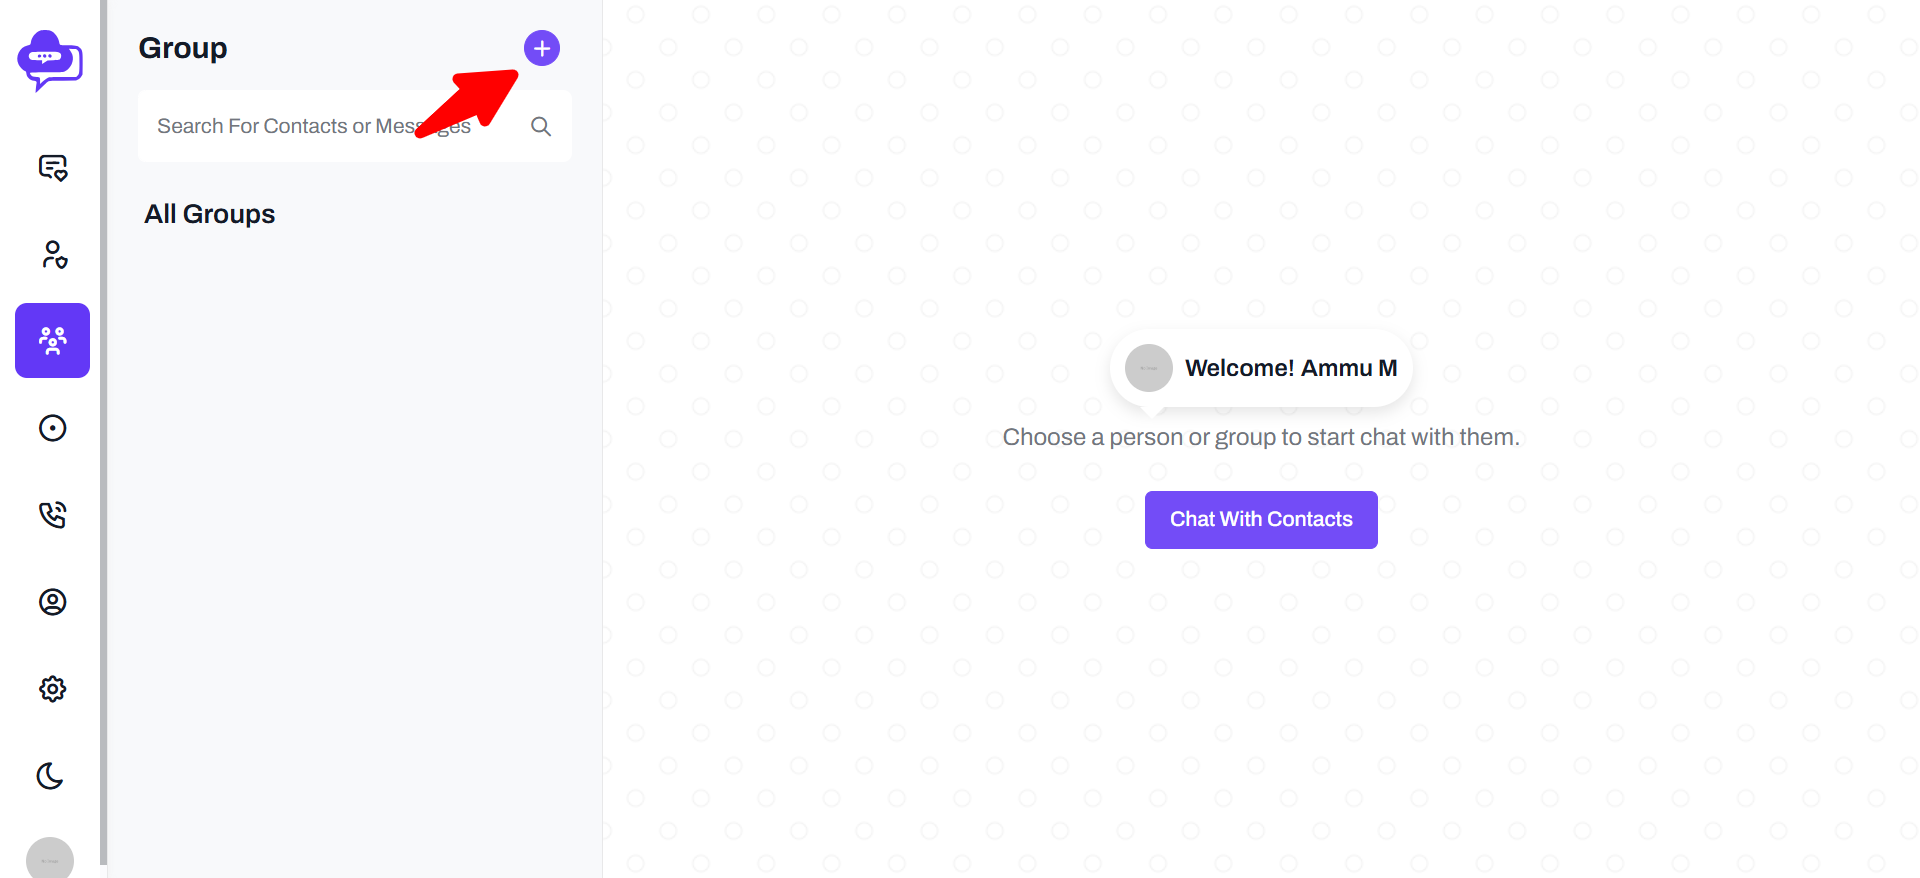
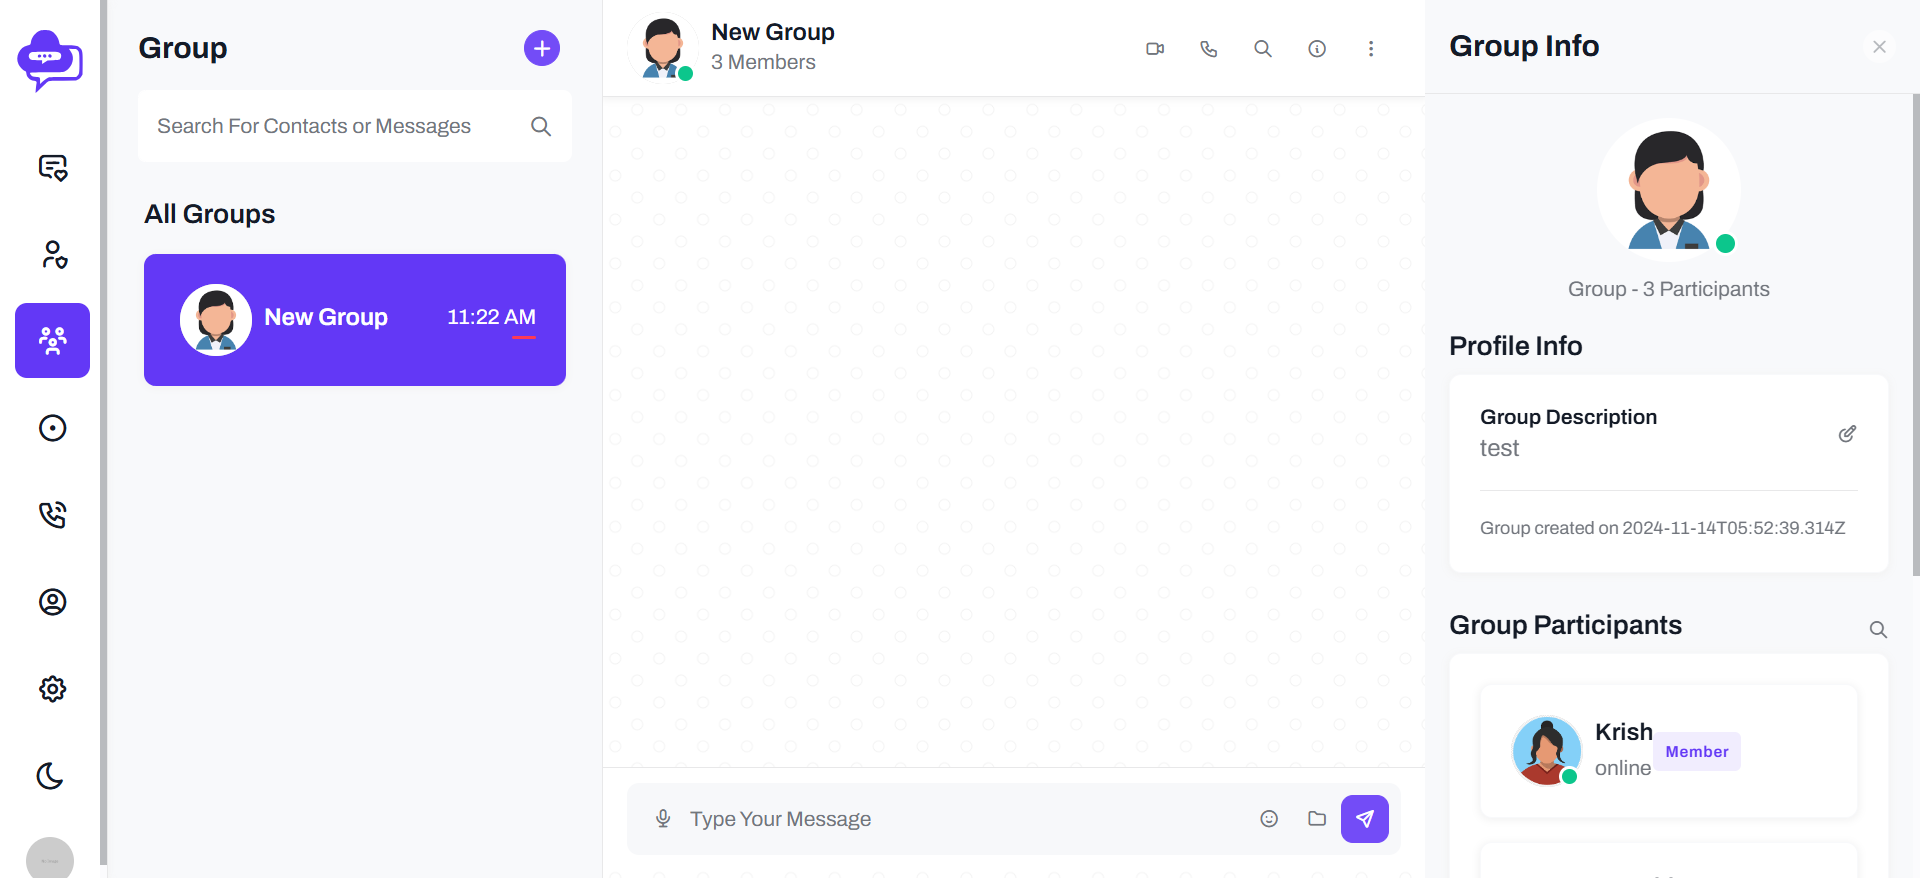
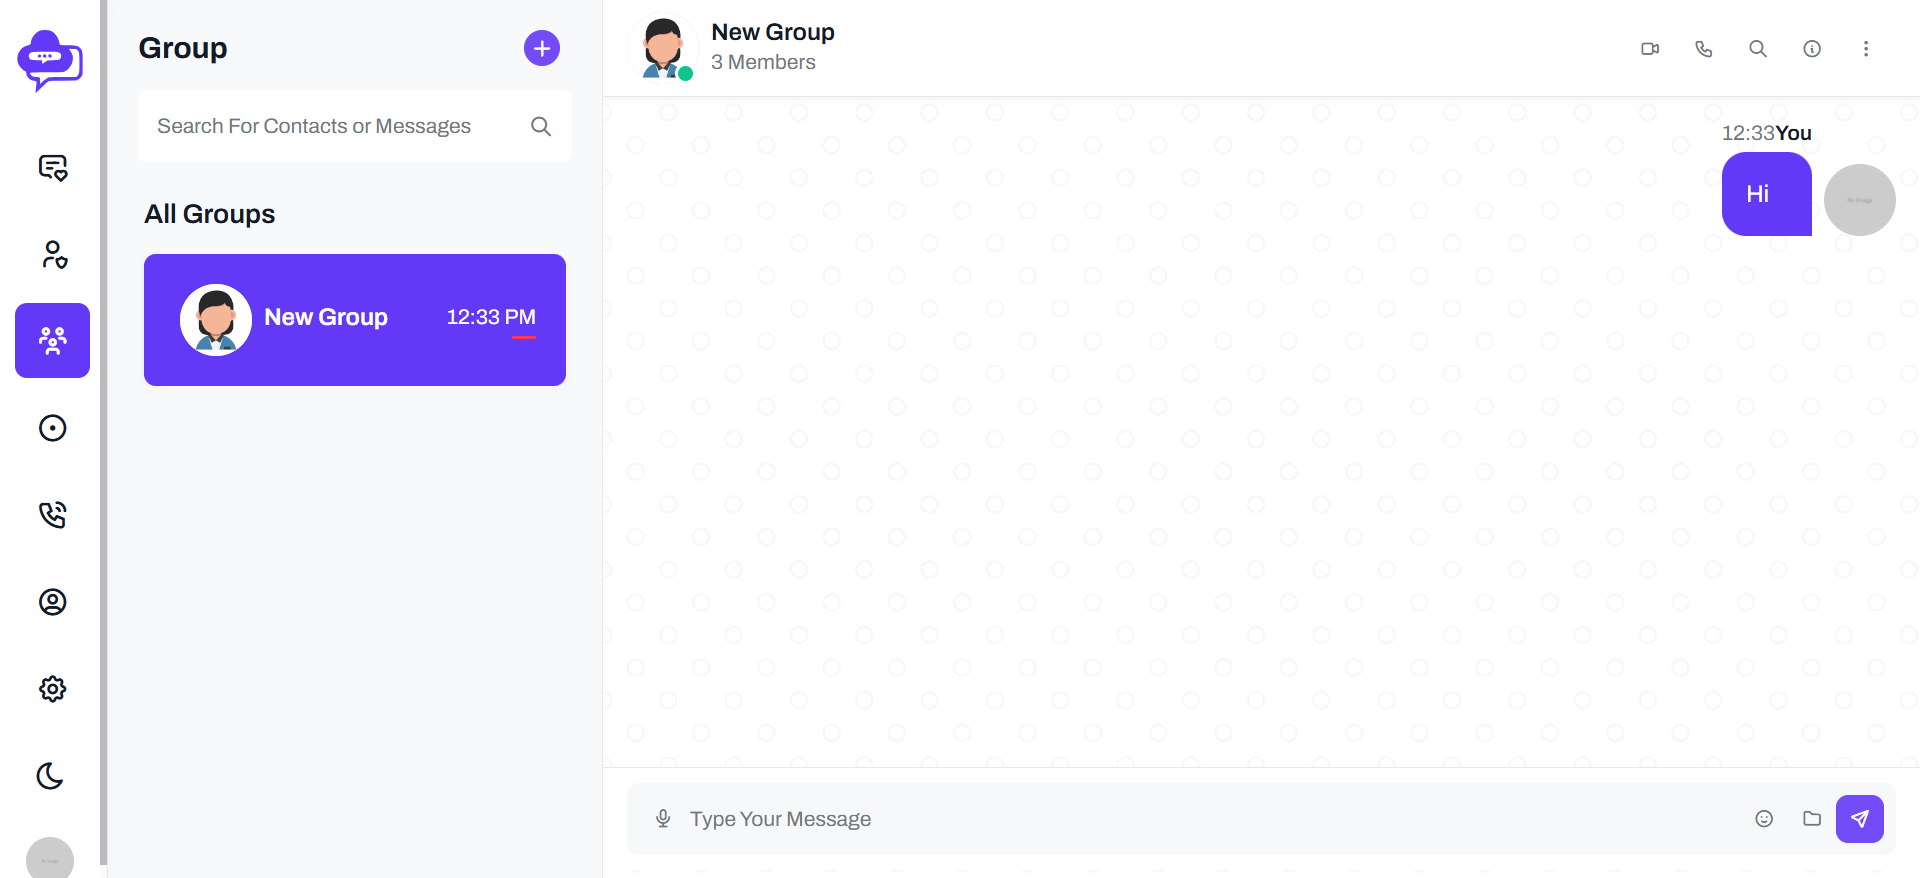
Group Chat
User can view their group members conversations,And also user can view group Profile picture,Group info and group members.
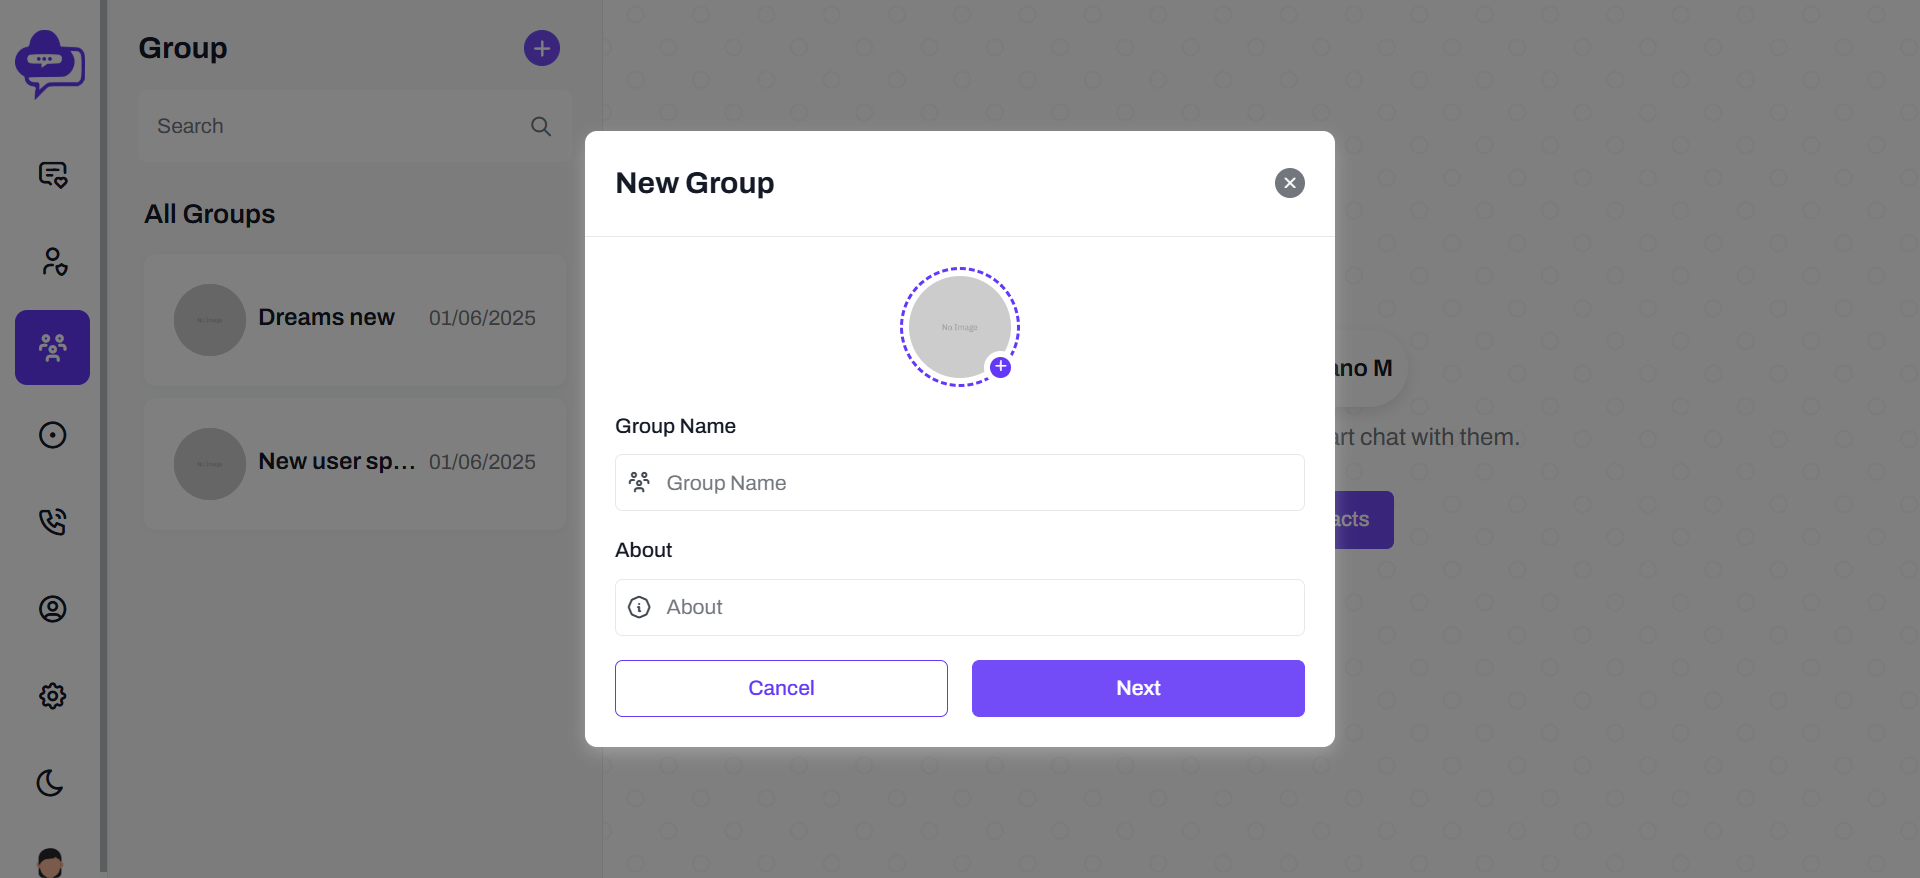
User can create their group name and descriptions for their friends or family members,etc...
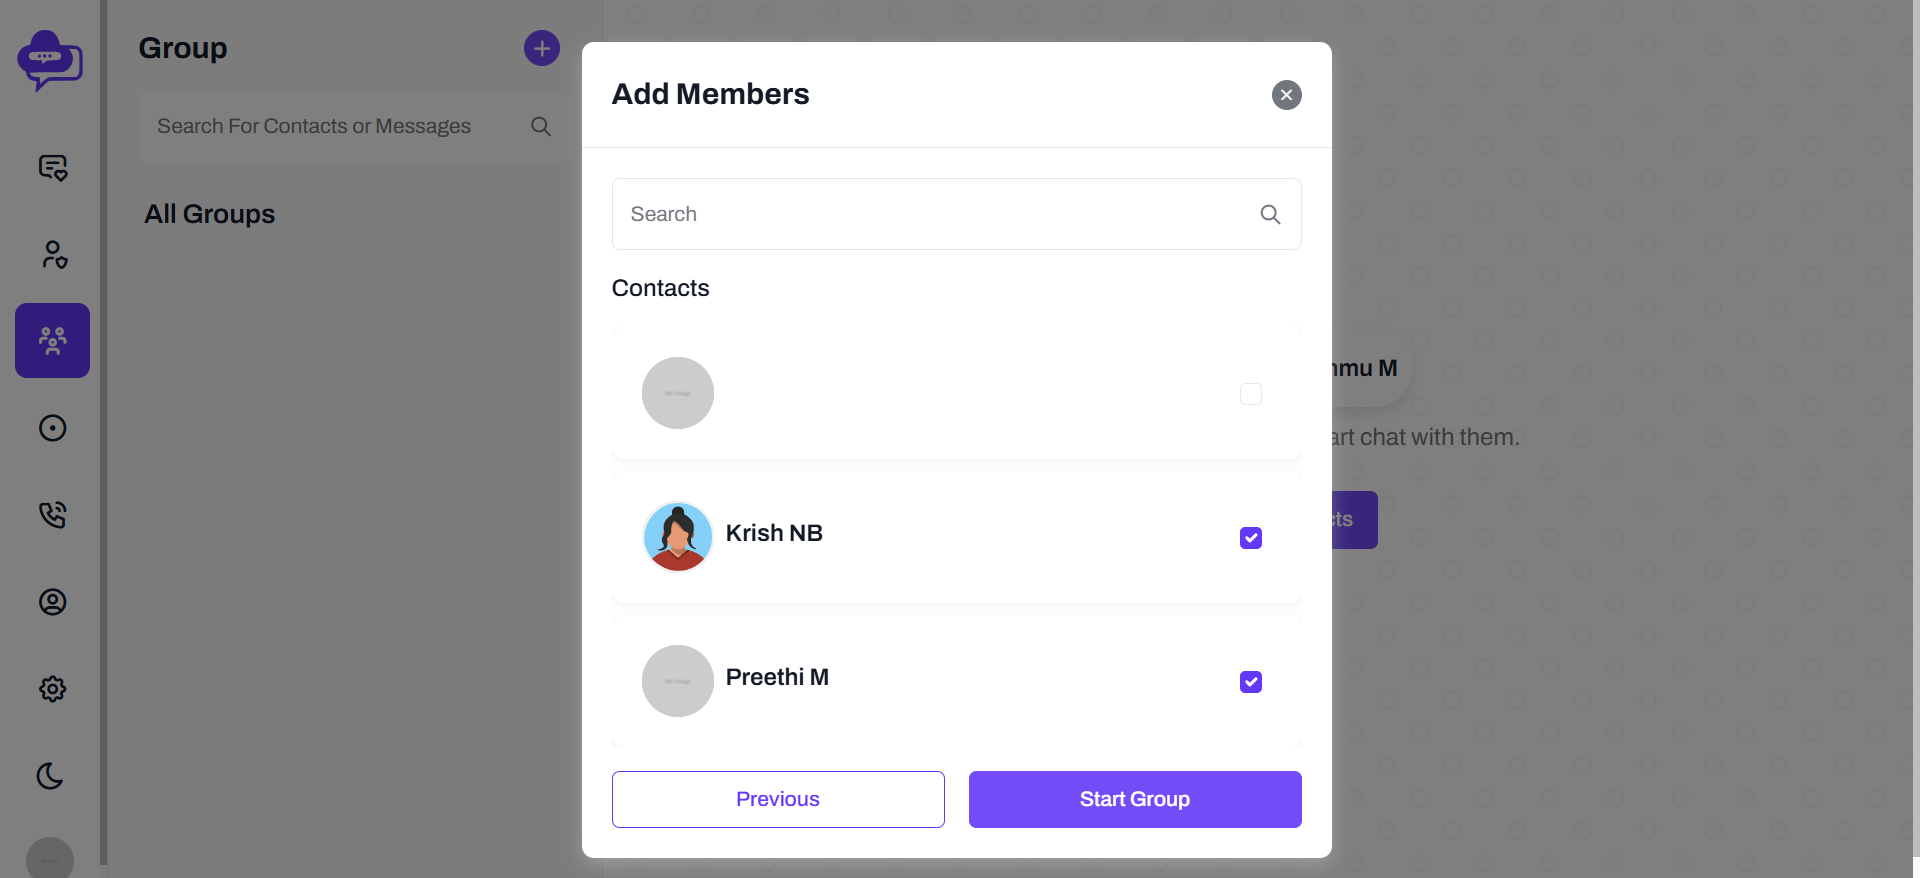
User can add dreams chat members into created group.
Status
If users post a status then all dreamchat members can see that user status in status tab.
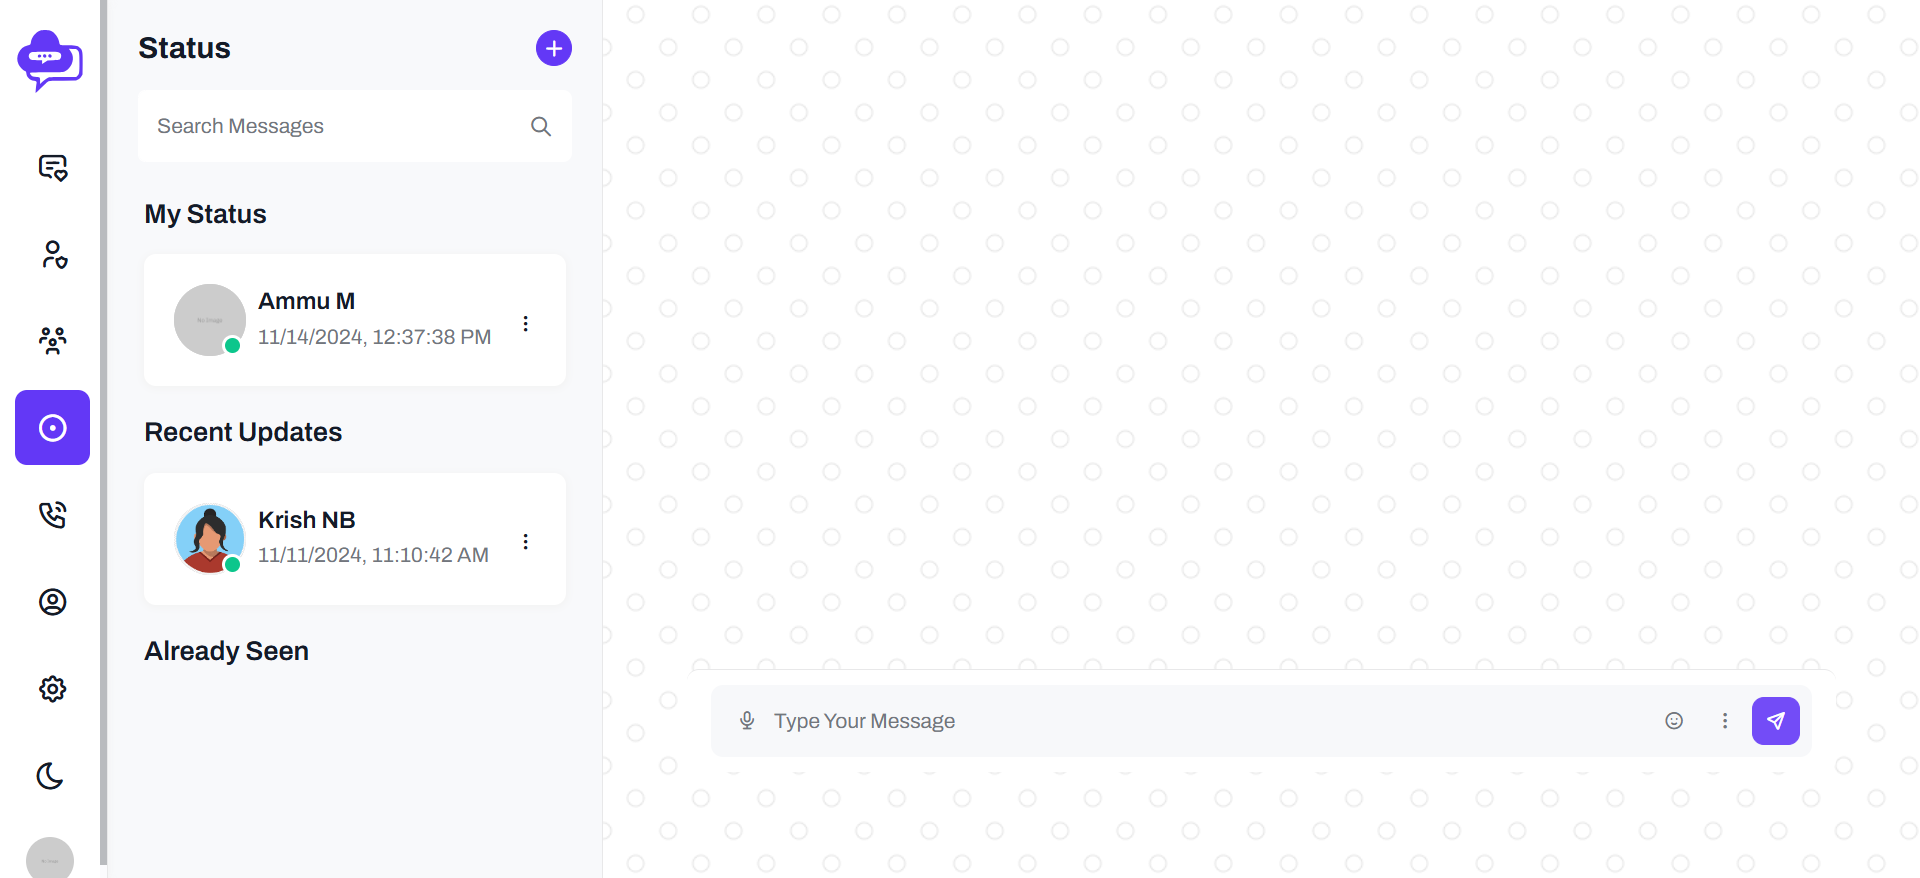
Logged in users can add their status(Image) through add status(+) button.

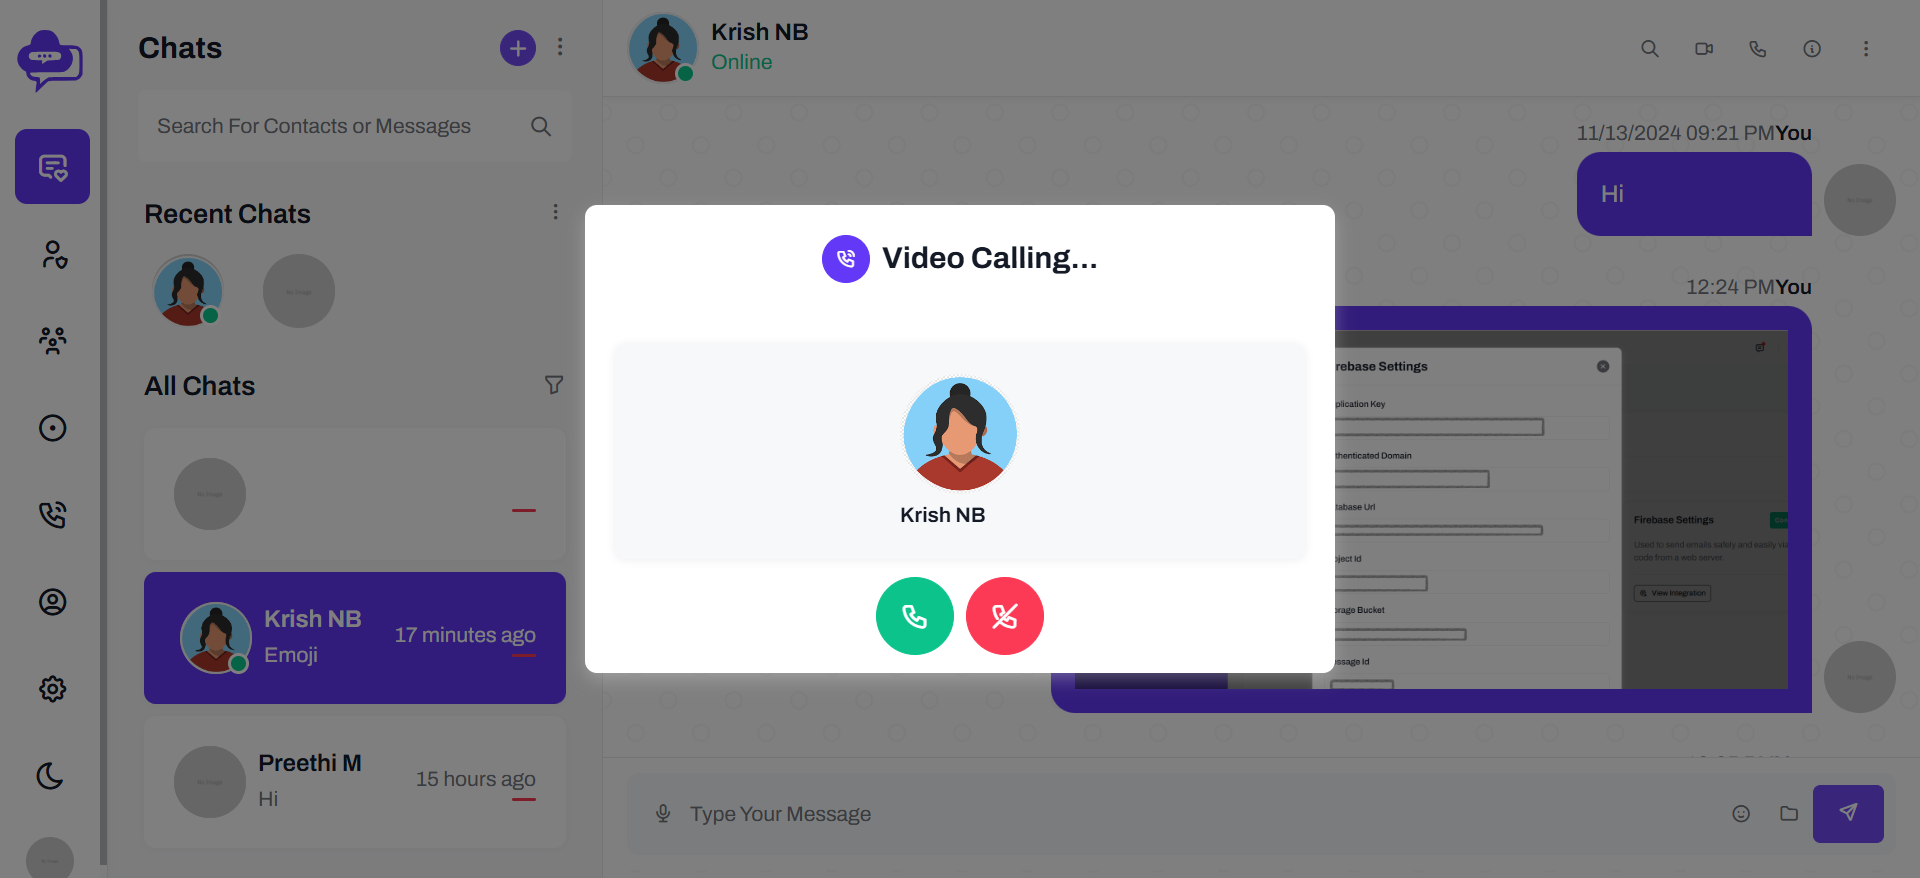
Call
In call tab user can view all their call activities like missed calls, Other calls and call logs.
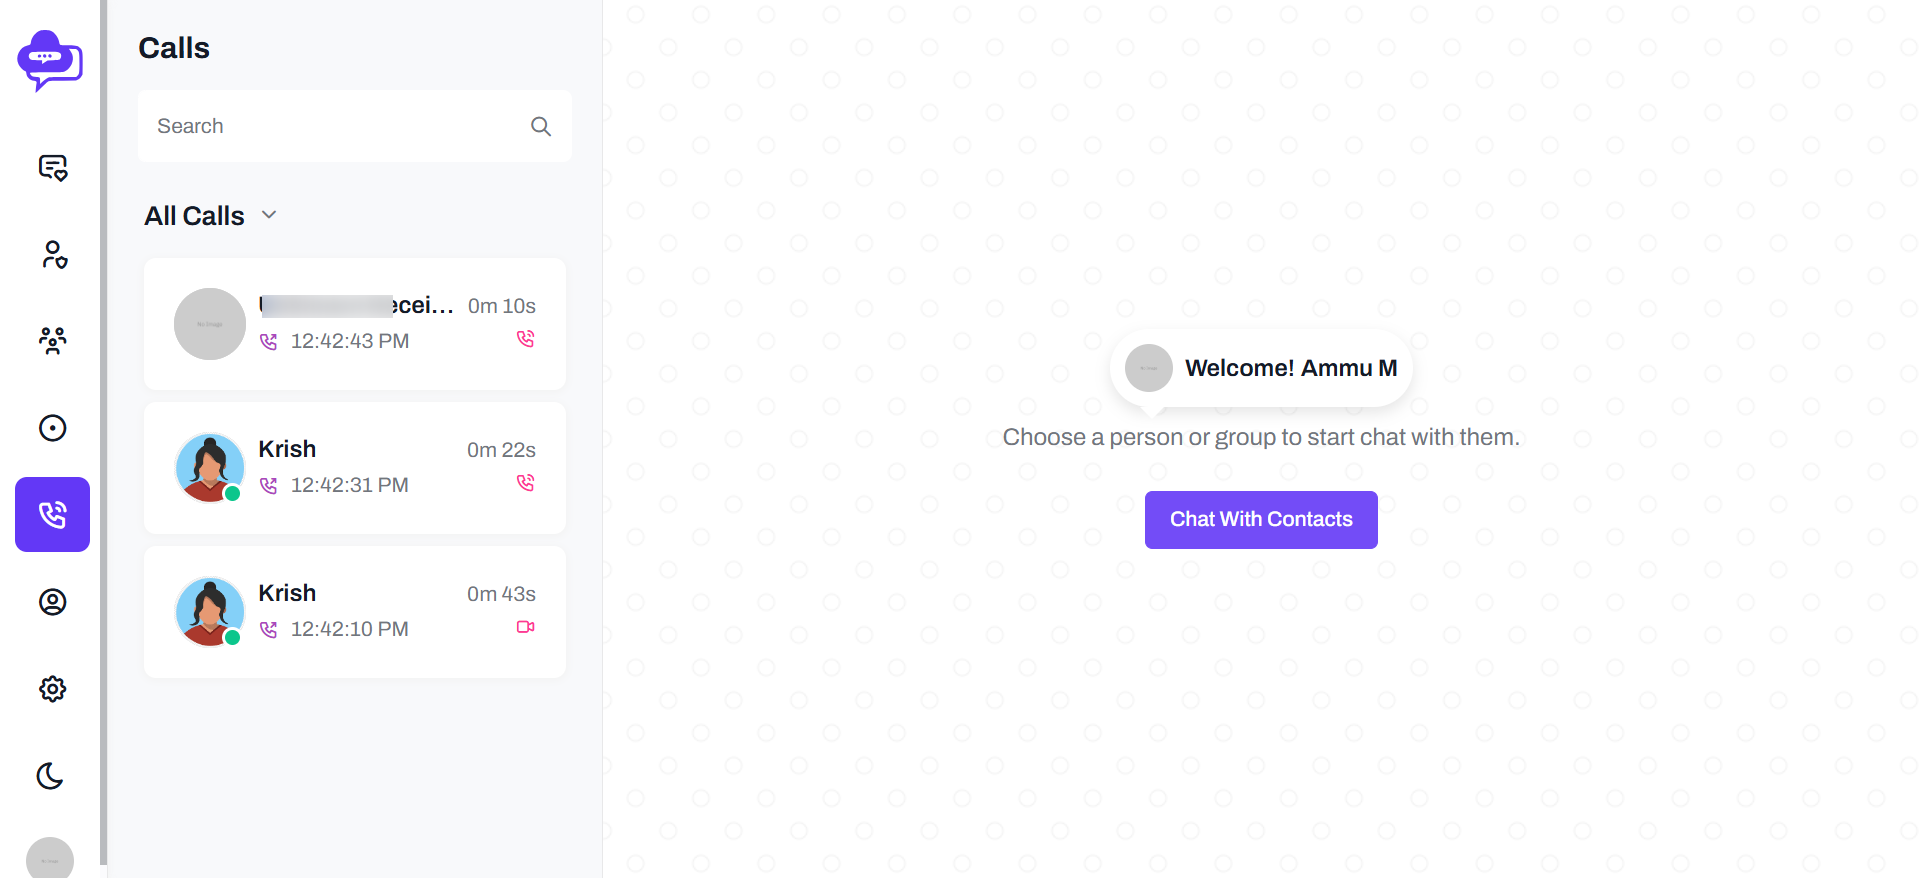
Dreams chat users can single audio or video call and group audio or video call to their drams chat contact members and groups.
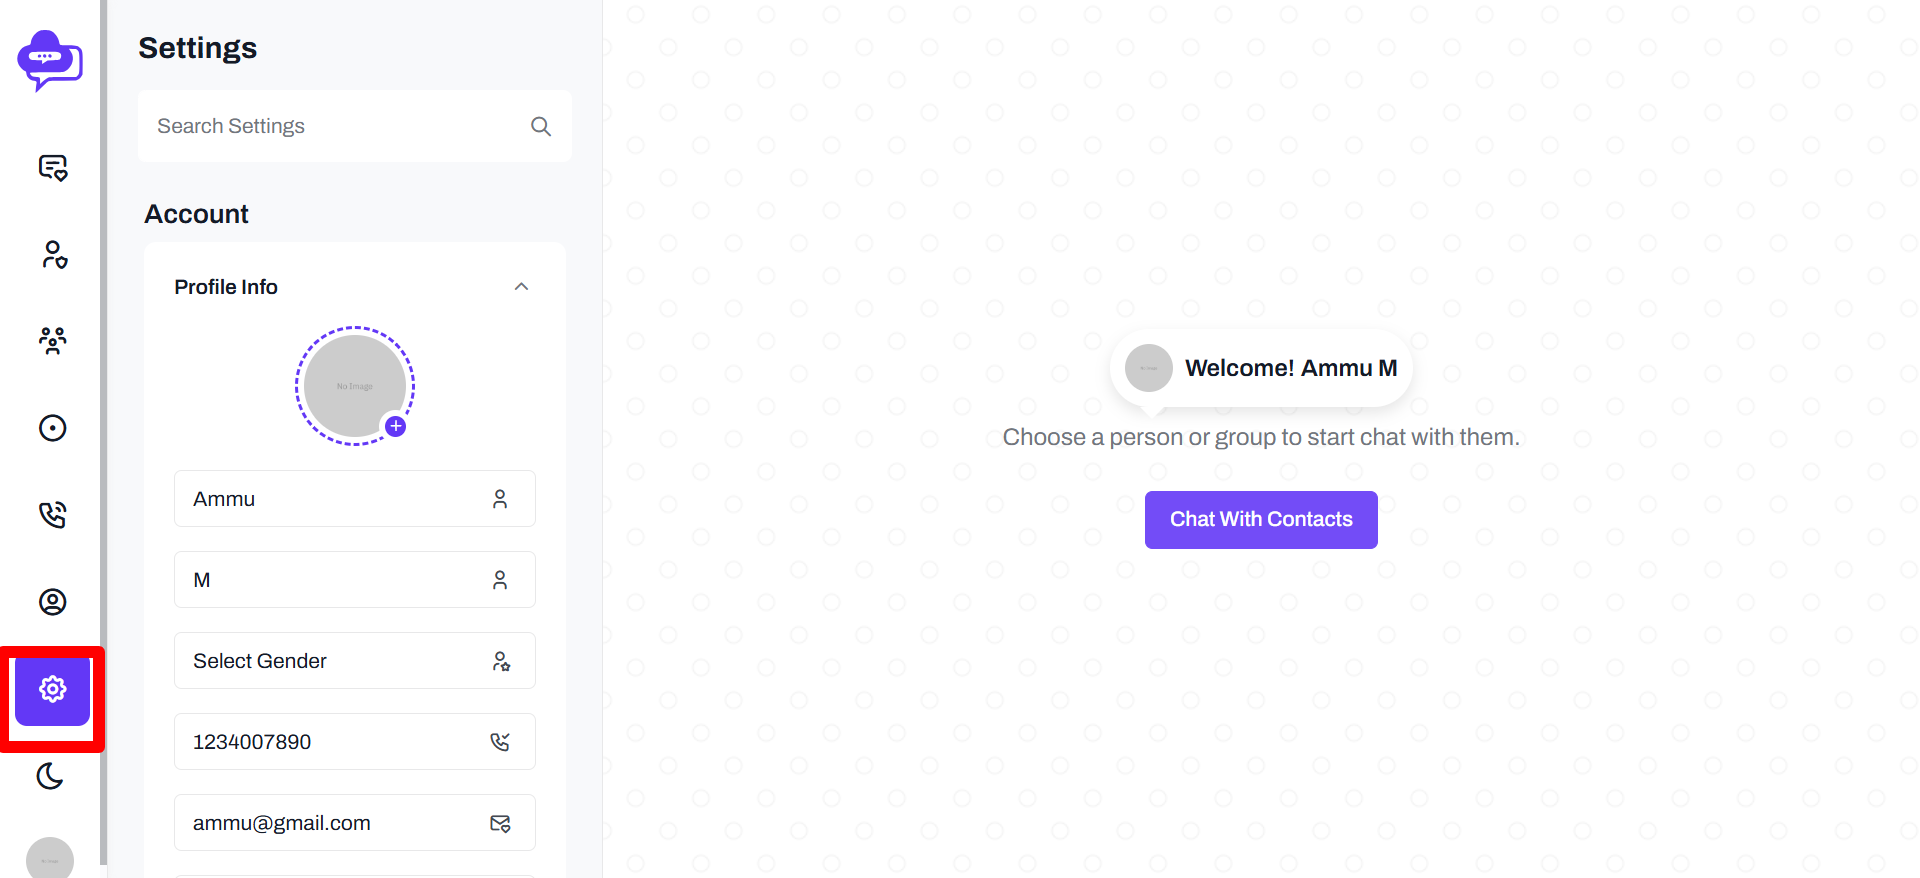
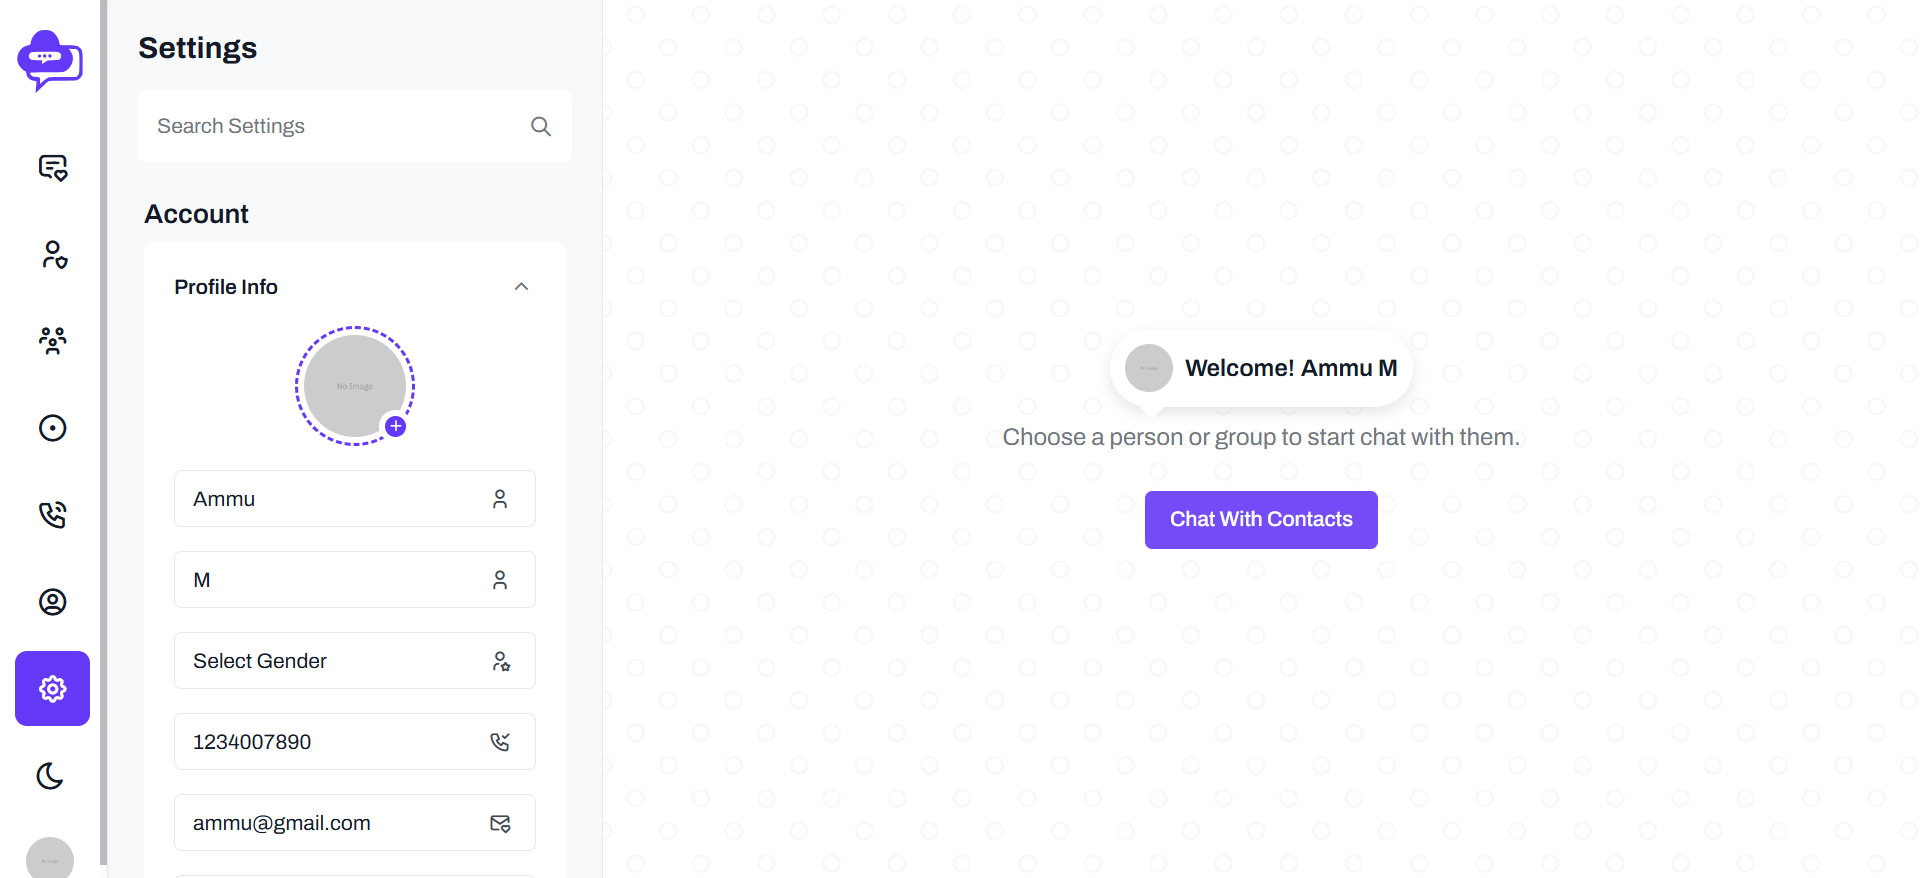
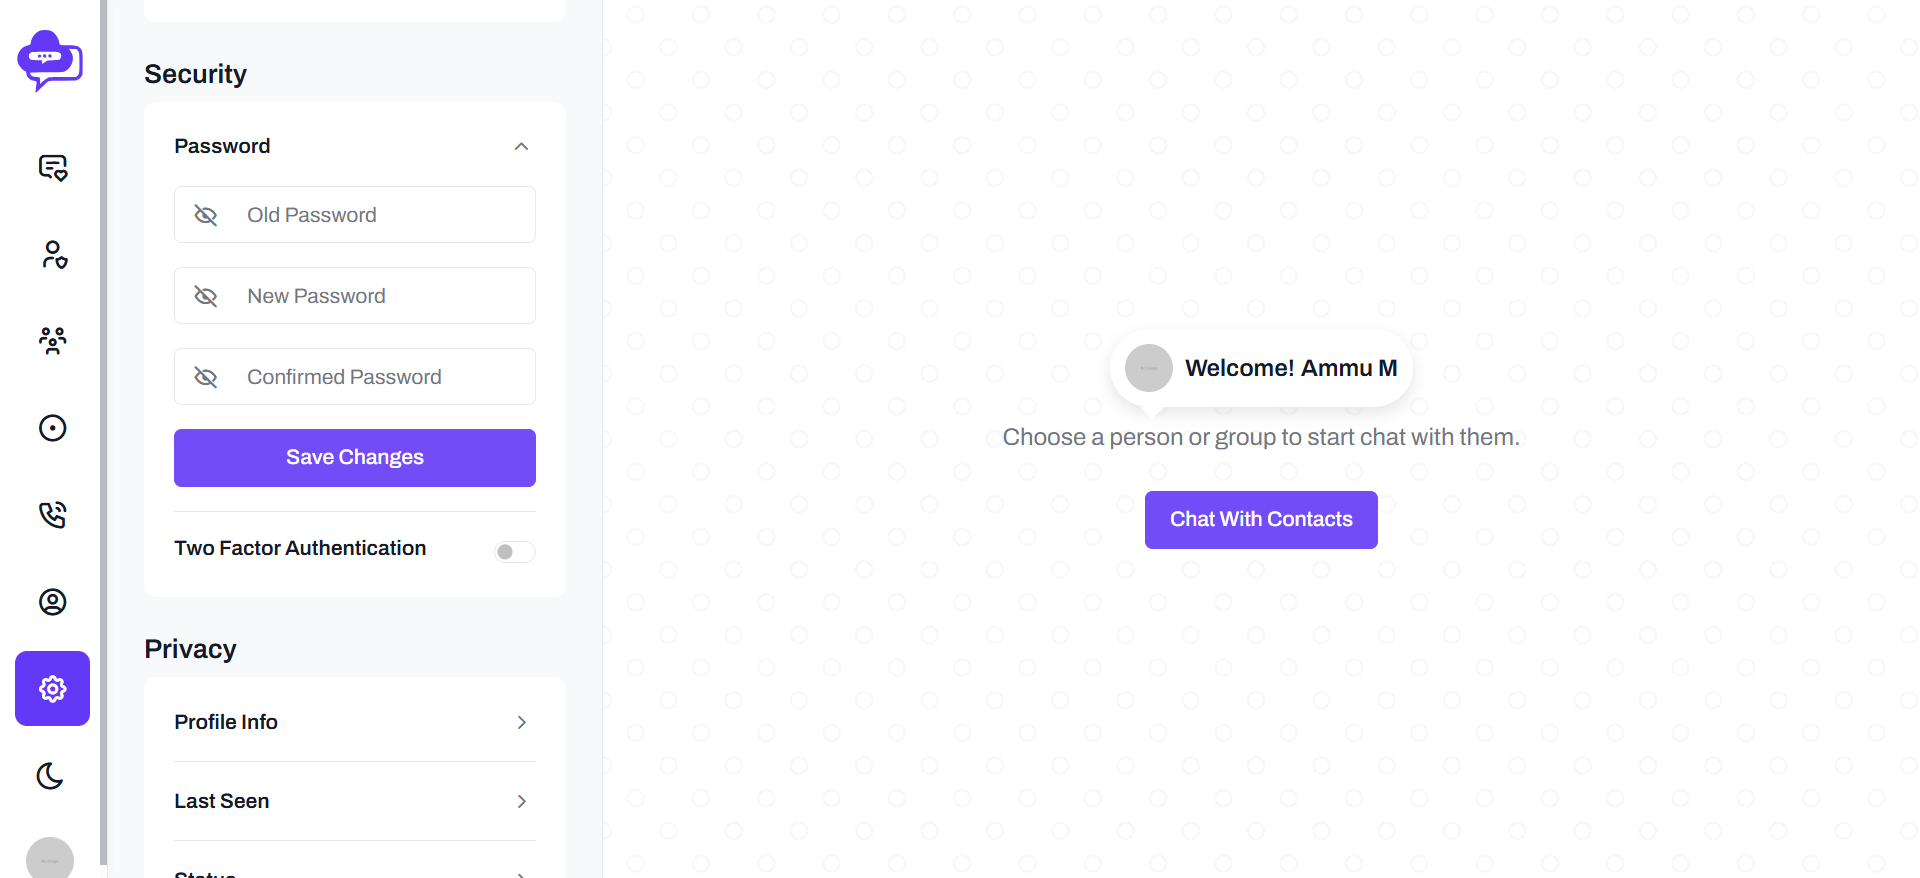
Settings
Dreams chat users edit thier profile details like Display name,Display picture,Status.
Dreams chat users have able to change the password in settings module.
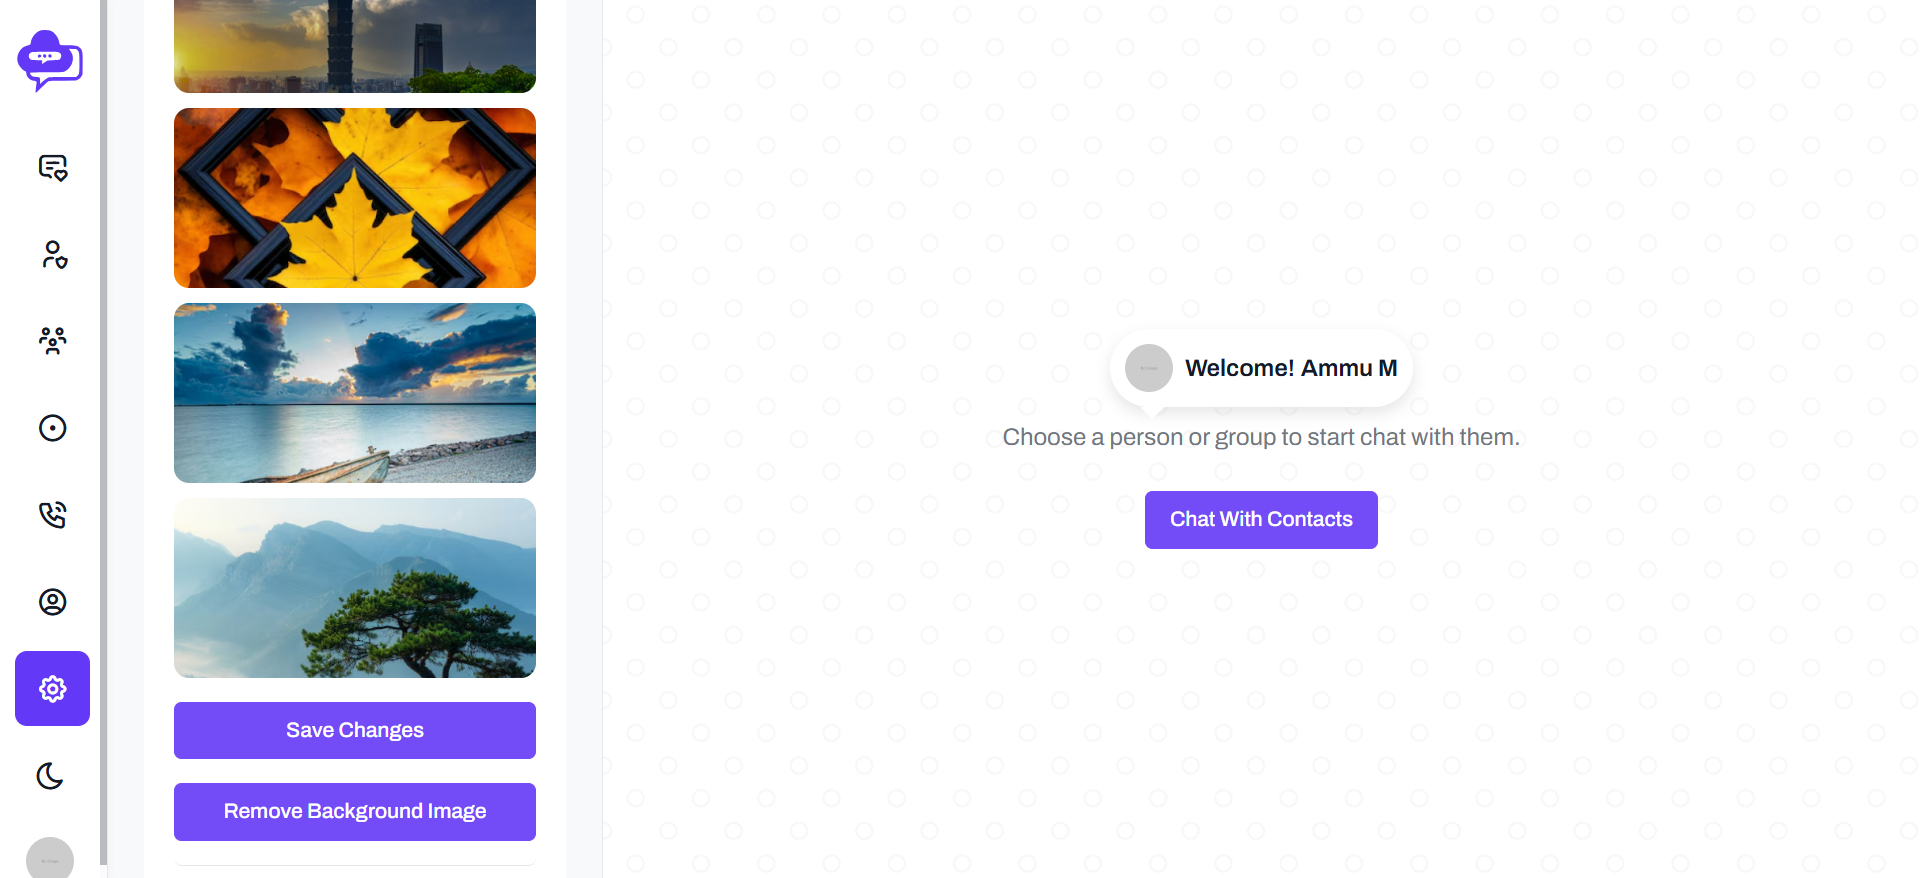
Dreams chat users have able to change the chats background through settings module.
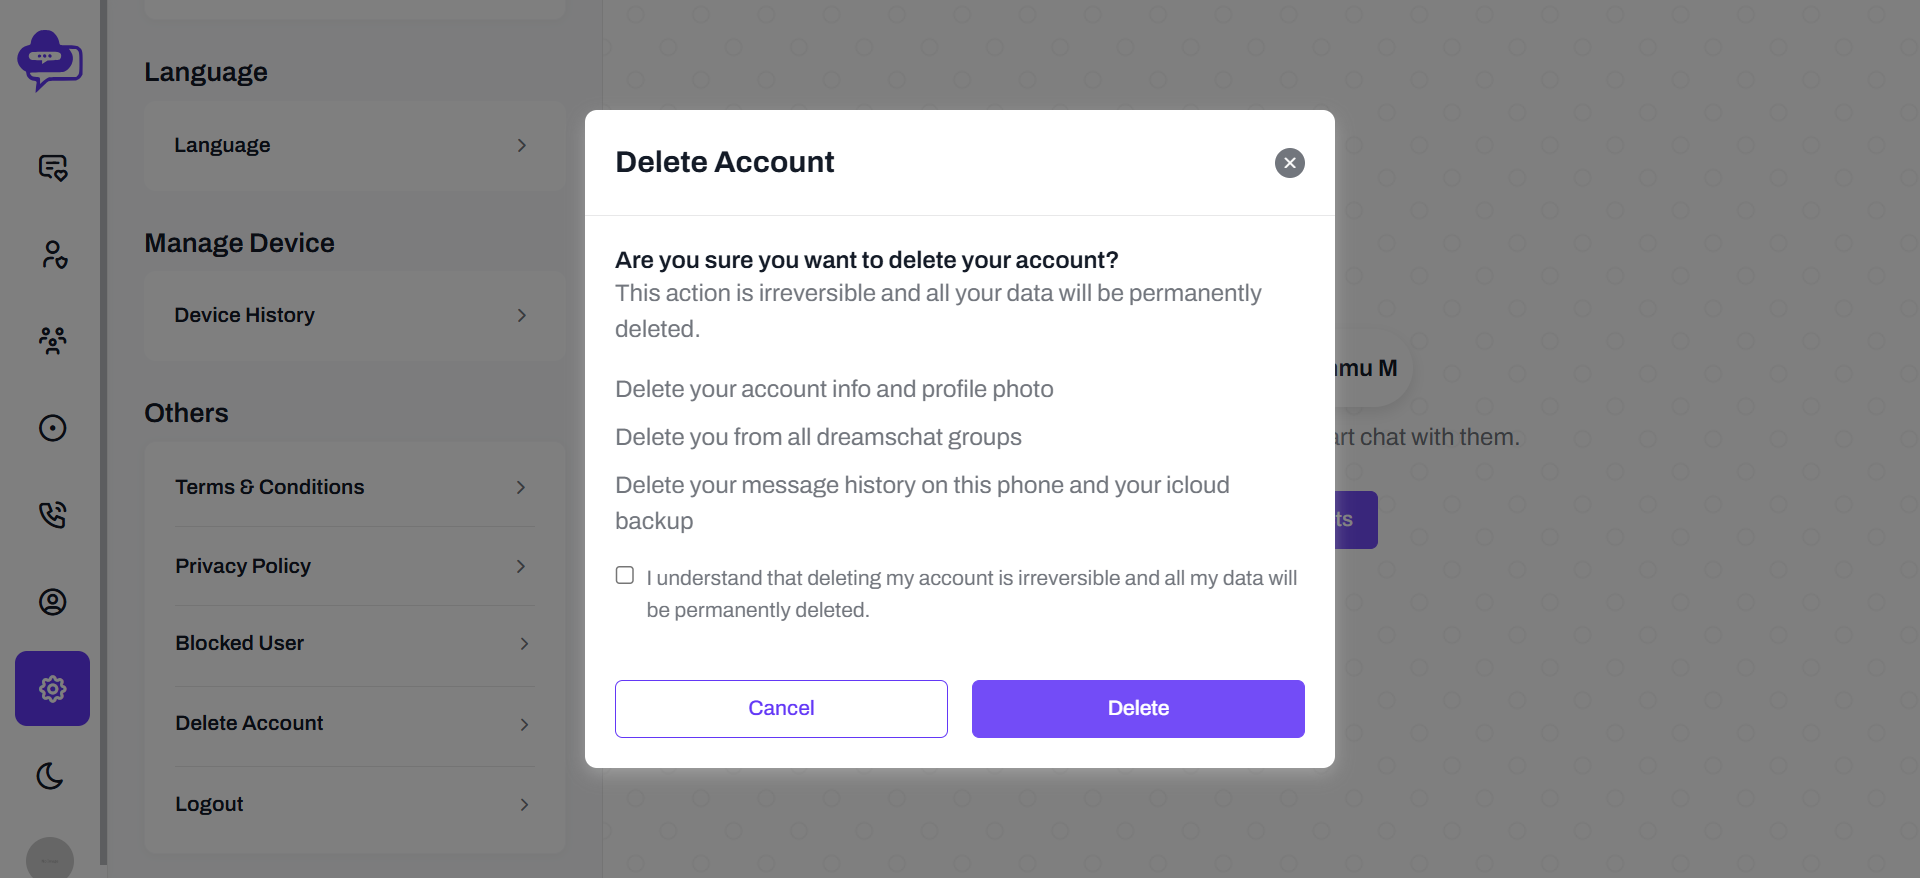
Dreams chat users have able to delete his own account in settings module.
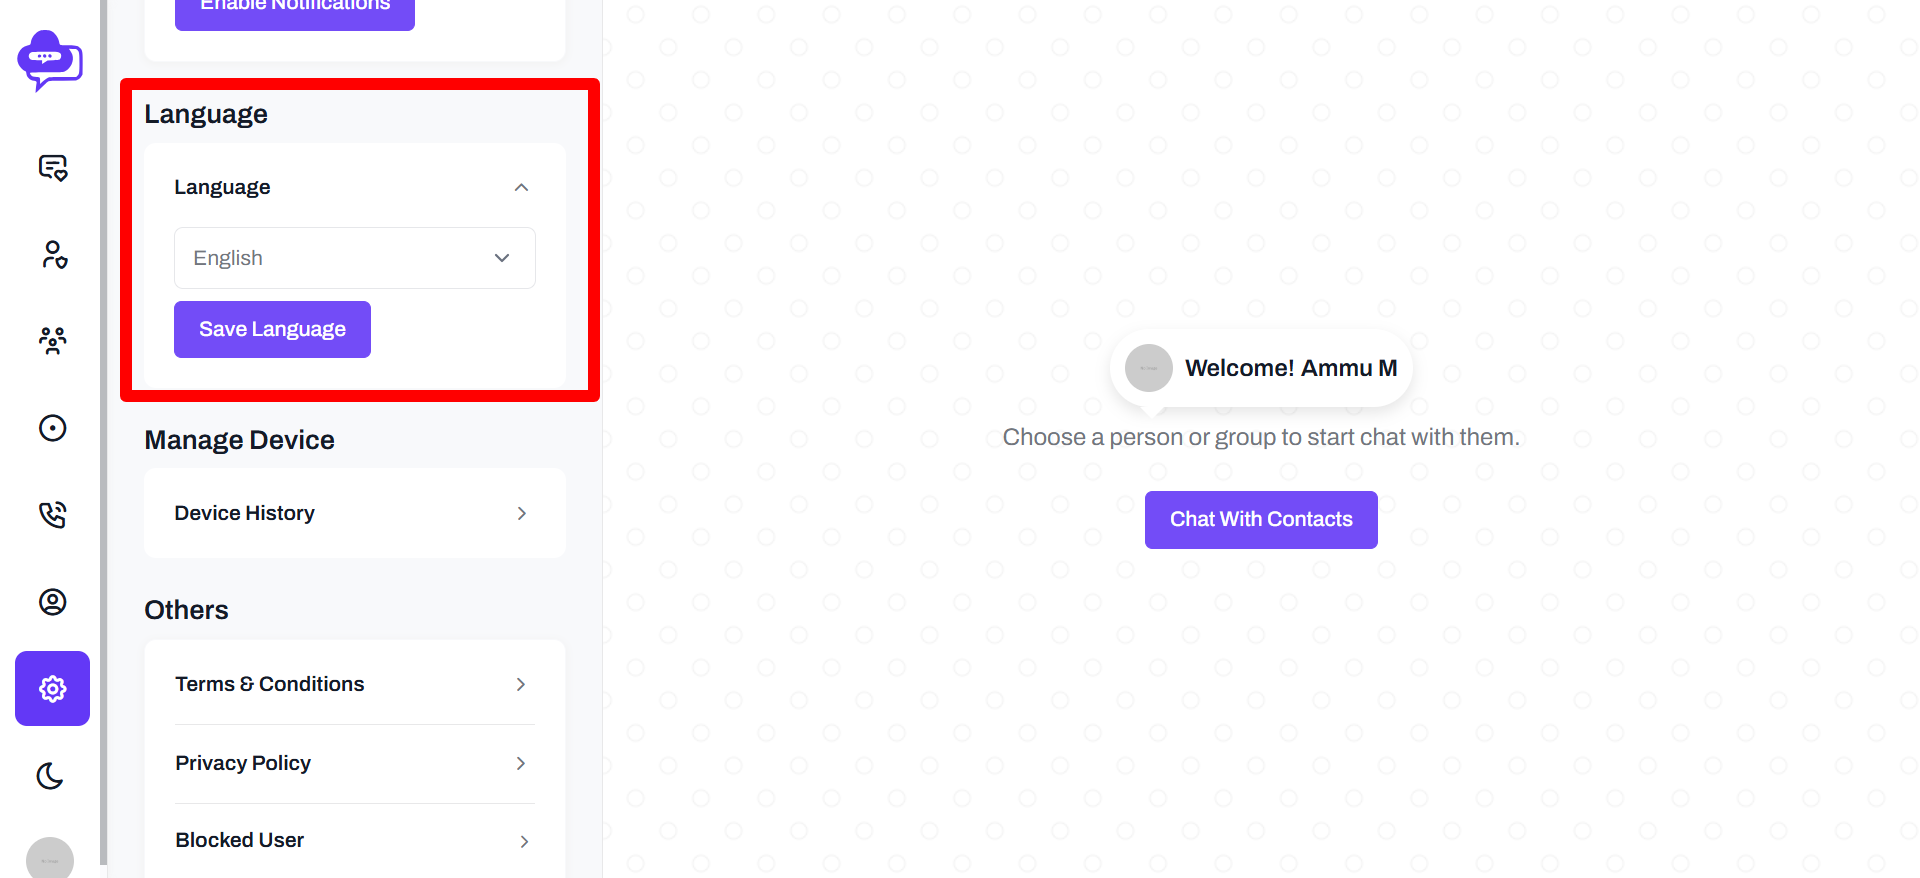
Dreams chat users have able to change the language in settings module.
Support
If you have any queries please contact us through email: [email protected].